Set Up a Basic Home Gym with Minimal Equipment
Learn how to create an effective, budget-friendly home gym in a small space using just a handful of versatile pieces of equipment.
Materials
- Tape measure
- Foam or rubber flooring tiles (optional but recommended)
- Resistance bands (set of light/medium/heavy)
- A pair of adjustable dumbbells or a few fixed-weight dumbbells
- Pull-up bar (doorframe-mounted)
- Yoga/exercise mat
- Jump rope
- Storage rack or hooks for organization
Before you start
- Basic understanding of your fitness goals (strength, cardio, flexibility, etc.)
- A dedicated space of at least 6×6 feet (e.g., spare room, garage, or living room corner)
Step 1 of 6
Choose and Measure Your Space
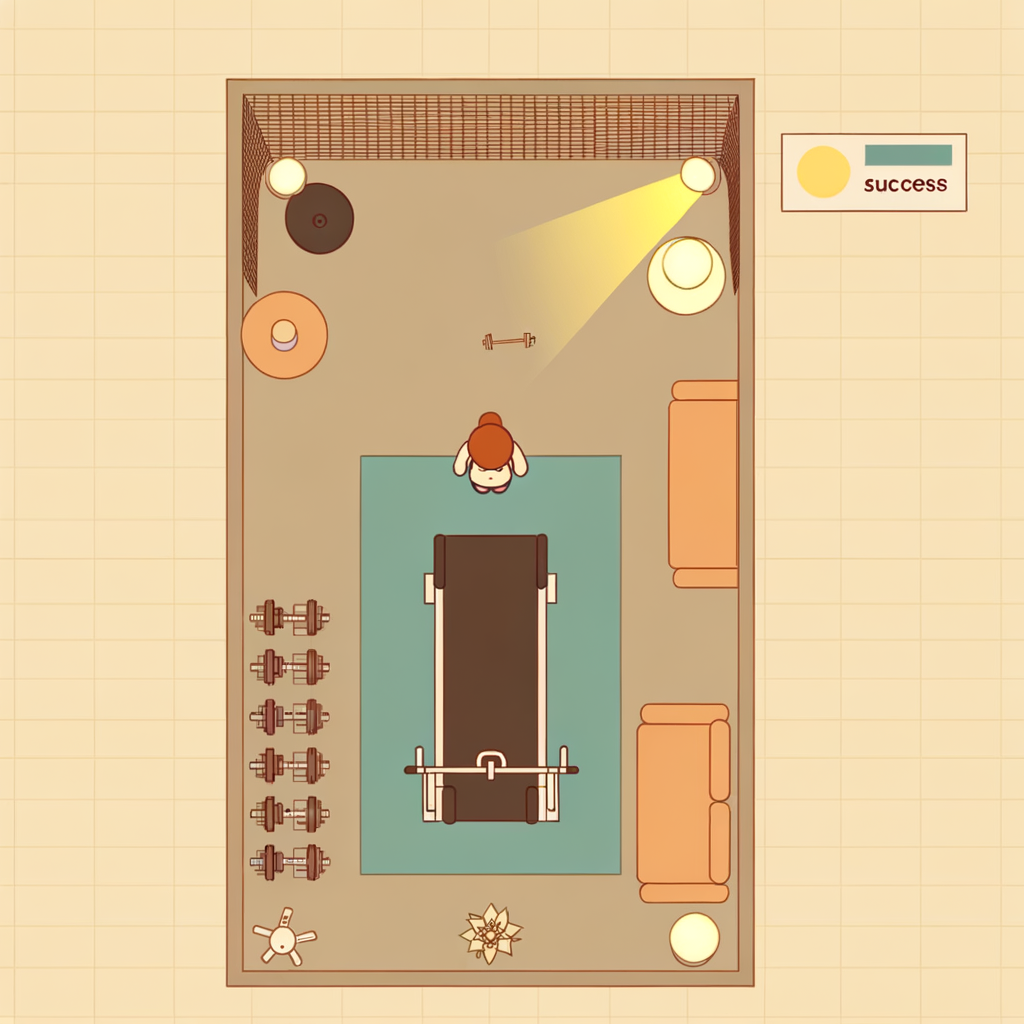
Walk through your home and identify a dedicated area for your gym. Ideal spots include a spare bedroom, garage, basement, or even a cleared living room corner. Use a tape measure to record the length, width, and ceiling height of the space. Aim for at least 6×6 feet of clear floor space — more is better. Check that the ceiling is high enough for overhead movements (at least 8 feet). Note the location of power outlets, windows for ventilation, and any fixed obstacles like pillars or doors that swing inward.
Use painter's tape on the floor to outline your intended workout zone before buying any equipment — this helps you visualize the space realistically.
- If If your space is smaller than 6×6 feet, do Focus on bodyweight and resistance band exercises only, and skip bulkier equipment like a pull-up bar or heavy dumbbells..
- If If the floor is hard concrete or tile, do Prioritize purchasing foam or rubber flooring tiles before any other equipment for safety and comfort..
Common mistakes
- ×Choosing a space that's too small and restricting movement during exercises.
- ×Ignoring ceiling height — this matters for jumping, overhead presses, and pull-up bars.
- ×Picking a high-traffic area of the home that will be constantly interrupted.
Step 2 of 6
Protect and Prepare the Floor
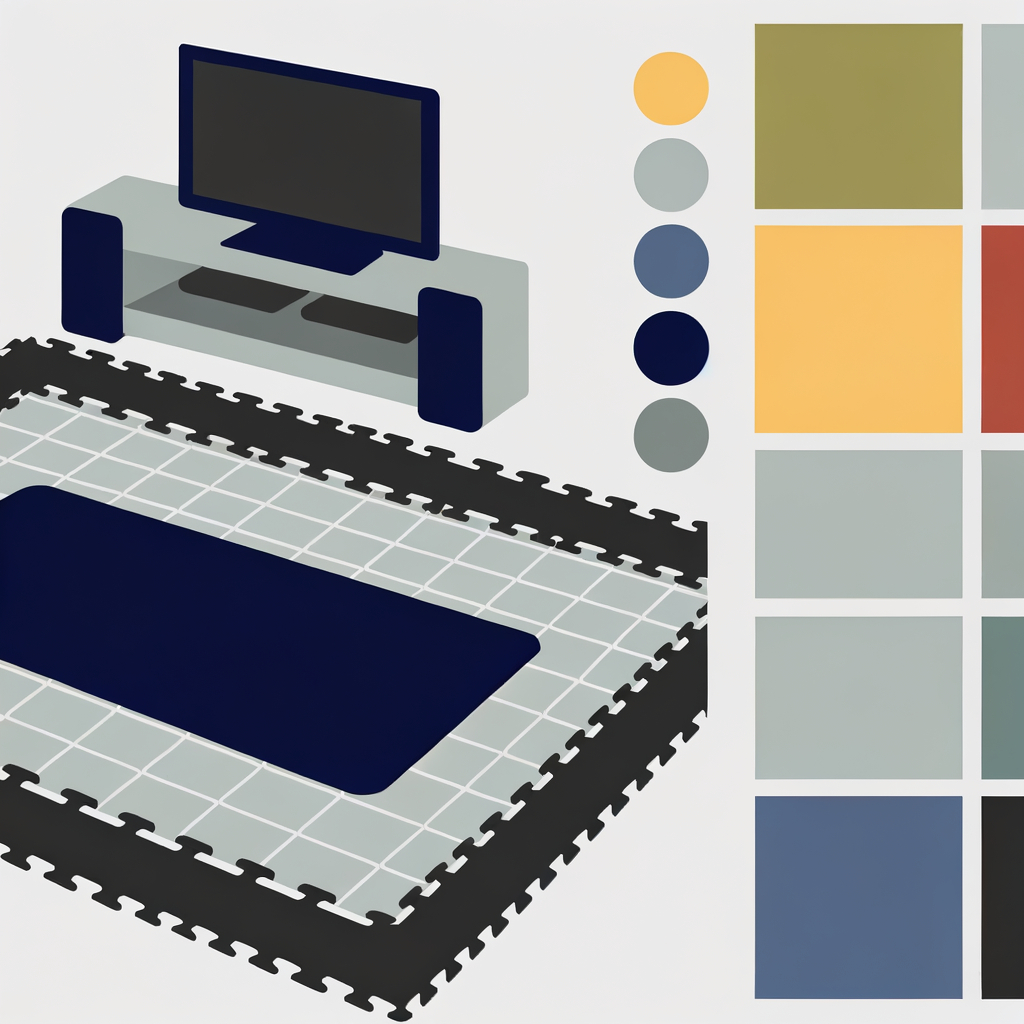
Lay down interlocking foam or rubber flooring tiles to protect both your floor and your joints. These tiles cushion impact during jumping or floor exercises, prevent equipment from scratching or denting your floor, and reduce noise. Measure your workout zone and purchase enough tiles to cover it. Clean the floor thoroughly before laying tiles. Start from one corner and interlock the tiles outward. Trim edge tiles with a utility knife if needed for a clean fit. If budget is tight, a thick yoga mat can serve as a minimal alternative for a single-person workout area.
Rubber tiles (3/8" thick) are more durable and better for weights, while foam tiles are softer and better for yoga or stretching areas.
- If If you're on a tight budget, do Use a high-quality, thick (6mm+) yoga mat as a starting point and add rubber tiles over time..
Common mistakes
- ×Skipping floor protection and damaging flooring or hurting joints on hard surfaces.
- ×Buying too few tiles and leaving gaps where weights or feet land.
Step 3 of 6
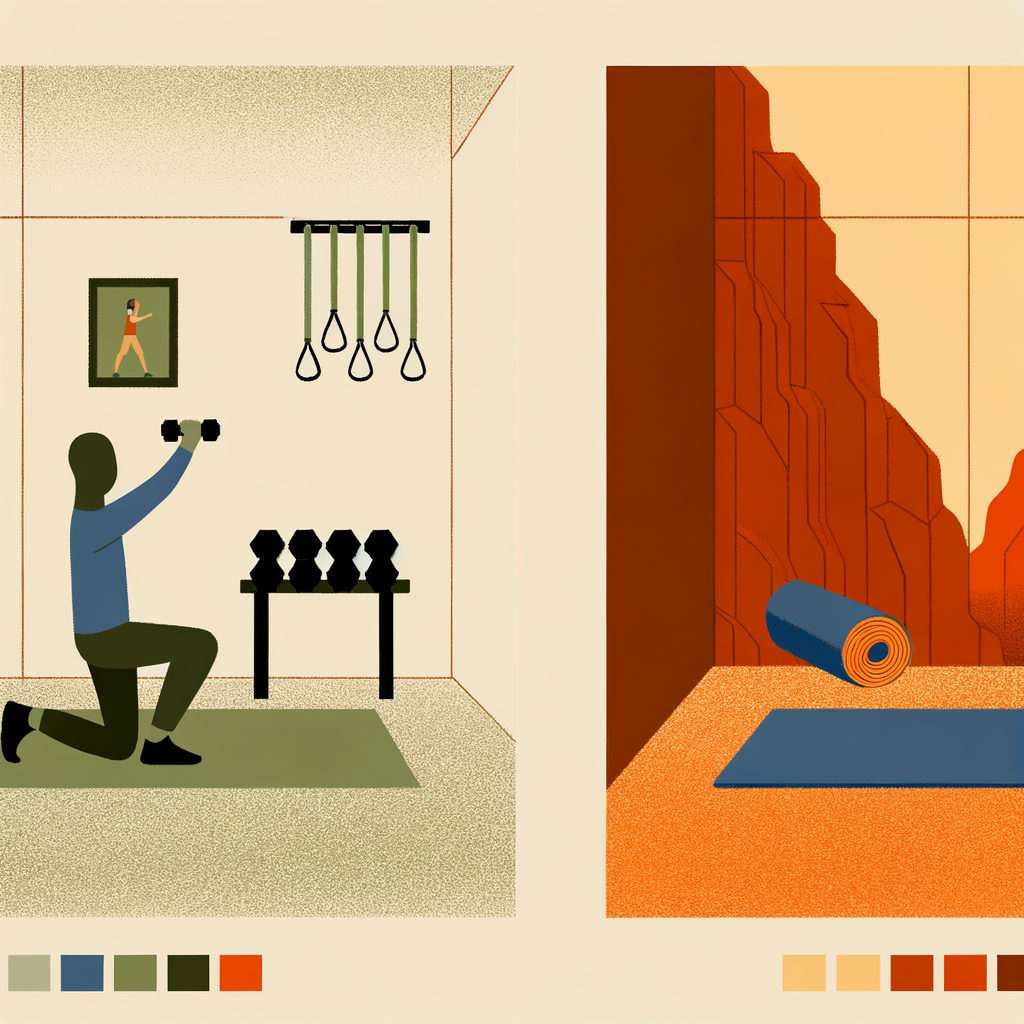
Select Your Core Equipment
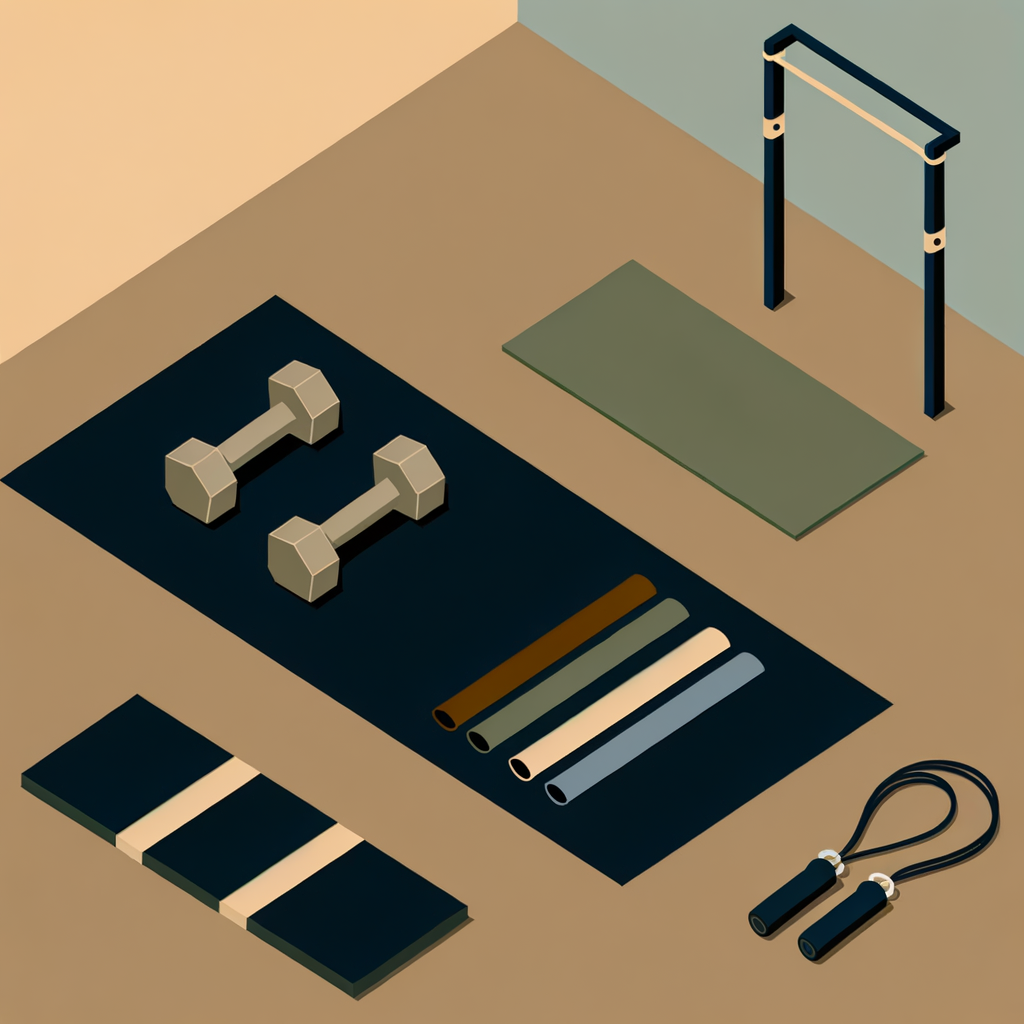
With minimal equipment, focus on versatile items that cover the most movement patterns. Here's a recommended starter kit: 1. **Resistance Bands** – Cover upper body, lower body, and mobility work. Get a set with at least 3 resistance levels. 2. **Dumbbells** – A pair of adjustable dumbbells is the most space-efficient option. Alternatively, get 2–3 fixed pairs (light, medium, heavy). 3. **Doorframe Pull-Up Bar** – Enables pulling movements (pull-ups, chin-ups) and can double as a hanging point for resistance bands. 4. **Yoga/Exercise Mat** – Essential for floor work, stretching, and core exercises. 5. **Jump Rope** – Compact and highly effective for cardio warm-ups. Prioritize based on your goals: resistance bands + mat for flexibility/light strength; add dumbbells for progressive strength training; add pull-up bar for upper-body pulling.
Adjustable dumbbells (like dial-select or pin-select types) replace an entire rack of weights and save enormous amounts of space and money in the long run.
- If If your primary goal is cardio, do Prioritize the jump rope and resistance bands; you can delay purchasing dumbbells..
- If If your primary goal is strength and muscle building, do Invest in adjustable dumbbells first, then add a pull-up bar for compound pulling movements..
Common mistakes
- ×Buying too much equipment at once before knowing what you'll actually use.
- ×Choosing fixed dumbbells in only one weight — you'll quickly outgrow them.
- ×Skipping resistance bands, which are among the most versatile and underrated tools.
Step 4 of 6
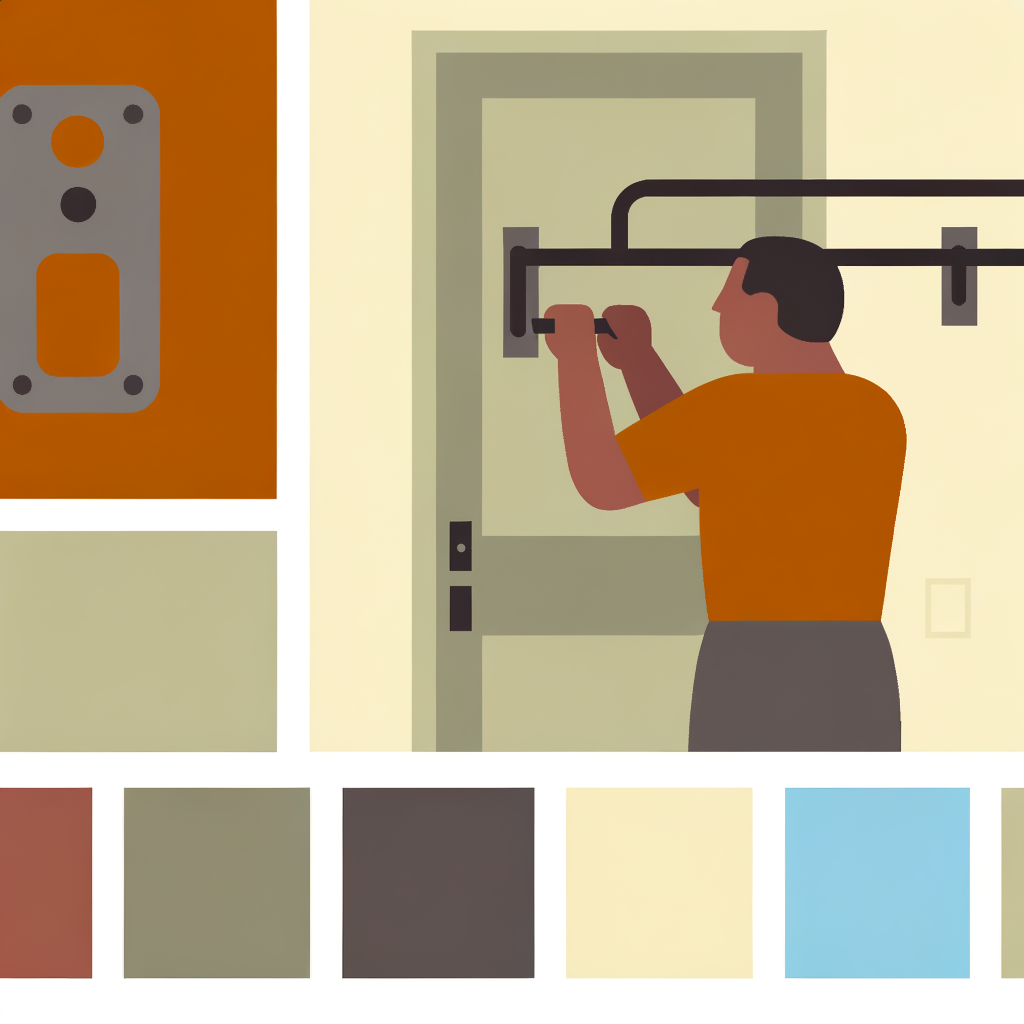
Install the Pull-Up Bar Safely
A doorframe pull-up bar is one of the most valuable pieces of equipment in a minimal home gym. Choose a doorframe that is sturdy, not hollow, and in a low-traffic area. Follow the manufacturer's instructions exactly — most bars use a leverage system that presses against the door frame molding. Before each use, check that all screws or locking mechanisms are tight. Test the bar by hanging your full body weight briefly before performing any reps. Ensure there is at least 12 inches of clearance above the bar for your head.
Mount the bar in a doorframe you walk through often — the visual reminder will encourage you to do a few reps throughout the day (known as 'greasing the groove').
- If If your door frames are too narrow or made of weak material, do Consider a free-standing pull-up stand instead, which requires more floor space but doesn't rely on the door frame..
Common mistakes
- ×Installing the bar in a hollow or weak door frame that can't support body weight.
- ×Not checking the bar's stability before each use — it can loosen over time.
- ×Mounting too low, causing you to bend your knees awkwardly during pull-ups.
Step 5 of 6
Organize and Store Your Equipment
A tidy gym is a safe and motivating gym. Designate a specific storage spot for every item so the space stays clear between workouts. Options include: - **Wall hooks or a pegboard** for resistance bands and jump ropes. - **A small shelf or rack** for dumbbells (keep them off the floor when not in use to prevent tripping). - **A rolled mat stand or wall strap** to store your yoga mat vertically. - **A small bin or basket** for smaller accessories like chalk, a towel, or a water bottle. Label storage spots if you share the space with others. Keep the center of your workout zone completely clear at all times.
Take a 'before and after' photo of your space once it's set up. It's a great motivator and helps you reset the space to its ideal state after every session.
Common mistakes
- ×Leaving dumbbells or bands on the floor, creating tripping hazards.
- ×Not having a designated spot for each item, leading to a cluttered space that discourages use.
Step 6 of 6
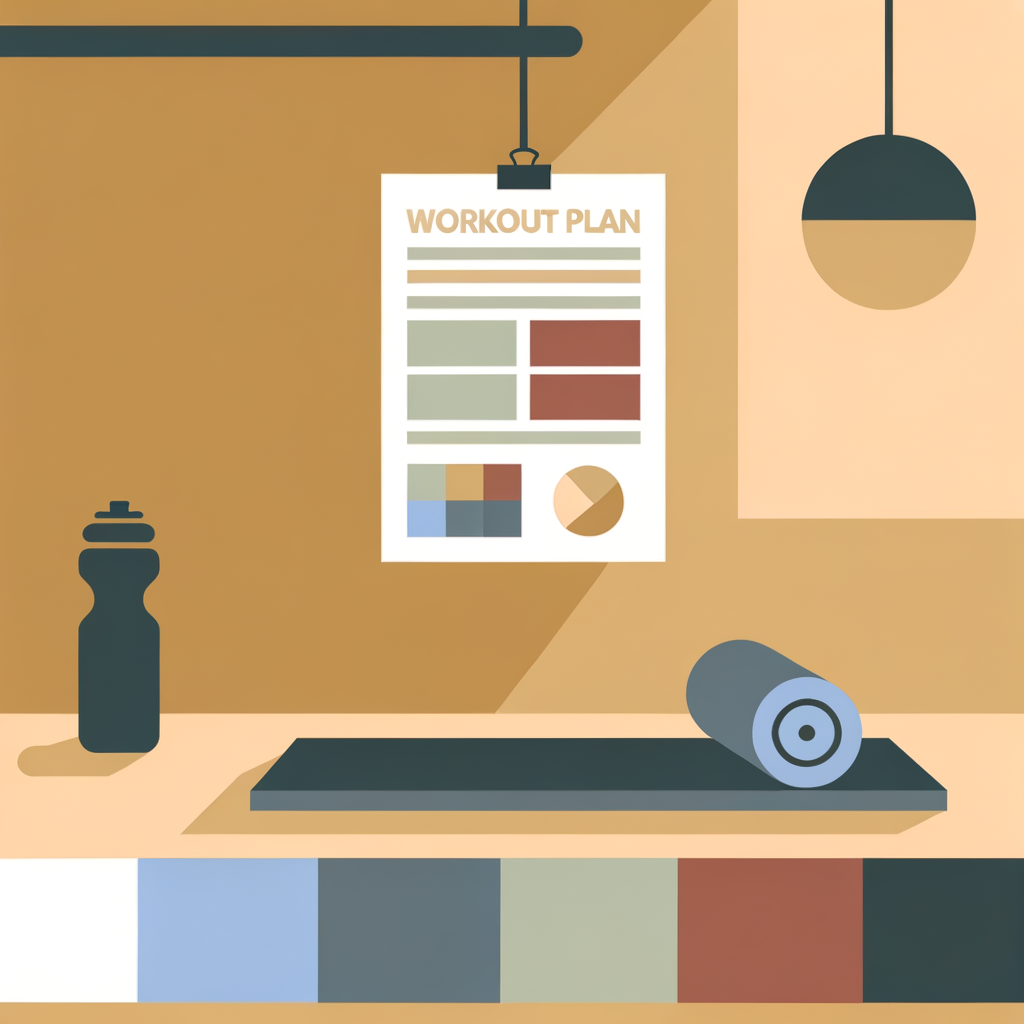
Plan Your First Workout Routine
Your gym is ready — now make sure you use it consistently by planning a simple starter routine. A well-rounded beginner routine hits all major movement patterns: push, pull, hinge, squat, and carry/core. Here's a sample 3-day-per-week full-body routine using your new equipment: **Warm-up (5 min):** Jump rope or jumping jacks + arm circles. **Workout (30–40 min):** 1. Dumbbell Goblet Squat – 3×10 2. Dumbbell Romanian Deadlift – 3×10 3. Push-Ups (or Resistance Band Press) – 3×12 4. Dumbbell Bent-Over Row – 3×10 5. Pull-Ups or Band-Assisted Pull-Ups – 3×max 6. Plank – 3×30 seconds **Cool-down (5 min):** Stretching on your mat. Track your workouts in a notebook or app to monitor progress and gradually increase weight or reps over time.
Start lighter than you think you need to. Mastering form in the first 2 weeks prevents injury and builds a stronger foundation for long-term progress.
- If If you feel the routine is too easy after 2 weeks, do Increase dumbbell weight by 5 lbs, add one extra set per exercise, or reduce rest time between sets..
- If If you feel sore or fatigued after every session, do Add a rest day between workouts and ensure you are sleeping 7–9 hours and eating enough protein..
Common mistakes
- ×Skipping the warm-up and jumping straight into heavy lifts.
- ×Programming too many exercises and burning out in the first week — keep it simple.
- ×Not tracking workouts, making it impossible to see progress or know when to increase difficulty.
Sources
Generated from model knowledge — verify any factual claims independently.