How to Wrap a Gift Perfectly Without Visible Tape
Learn how to wrap any gift box neatly and professionally using folding techniques that hide all tape, leaving a clean, polished finish worthy of any occasion.
Materials
- Wrapping paper (matte or textured paper holds folds better than glossy)
- Scissors
- Double-sided tape (the key to invisible adhesive)
- A ruler or bone folder (optional, for crisp creases)
- A flat, hard surface to work on
- Ribbon or bow (optional, for decoration)
Before you start
- A box-shaped gift (irregular shapes may need a gift box first)
- A clean, flat workspace
Step 1 of 6
Cut the Paper to the Right Size
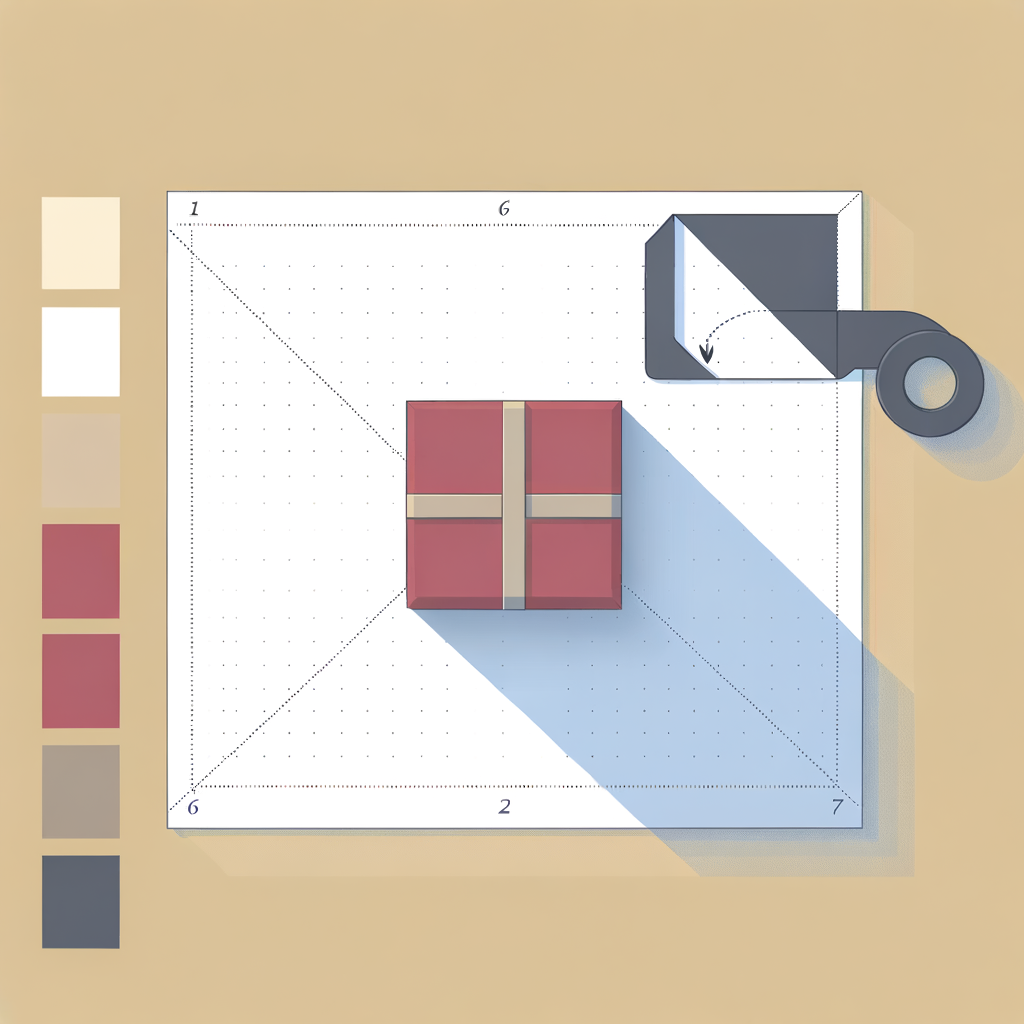
Lay your gift box face-down in the center of the wrapping paper. The paper needs to be sized precisely — too much paper causes bulky, overlapping folds, while too little won't cover the box fully. **Width:** Roll the box across the paper. The paper should extend about 2–3 inches (5–7 cm) beyond each side of the box. **Length:** The paper should extend about two-thirds of the box's height on each end. A quick test: fold one end up over the box — it should reach just past the center of the box's top face. Cut cleanly along a straight edge using your ruler as a guide. Straight cuts are the foundation of a tidy wrap.
Matte or kraft paper is much easier to fold crisply than glossy paper. If you must use glossy paper, a bone folder will help you get sharp creases.
Common mistakes
- ×Cutting too much paper — excess paper creates thick, uneven flaps that are hard to hide.
- ×Cutting unevenly — use a ruler and score lightly before cutting for a perfectly straight edge.
Step 2 of 6

Position the Box and Make the First Fold
Place the box face-down (bottom facing up) in the center of the paper. This ensures the cleanest side of your wrap ends up on top when you flip it over. Bring one long side of the paper up and over the box. Fold the edge of the paper under itself by about half an inch (1–1.5 cm) to create a neat, finished hem — this is the secret to a clean seam with no raw edges showing. Press this folded edge flat against the top (currently facing down) of the box and secure it with a small piece of double-sided tape placed on the underside of the fold, so it's completely hidden between the paper layers.
Run your fingernail or a bone folder firmly along every fold to get razor-sharp creases — this alone makes a huge difference in the final look.
Common mistakes
- ×Skipping the hem fold — raw paper edges look messy and unfinished.
- ×Using regular tape on top of the paper — always use double-sided tape hidden between layers.
Step 3 of 6
Bring Up the Opposite Long Side
Pull the remaining long side of the paper up and over the box, overlapping the first folded edge. Again, fold the raw edge under itself to create a clean hem. The two hemmed edges should meet neatly in the middle of the box's underside (which is currently facing up). The overlap should be minimal — just enough for the tape to grip. Secure with double-sided tape hidden between the two paper layers. You now have a neat paper tube around the box with a clean seam on what will be the bottom.
Common mistakes
- ×Overlapping too much — a large overlap creates a ridge visible from the top of the gift.
- ×Not folding the hem before taping — always fold under the raw edge first.
Step 4 of 6

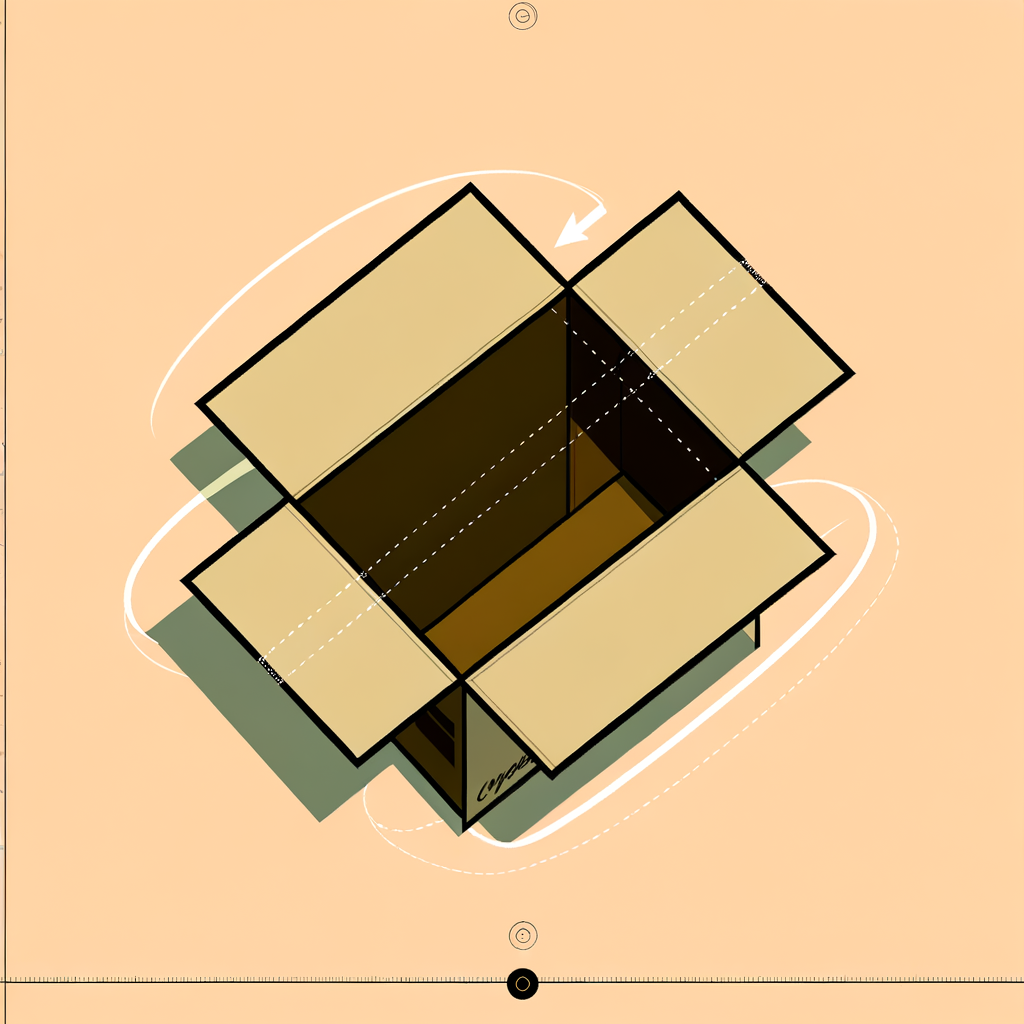
Fold the End Flaps — Create the Triangle Points
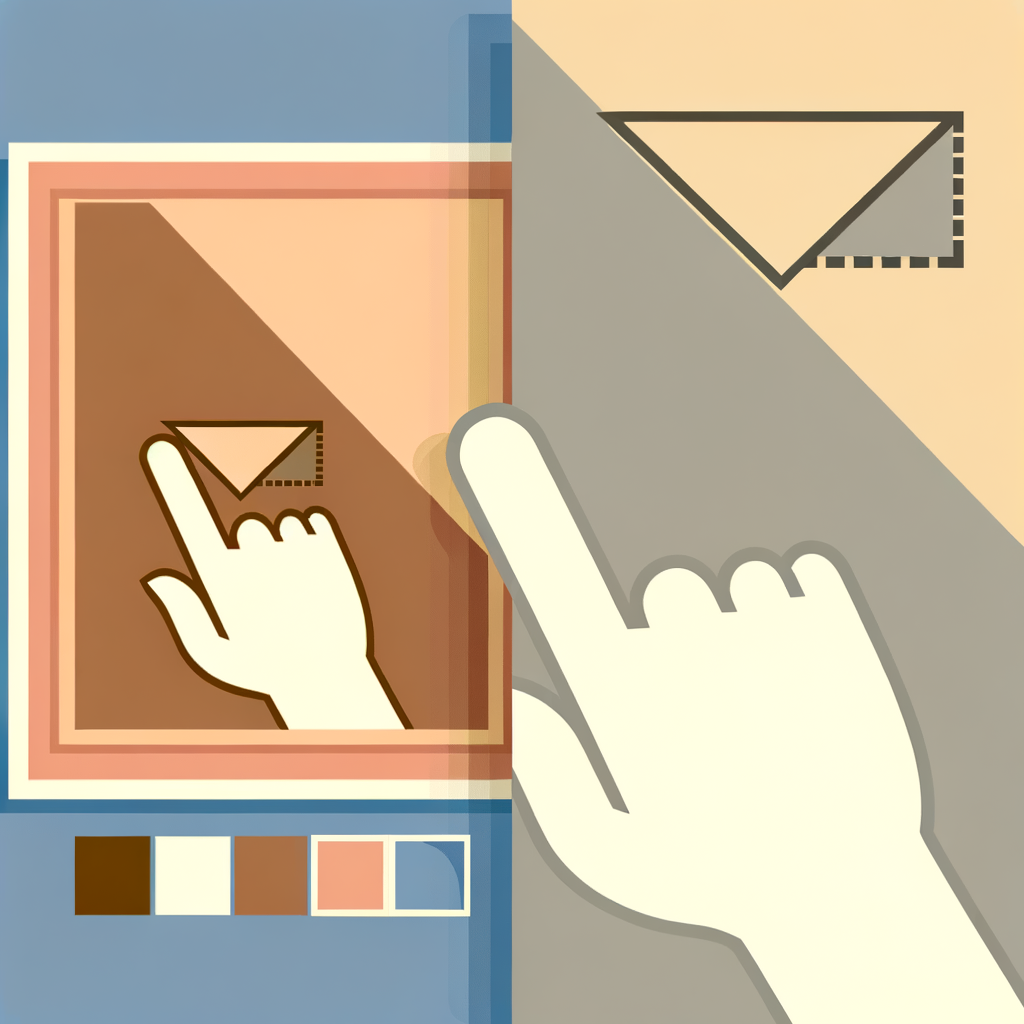
Now work on one end of the box at a time. Stand the box upright on one end to make folding easier. 1. **Press the top flap down:** Push the paper on the top of the end panel flat against the box. This creates two triangular 'ears' on either side. 2. **Fold in the side ears:** Press each triangular ear flat against the side of the box, creasing firmly along the diagonal fold line. The result should be a neat triangle pointing downward. 3. **Fold up the bottom triangle:** Fold the remaining bottom triangle upward. Fold its raw edge under itself to create a clean hem. The folded point should reach just to the center of the end panel — no higher, no lower.
Work slowly on the triangular ears — press and crease each fold before moving to the next. Rushing this step is the most common cause of lumpy ends.
- If If the bottom triangle is too long and overlaps past the center of the end panel, do Unfold and trim a small strip from the end of the paper before re-folding, or tuck the excess under the fold..
- If If the bottom triangle is too short and doesn't reach the center, do Your original paper was cut too short on the ends — next time add a little more length. For now, use a small piece of double-sided tape to secure it where it lands..
Common mistakes
- ×Not creasing the diagonal ear folds sharply — loose folds create puffy, uneven ends.
- ×Folding the bottom triangle up too far — it should just reach the center, not overlap onto the top of the box end.
Step 5 of 6
Secure the End Flap with Hidden Tape
Once the bottom triangle is folded up with a clean hemmed edge, apply a small strip of double-sided tape to the back of the hemmed triangle point (the side that will face the box end panel). Press the triangle firmly against the end panel of the box. Hold for a few seconds to let the tape bond. Repeat the entire end-folding process (Step 4 and Step 5) on the opposite end of the box.
After securing both ends, run your fingers firmly along all edges and corners one final time to sharpen every crease — this gives the gift that crisp, professional look.
Common mistakes
- ×Using regular tape on the outside of the flap — always place tape on the hidden side.
- ×Pressing too lightly — hold the flap down for a few seconds to ensure the double-sided tape adheres fully.
Step 6 of 6

Flip and Finish
Carefully flip the gift over so the clean, top face is now facing up and the seam is on the bottom. Give the entire package a gentle squeeze to set all the folds. Inspect all edges and corners — gently re-crease any areas that look soft or uneven using your fingernail or bone folder. **Optional finishing touches:** - Tie a ribbon around the box and curl the ends with scissors for an elegant look. - Add a gift tag tucked under the ribbon. - Layer two contrasting ribbons (one wide, one thin) for a luxurious finish. Your gift is now wrapped with no visible tape and perfectly crisp folds!
Store-wrap the gift on a hard surface (not a carpet) for the sharpest folds — soft surfaces prevent you from getting firm, clean creases.
Common mistakes
- ×Flipping the gift before all tape has bonded — wait a moment after each tape application.
- ×Skipping the final crease check — a quick once-over with a bone folder elevates the result significantly.
Sources
Generated from model knowledge — verify any factual claims independently.