How to Whistle Loudly Using Your Fingers
Learn how to produce a loud, piercing whistle using your fingers — a classic skill perfect for hailing a cab, signaling friends in a crowd, or just showing off.
Materials
- Clean hands
- A mirror (optional, to check lip position)
- Water to stay hydrated
Before you start
- No prior experience needed — just patience and a willingness to practice
Step 1 of 6
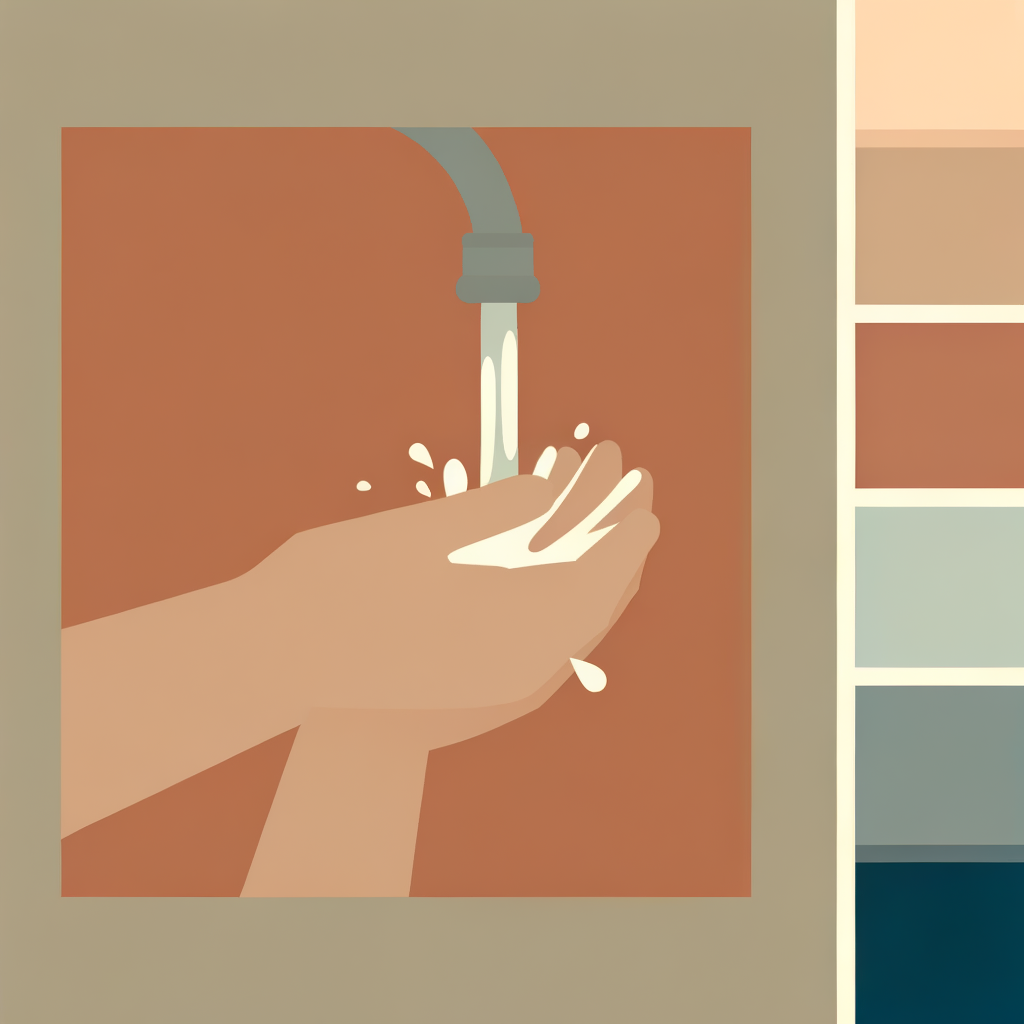
Wash Your Hands
Before placing your fingers in your mouth, wash your hands thoroughly with soap and water for at least 20 seconds. Dry them completely. This is a simple hygiene step that should never be skipped.
Keep your nails trimmed short — long nails can make it uncomfortable and harder to position your fingers correctly.
Common mistakes
- ×Skipping the hand-washing step entirely
Step 2 of 6
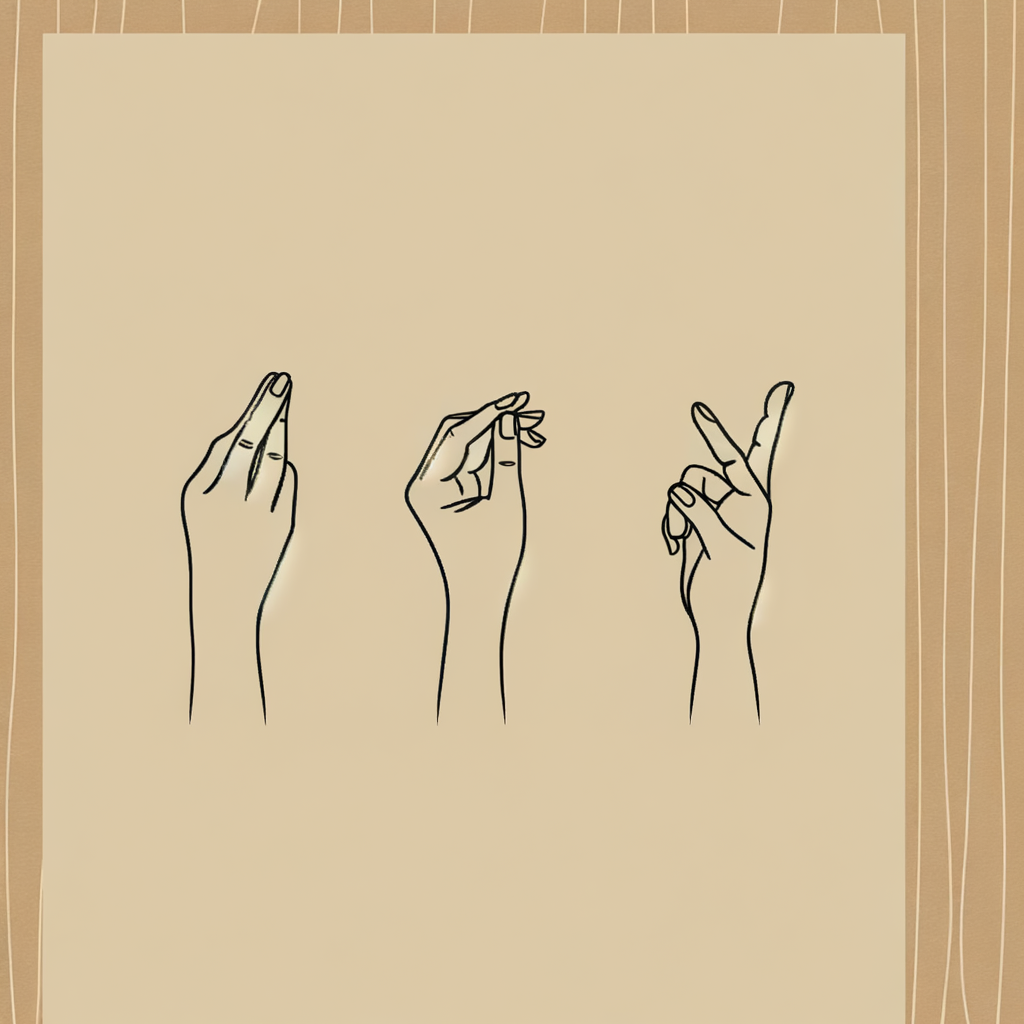
Choose Your Finger Configuration
There are two popular finger configurations — pick the one that feels most natural to you: **Option A — Two-handed (index fingers):** Touch the tips of both index fingers together to form an upside-down 'V' shape. **Option B — One hand (pinky fingers) or two pinkies:** Place the tips of both pinky fingers together, also forming a 'V'. **Option C — Single hand (index + middle finger or thumb + index):** Curl your index and middle fingers together on one hand, or use your thumb and index finger in a circle. Most beginners find the two-pinky method easiest. Try each and see which feels most comfortable before moving on.
The two-pinky method is widely considered the easiest for beginners because the fingers naturally rest at a comfortable angle.
Common mistakes
- ×Switching between methods too quickly — stick with one until you've given it a fair try (at least 5 minutes of practice).
- ×Using the very tips of the fingers rather than the pads just below the tips.
Step 3 of 6

Tuck and Position Your Lips
This is the most critical step. Follow these sub-steps carefully: 1. Open your mouth slightly. 2. Tuck both your upper and lower lips inward over your teeth — as if you were mimicking a toothless smile. Your lips should cover your teeth completely. 3. Insert your chosen fingers about 1–1.5 cm (roughly half an inch) into your mouth, resting them on top of your tucked lower lip. 4. The fingers should push the center of your lower lip slightly downward and inward, creating a small, tight gap between your upper and lower lips at the center. 5. The tip of your tongue should be pushed back and down by the fingers — it should NOT block the airway.
Use a mirror to check that your lips are fully tucked and that there's a small, neat opening between them at the center where the fingers meet.
- If If your lips feel loose or air escapes from the sides, do Re-tuck your lips more firmly over your teeth and press your fingers slightly more firmly against your lower lip to create a better seal..
Common mistakes
- ×Not tucking the lips far enough over the teeth, causing air to leak around the sides.
- ×Letting the tongue stay forward and block the airflow.
- ×Inserting fingers too deep into the mouth.
Step 4 of 6

Aim and Blow
With your fingers and lips in position: 1. Take a medium-deep breath. 2. Blow a steady, focused stream of air downward over the tips of your fingers and toward the floor at roughly a 45-degree angle — NOT straight out. 3. The air should hit the edge created by your fingers and lower lip, which splits the airflow and creates the whistle tone. 4. Keep the airstream firm and consistent — don't puff or burst the air out. Think of blowing out a candle that's slightly out of reach. You may not get a sound immediately. That's completely normal — small adjustments make a big difference.
Imagine you're trying to fog up a mirror held below your chin — that downward, controlled airflow is exactly what you need.
- If If you hear a breathy hiss but no clear tone, do Adjust your finger depth slightly (move them in or out by 1–2 mm) and re-angle your airflow a little more downward..
- If If you hear no sound at all, do Check that your tongue is pushed back, your lips are fully tucked, and try blowing more gently with a narrower air gap..
Common mistakes
- ×Blowing straight out instead of angling downward.
- ×Blowing too hard — a controlled, steady stream works better than a forceful burst.
- ×Holding breath tension in the cheeks instead of directing air through the center gap.
Step 5 of 6

Fine-Tune for Volume and Pitch
Once you produce your first sound, it's time to refine it: - **Louder whistle:** Increase airflow volume while keeping the stream focused. Also try widening the gap between your lips very slightly. - **Higher pitch:** Push your fingers slightly deeper, or curl your tongue back a little more. - **Lower pitch:** Pull your fingers out slightly and relax the tongue. - **More consistent tone:** Ensure your lip tuck is symmetrical — both sides equally tucked — so air doesn't escape unevenly. Make one small adjustment at a time so you can identify what's working.
Record yourself on your phone so you can hear the progression and identify which adjustments produce the best results.
Common mistakes
- ×Making multiple adjustments at once, making it impossible to know what helped.
- ×Giving up after a few tries — most people need 10–30 minutes of practice spread over a few sessions.
Step 6 of 6

Practice Until It's Consistent
A loud finger whistle is a muscle-memory skill. Here's a simple practice plan: - **Session 1 (Day 1):** Practice for 5–10 minutes. Focus on getting any sound at all. - **Session 2 (Day 2):** Practice for 10 minutes. Focus on making the sound consistent — try to produce it 5 times in a row. - **Session 3 (Day 3+):** Push for volume and reliability. Try whistling without a mirror. Take breaks if your mouth or jaw gets tired. Stay hydrated — dry lips and mouth make it harder to maintain a good seal. Once you can whistle consistently with fingers in, try gradually reducing how deep your fingers go until you find the minimum insertion needed for a great sound.
Practice in front of a mirror for the first few sessions so you can visually confirm your lip and finger position each time.
Common mistakes
- ×Practicing for too long in one sitting and getting frustrated — short, regular sessions are more effective.
- ×Changing finger configuration between sessions before mastering one method.
Sources
Generated from model knowledge — verify any factual claims independently.