How to Use Mulch to Prevent Weeds in Your Garden
Learn how to correctly apply mulch in your garden beds to suppress weed growth, retain soil moisture, and keep your plants healthy all season long.
Materials
- Mulch (wood chips, straw, bark, or shredded leaves)
- Garden gloves
- Garden hoe or hand weeder
- Rake
- Wheelbarrow or buckets for transporting mulch
- Garden hose or watering can
- Optional: landscape fabric or cardboard as a weed barrier underlayer
Before you start
- Basic gardening knowledge
- Access to a garden bed or planting area
Step 1 of 6
Choose the Right Type of Mulch
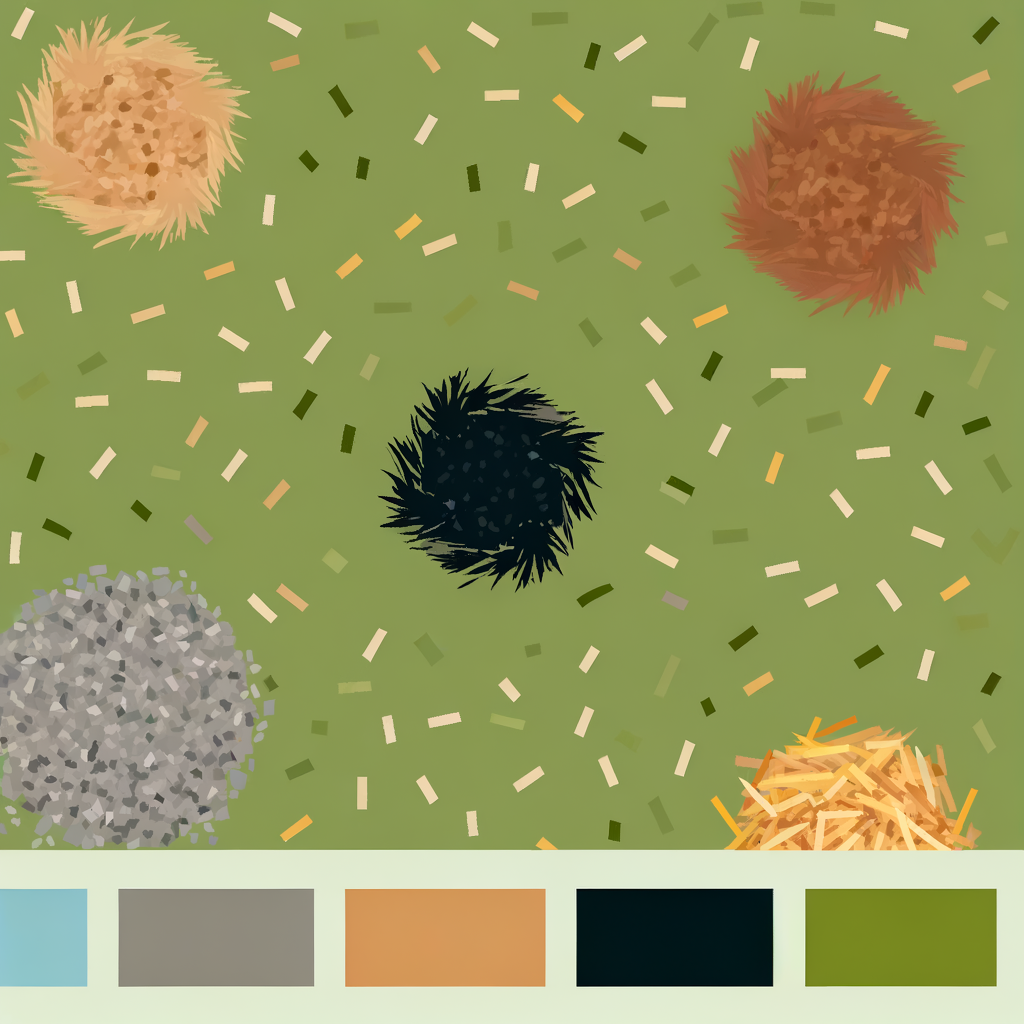
Select a mulch that suits your garden's needs. There are two main categories: **Organic mulches** (recommended for most gardens): wood chips, shredded bark, straw, shredded leaves, or compost. These break down over time, enriching the soil with nutrients. **Inorganic mulches**: gravel, pebbles, or landscape fabric. These last longer but don't improve soil quality. For weed suppression, wood chips or shredded bark are among the most effective choices — they're dense, long-lasting, and widely available. Straw works well in vegetable gardens. Avoid hay, as it often contains weed seeds itself.
Ask your local tree trimming service or municipality for free wood chip mulch — many offer it at no cost!
- If If you have a vegetable or edible garden, do Use straw or untreated wood chips to avoid introducing chemicals near food plants..
- If If you want a low-maintenance, permanent solution for pathways or decorative beds, do Consider inorganic mulch like gravel or pebbles, which won't need annual replenishment..
Common mistakes
- ×Using hay instead of straw — hay contains weed seeds that will make your problem worse.
- ×Choosing overly fine mulch that compacts easily and prevents water from reaching plant roots.
Step 2 of 6
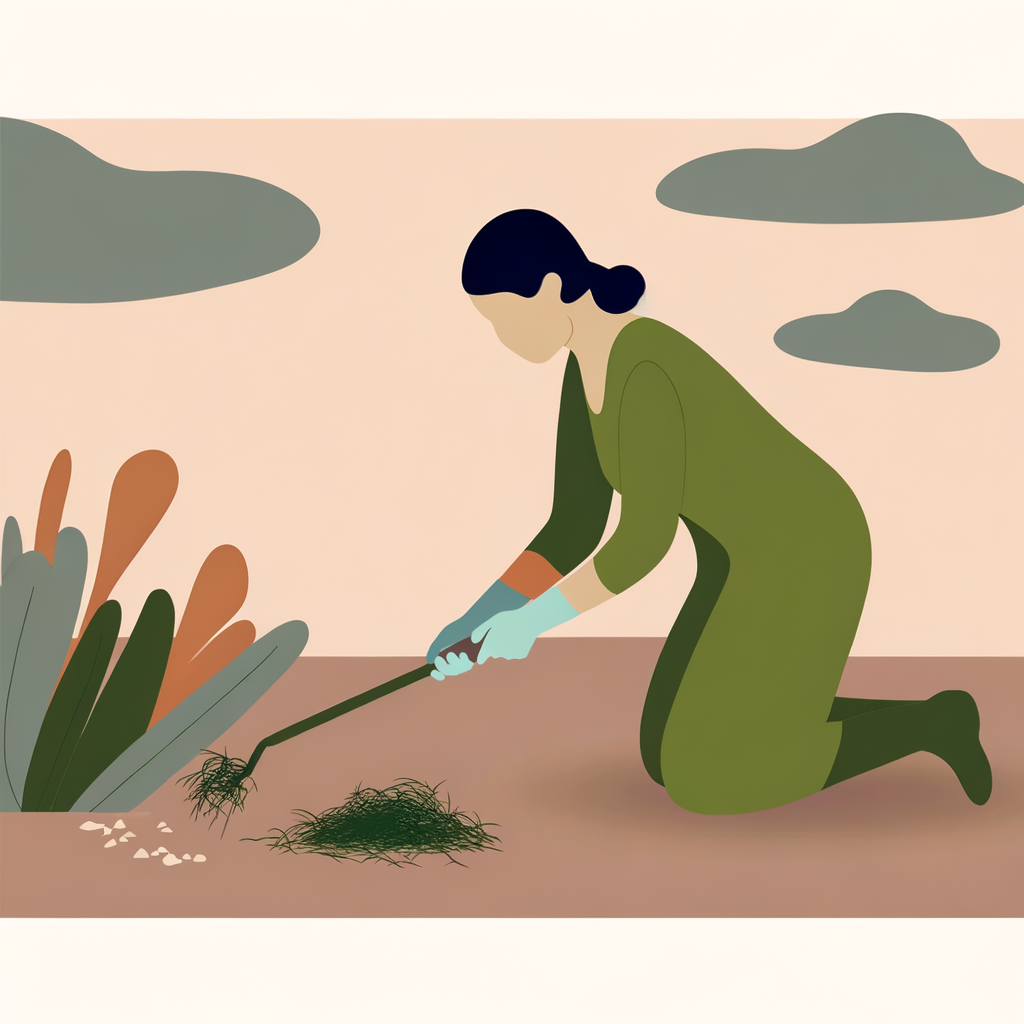
Clear the Area of Existing Weeds
Before applying mulch, remove all existing weeds from your garden bed. Mulch will suppress new weed seeds from germinating, but it won't kill established weeds already rooted in the soil. 1. Use a garden hoe or hand weeder to loosen and pull out weeds, including their roots. 2. Dispose of weeds in a trash bag rather than your compost bin, especially if they've already gone to seed. 3. For stubborn or deeply rooted weeds, water the soil lightly first to soften it, making removal easier. 4. Once cleared, rake the soil surface smooth and level.
Weed after rain or watering — moist soil releases roots far more easily than dry, hard ground.
Common mistakes
- ×Leaving weed roots in the soil — many weeds will regrow from even small root fragments.
- ×Skipping this step and mulching over existing weeds, which allows them to push through the mulch layer.
Step 3 of 6
Optional: Lay Down a Weed Barrier Underlayer
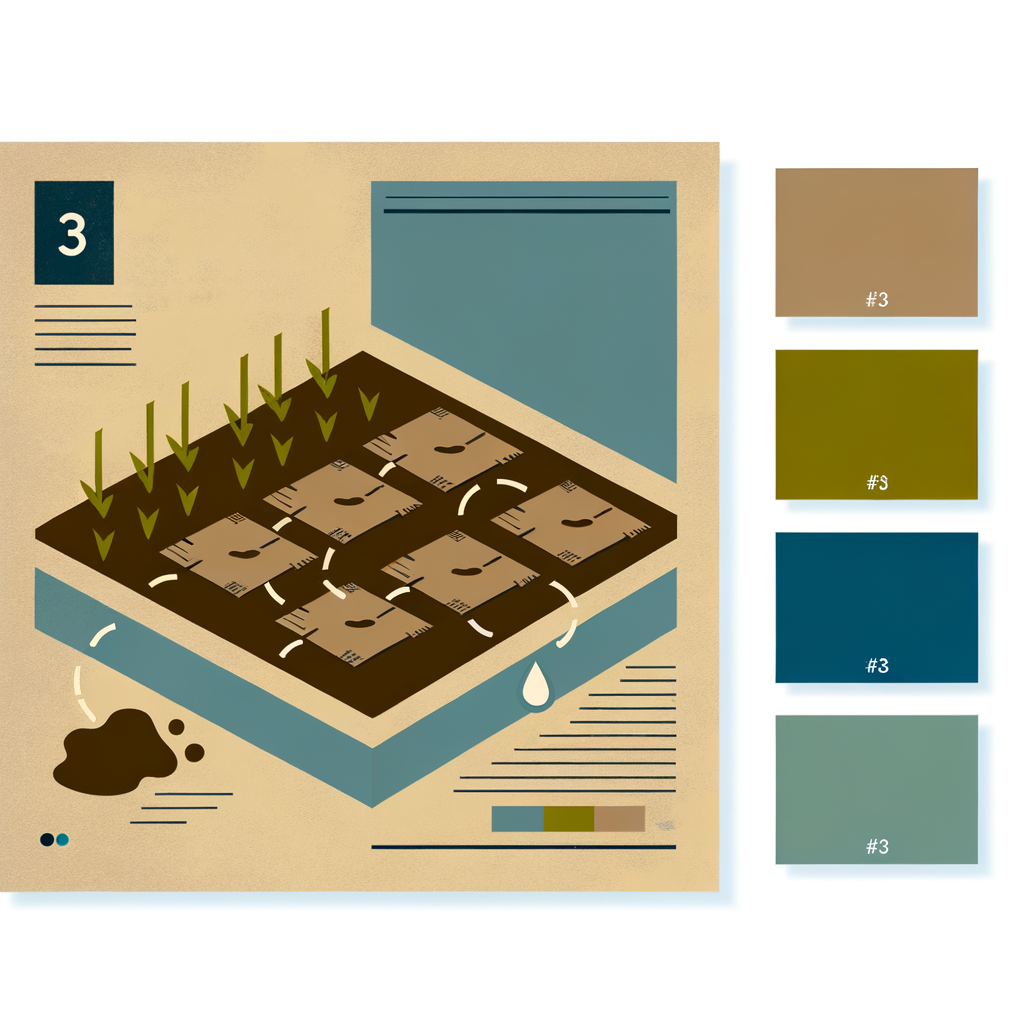
For extra weed suppression, especially in heavily infested areas or permanent beds, consider laying a base layer before your mulch: **Cardboard (lasagna mulching):** Lay overlapping sheets of plain cardboard (remove tape and staples) directly on the cleared soil. Wet it thoroughly so it conforms to the ground. This smothers any remaining weeds and breaks down naturally over several months, enriching the soil. **Landscape fabric:** Cut to fit around plants and pin it down with garden staples. While effective, it can degrade over time, become a weed trap itself, and may hinder soil health — use it selectively. Cardboard is generally the more eco-friendly and garden-friendly option.
Overlap cardboard sheets by at least 6 inches (15 cm) to prevent weeds from sneaking through the gaps.
- If If your garden bed has a severe, long-standing weed problem, do Use the cardboard underlayer method for maximum suppression before adding mulch on top..
- If If your garden bed is relatively weed-free after clearing, do Skip the underlayer and proceed directly to applying mulch — it will be sufficient on its own..
Common mistakes
- ×Using cardboard with glossy coatings or heavy ink, which breaks down poorly and may contain harmful chemicals.
- ×Failing to overlap sheets enough, leaving gaps where weeds can emerge.
Step 4 of 6
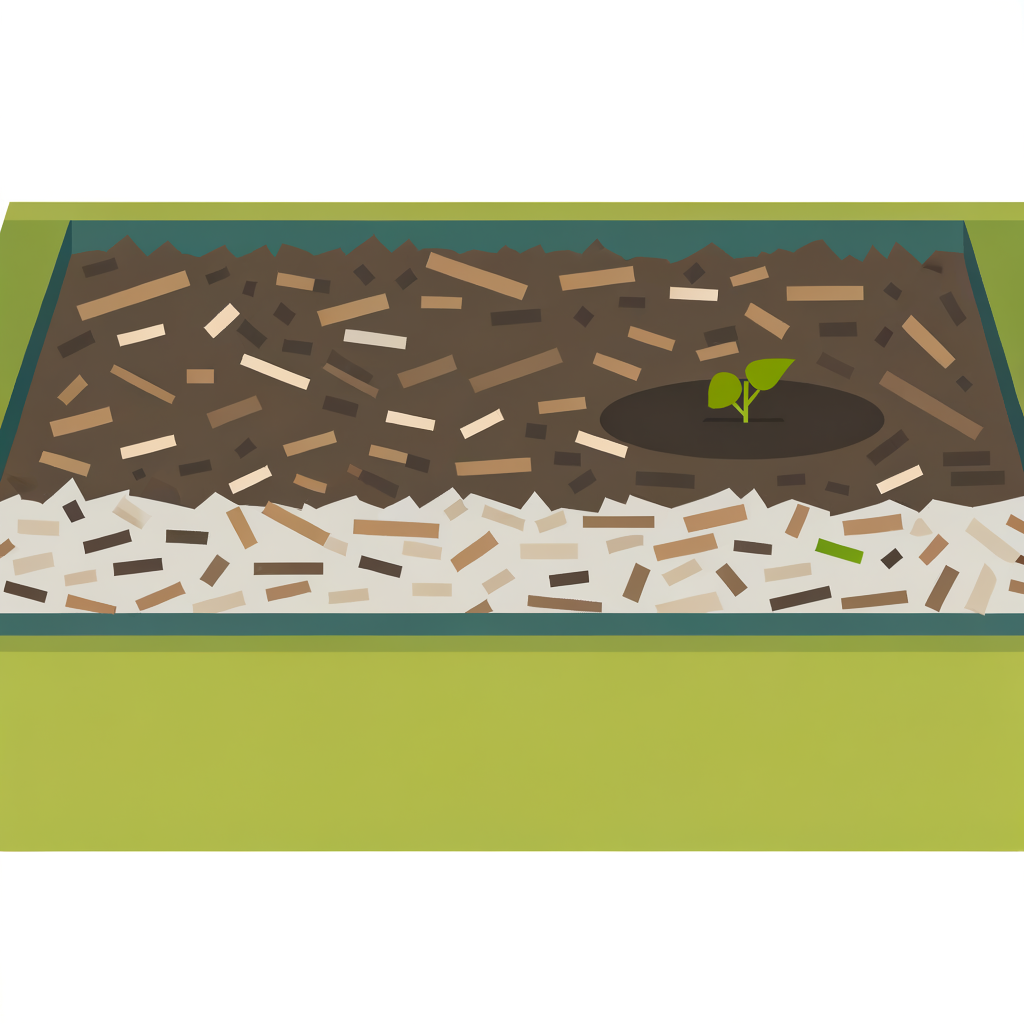
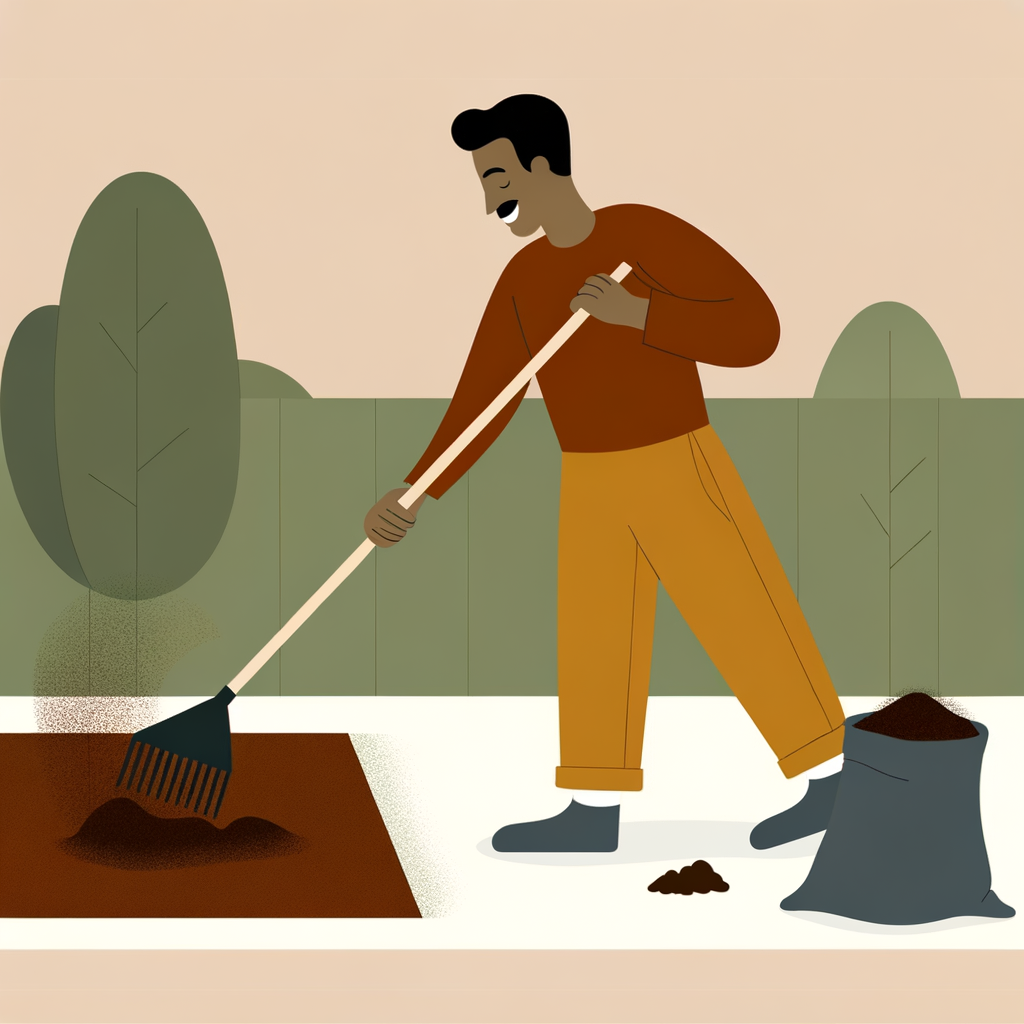
Apply Mulch at the Correct Depth
Depth is the most critical factor in effective weed suppression. Too thin and light will reach weed seeds; too thick and you risk suffocating plant roots and causing rot. **Ideal depth: 3–4 inches (7–10 cm)** for most organic mulches. - A 2-inch layer may allow some light through and won't suppress weeds as effectively. - More than 4–5 inches can prevent water and air from reaching plant roots. **How to apply:** 1. Scoop mulch from your wheelbarrow using gloved hands or a shovel. 2. Spread it evenly across the bed using a rake. 3. Work from the outer edges toward the center, being careful around plant stems. 4. Leave a 2–3 inch (5–7 cm) gap of bare soil around the base of each plant stem or tree trunk to prevent rot.
Use a ruler or your hand (roughly 3–4 finger widths) to quickly check your mulch depth as you work.
Common mistakes
- ×Piling mulch against plant stems or tree trunks ('volcano mulching') — this traps moisture and causes rot and disease.
- ×Applying mulch too thinly (under 2 inches), which provides little to no weed suppression.
- ×Applying mulch too thickly (over 5 inches), which can suffocate roots and repel rainfall.
Step 5 of 6
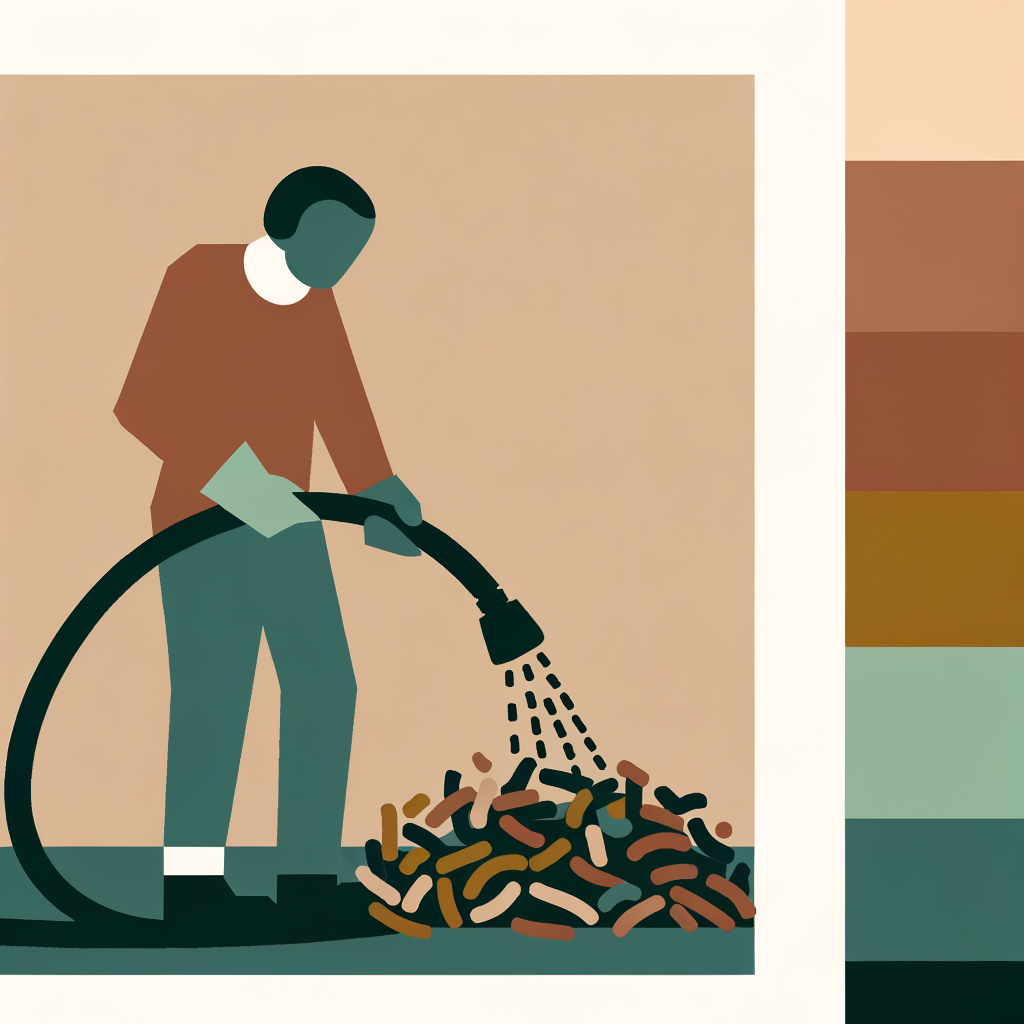
Water the Mulch After Application
Once your mulch is spread to the correct depth, water the entire area thoroughly. This serves two purposes: 1. **Settles the mulch** into place so it's less likely to be displaced by wind or heavy rain. 2. **Activates organic mulches** — moisture helps organic materials begin to break down and integrate with the soil over time. Use a gentle spray setting on your garden hose to avoid disturbing the mulch layer. The goal is to moisten the mulch and the soil beneath it, not to wash the mulch away.
If rain is forecast within 24 hours, you can skip this step — nature will do it for you!
Common mistakes
- ×Using a strong water jet that displaces the mulch and creates bare patches.
- ×Skipping watering entirely, which can cause light, dry mulch to blow away in the wind.
Step 6 of 6
Maintain and Replenish Mulch Over Time
Mulch is not a one-time fix — it requires seasonal maintenance to remain effective. **Check depth regularly:** Organic mulches break down over time (which is great for soil health!), so the layer will thin out. Check depth every 2–3 months and top up as needed to maintain that 3–4 inch barrier. **Pull breakthrough weeds promptly:** A few determined weeds may still push through. Remove them immediately while they're small and before they set seed — they'll be much easier to pull from mulched soil. **Refresh annually:** Most organic mulches benefit from a full refresh once a year, typically in spring before the growing season or in autumn to protect roots over winter. **Fluff compacted mulch:** Over time, mulch can compact and form a crust that repels water. Use a rake or hand fork to lightly loosen it.
Add a fresh layer of mulch each spring before weeds have a chance to germinate — timing is everything for maximum weed prevention.
- If If you notice weeds breaking through the mulch layer, do Pull them immediately and check if your mulch depth has thinned — top up to 3–4 inches if needed..
- If If your mulch has fully decomposed into the soil, do This is a sign of healthy soil activity! Simply add a fresh layer on top — the decomposed material has already benefited your soil..
Common mistakes
- ×Neglecting to replenish mulch as it breaks down, leaving thin spots where weeds can take hold.
- ×Allowing mulch to compact into a hard crust without fluffing it, which prevents water from penetrating to plant roots.
Sources
Generated from model knowledge — verify any factual claims independently.