How to Tie-Dye a T-Shirt
Learn how to create vibrant, colorful tie-dye patterns on a plain white T-shirt using simple folding, binding, and dyeing techniques.
Materials
- Plain white 100% cotton T-shirt (pre-washed)
- Fiber-reactive dye (e.g., Tulip or Rit All-Purpose Dye) in desired colors
- Rubber bands (at least 10–20)
- Plastic squeeze bottles (one per color)
- Rubber or latex gloves
- Plastic wrap or zip-lock bags
- Plastic drop cloth or garbage bags to protect surfaces
- Soda ash (dye fixative) or pre-soak solution
- Warm water
- Mild detergent for final wash
Before you start
- None — suitable for complete beginners
Step 1 of 6
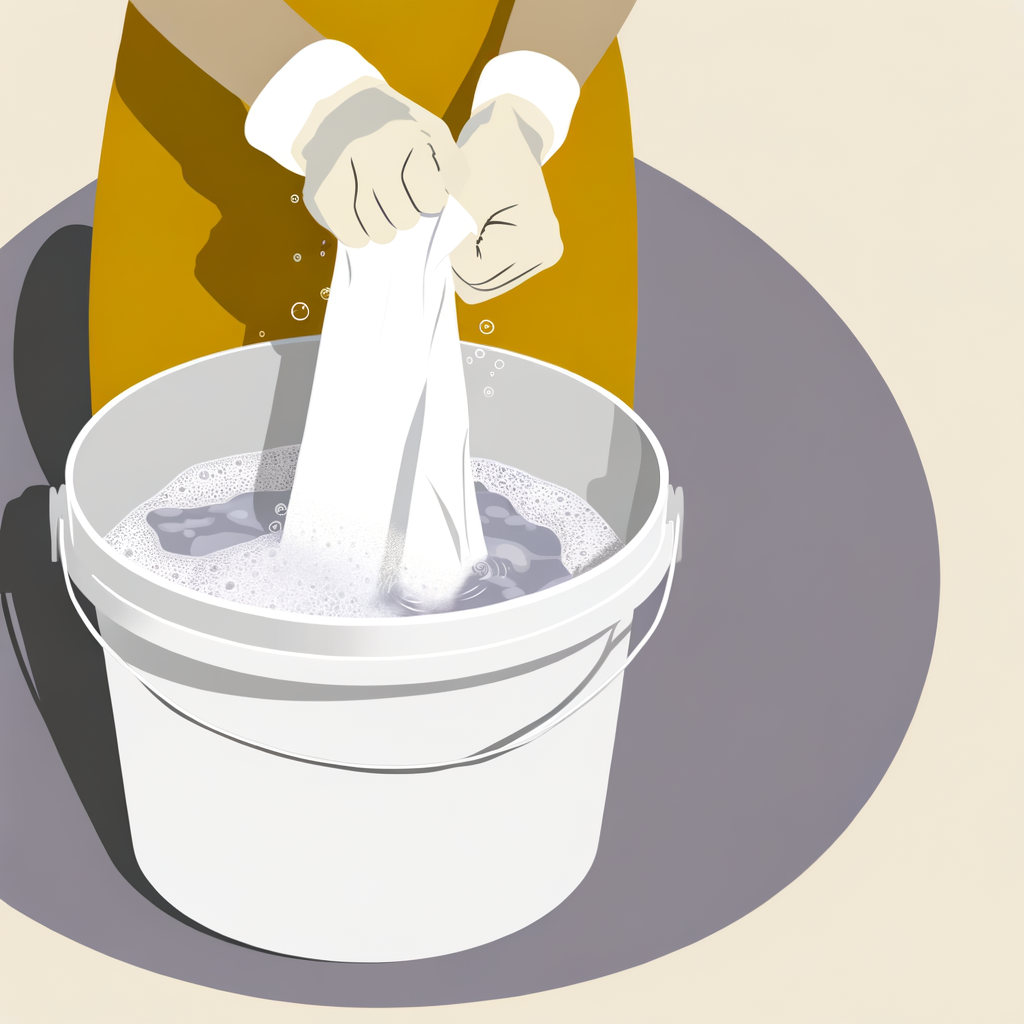
Pre-Wash and Soak the Shirt
Start with a clean, 100% cotton white T-shirt — cotton absorbs dye best. Wash it without fabric softener to remove any sizing or residue that could block dye absorption. While still damp (or after re-wetting), soak the shirt in a soda ash solution (4 tablespoons of soda ash dissolved in 1 gallon of warm water) for 15–20 minutes. Soda ash raises the pH of the fabric, helping the dye bond permanently to the fibers. Wring out excess liquid — the shirt should be damp, not dripping.
Don't skip the soda ash soak — it's the key to vibrant, long-lasting colors that won't fade quickly in the wash.
Common mistakes
- ×Using a fabric-softener-treated shirt, which repels dye.
- ×Skipping the soda ash soak, resulting in dull or faded colors.
- ×Leaving the shirt too wet, which causes colors to bleed and muddy together.
Step 2 of 6
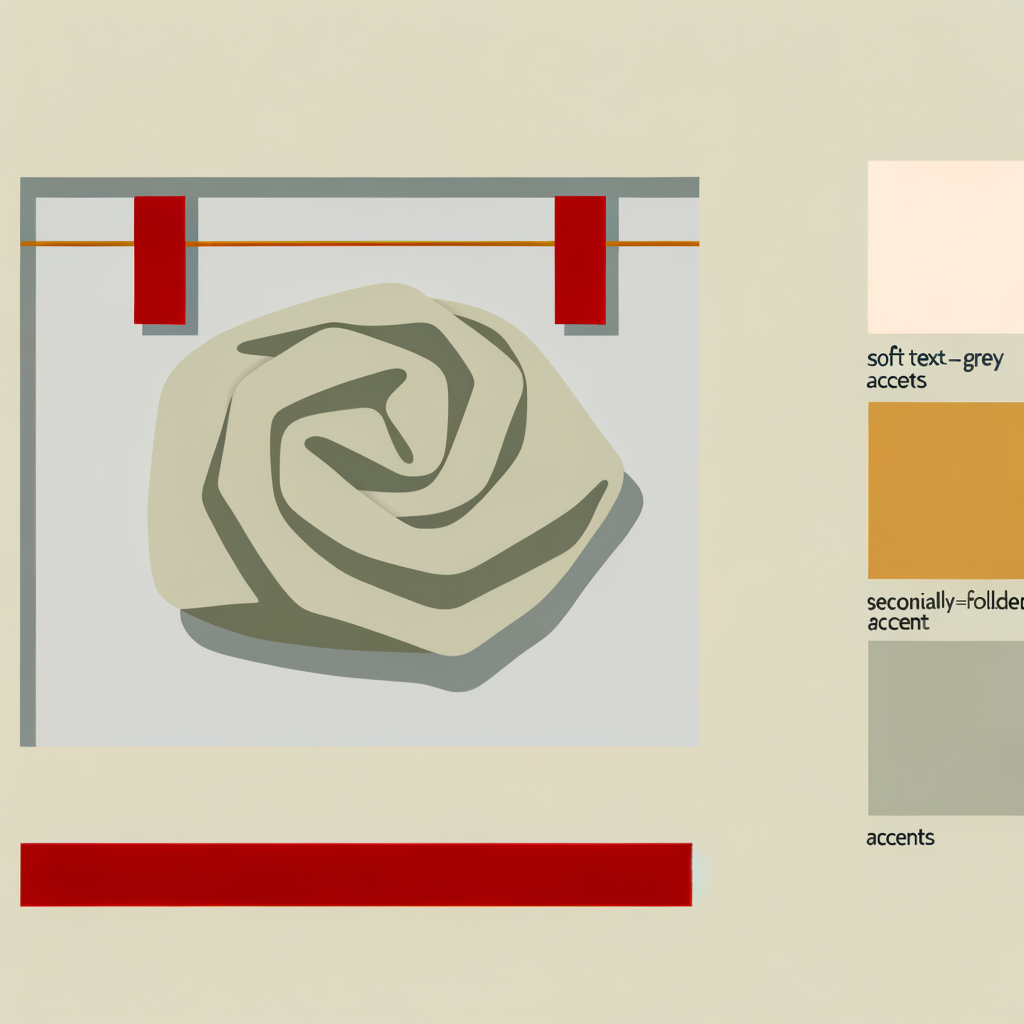
Fold and Bind the Shirt
While the shirt is still damp, fold or scrunch it into your desired pattern and secure it tightly with rubber bands. Here are three popular patterns: • **Spiral**: Pinch the center of the shirt, twist it clockwise until the whole shirt forms a flat disc, then wrap 3–4 rubber bands across it like the spokes of a wheel, dividing it into sections. • **Crumple**: Randomly scrunch the entire shirt into a tight ball and wrap several rubber bands around it in all directions for an abstract look. • **Accordion/Stripes**: Fold the shirt back and forth in accordion pleats (like a fan), then wrap rubber bands at even intervals along the length for horizontal stripes. The rubber bands act as a resist — wherever they are placed, the dye won't penetrate, leaving white or light areas in your design.
The tighter you wrap the rubber bands, the crisper and more defined your white resist lines will be.
- If If you want a classic swirling sunburst pattern, do Use the spiral fold method..
- If If you want a random, abstract look with no specific pattern, do Use the crumple method..
- If If you want clean horizontal or vertical stripes, do Use the accordion fold method..
Common mistakes
- ×Loose rubber bands that allow dye to seep under them, blurring the pattern.
- ×Folding a dry shirt, which makes it harder to manipulate and absorb dye evenly.
Step 3 of 6
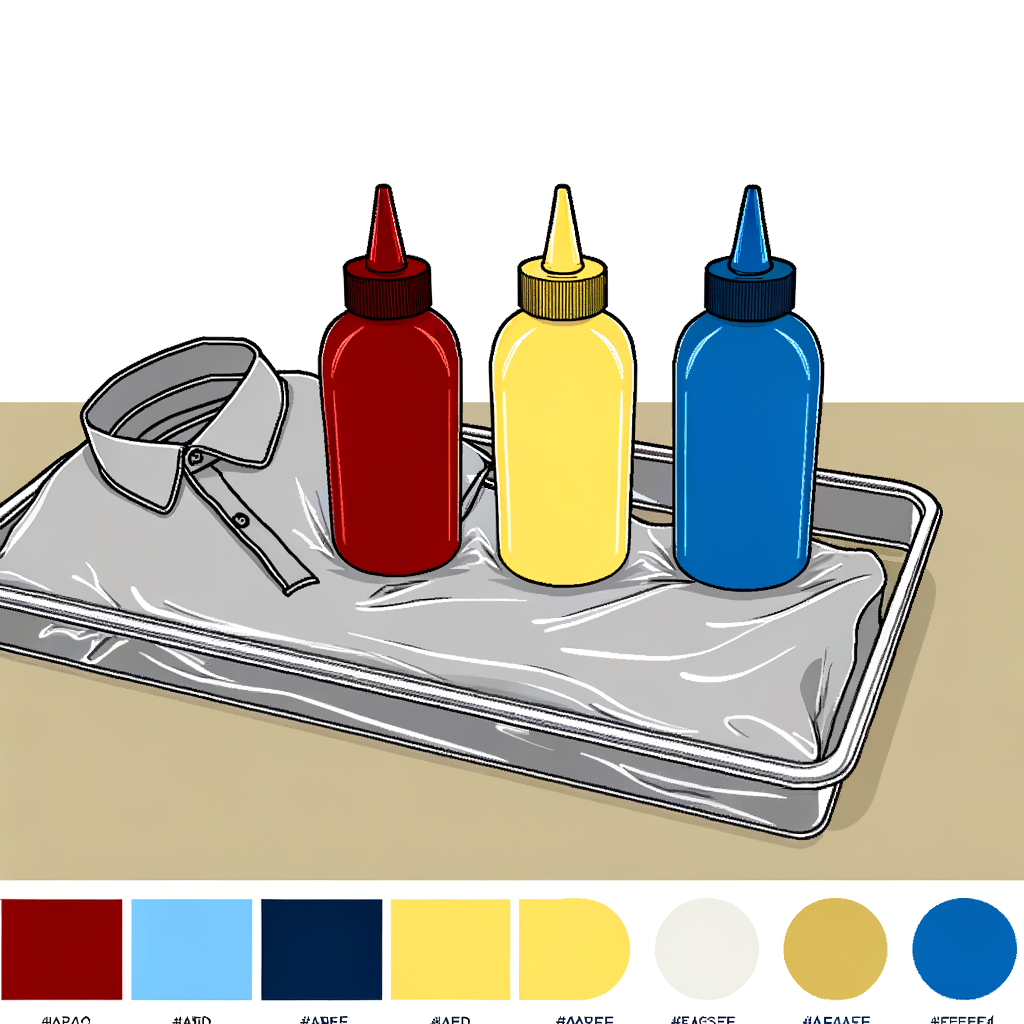
Mix and Fill Your Dye Bottles
Put on your gloves before handling any dye. Mix each dye color in a separate squeeze bottle according to the package instructions — typically dissolving the dye powder in warm water and shaking well. Fill each bottle about ¾ full to leave room for shaking. Choose colors that complement each other; for beginners, 2–3 colors work best. Keep in mind that adjacent colors will blend where they meet — for example, yellow and blue will create green, and red and blue will create purple.
Use analogous colors (neighbors on the color wheel, like blue, teal, and green) to avoid muddy brown where colors mix.
Common mistakes
- ×Applying dye without gloves, resulting in stained hands for days.
- ×Choosing too many colors that mix into brown or gray in the overlapping areas.
- ×Not shaking the bottle enough, leaving undissolved dye powder that creates uneven splotches.
Step 4 of 6
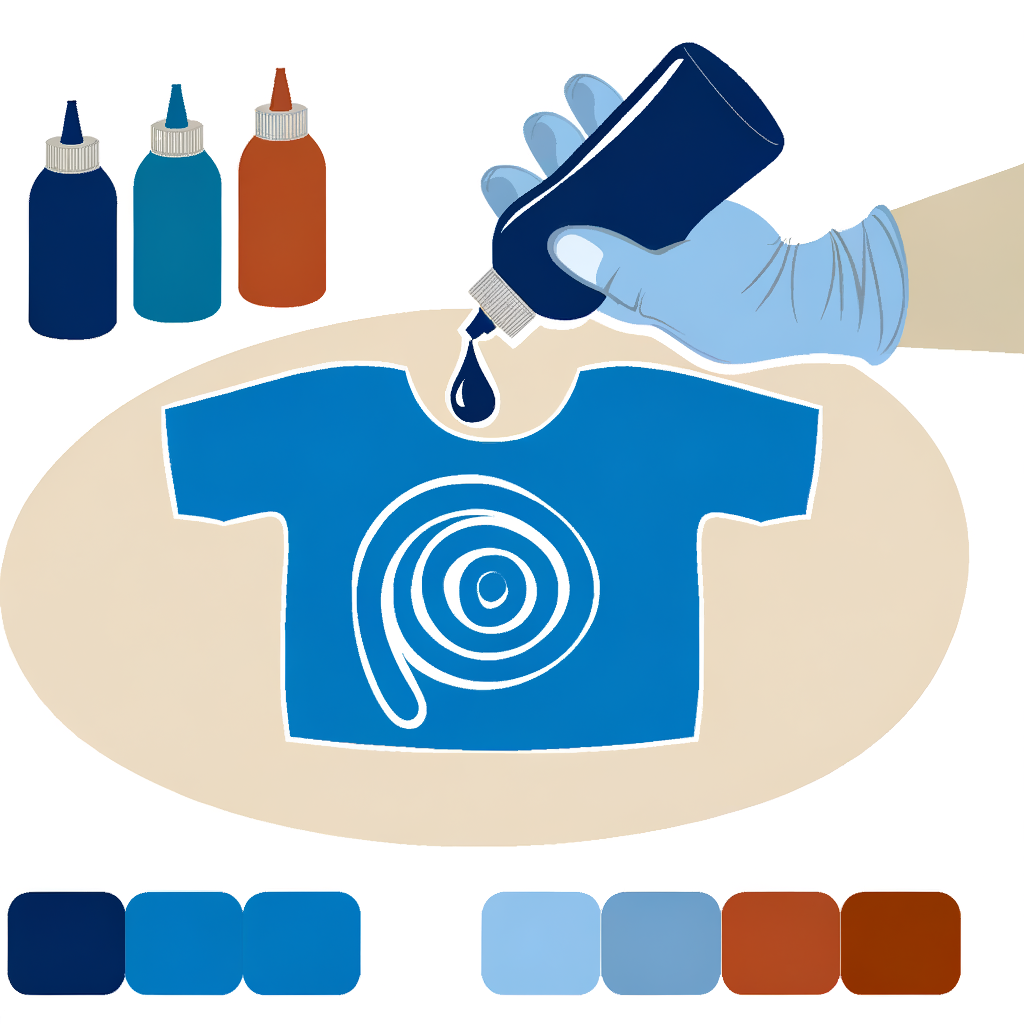
Apply the Dye
Place your bound shirt on a plastic-covered surface or inside a plastic bin. Apply dye generously to each section of the shirt using your squeeze bottles. For a spiral, apply one color per wedge section created by the rubber bands. Flip the shirt over and repeat on the other side, mirroring the color placement. Make sure to saturate the fabric thoroughly — squeeze dye into the folds and layers, not just the surface. Leave a little space near the rubber bands for the white resist effect. Don't be shy with the dye; under-saturated areas will look pale and washed out.
Lift the shirt slightly and apply dye to the sides and underneath to ensure full color penetration through all layers.
Common mistakes
- ×Only dyeing the top surface, leaving the inner layers white and patchy.
- ×Applying too little dye, resulting in faded, washed-out colors.
- ×Letting different colors bleed into each other too much by over-saturating.
Step 5 of 6
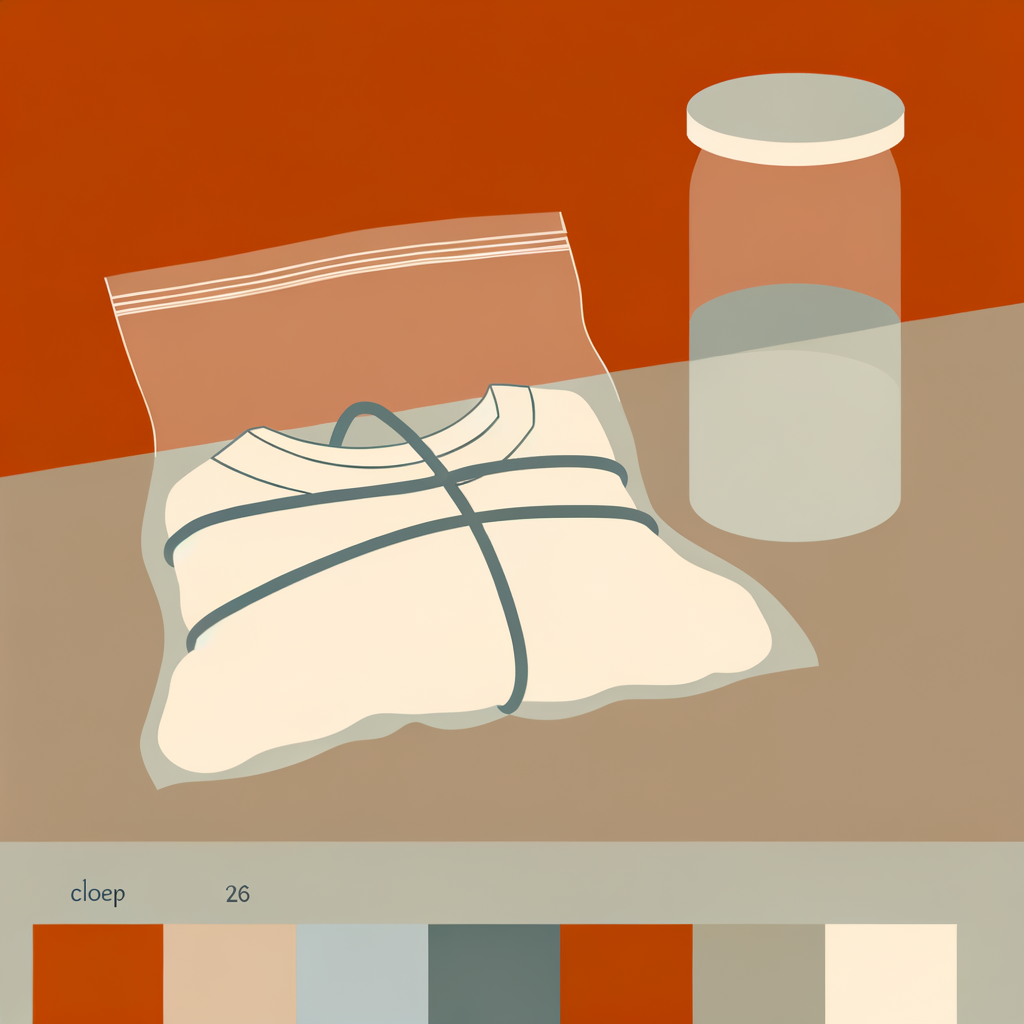
Wrap and Let the Dye Set
Once fully dyed, carefully place the shirt in a zip-lock bag or wrap it tightly in plastic wrap to keep it moist. This is crucial — the dye needs to stay wet to react with the fabric fibers. Let it sit at room temperature for at least 6–8 hours, or ideally 24 hours for the most vibrant colors. Keep it out of direct sunlight during this time. The longer you wait, the deeper and more saturated the final colors will be.
Letting the shirt cure for a full 24 hours makes a noticeable difference in color vibrancy compared to the minimum 6 hours.
- If If you want maximum color vibrancy and depth, do Let the shirt cure for the full 24 hours..
- If If you are short on time, do A minimum of 6–8 hours will still produce good results..
Common mistakes
- ×Letting the shirt dry out during the curing period, which stops the dye reaction prematurely.
- ×Rushing the process and rinsing too early, resulting in pale, dull colors.
Step 6 of 6
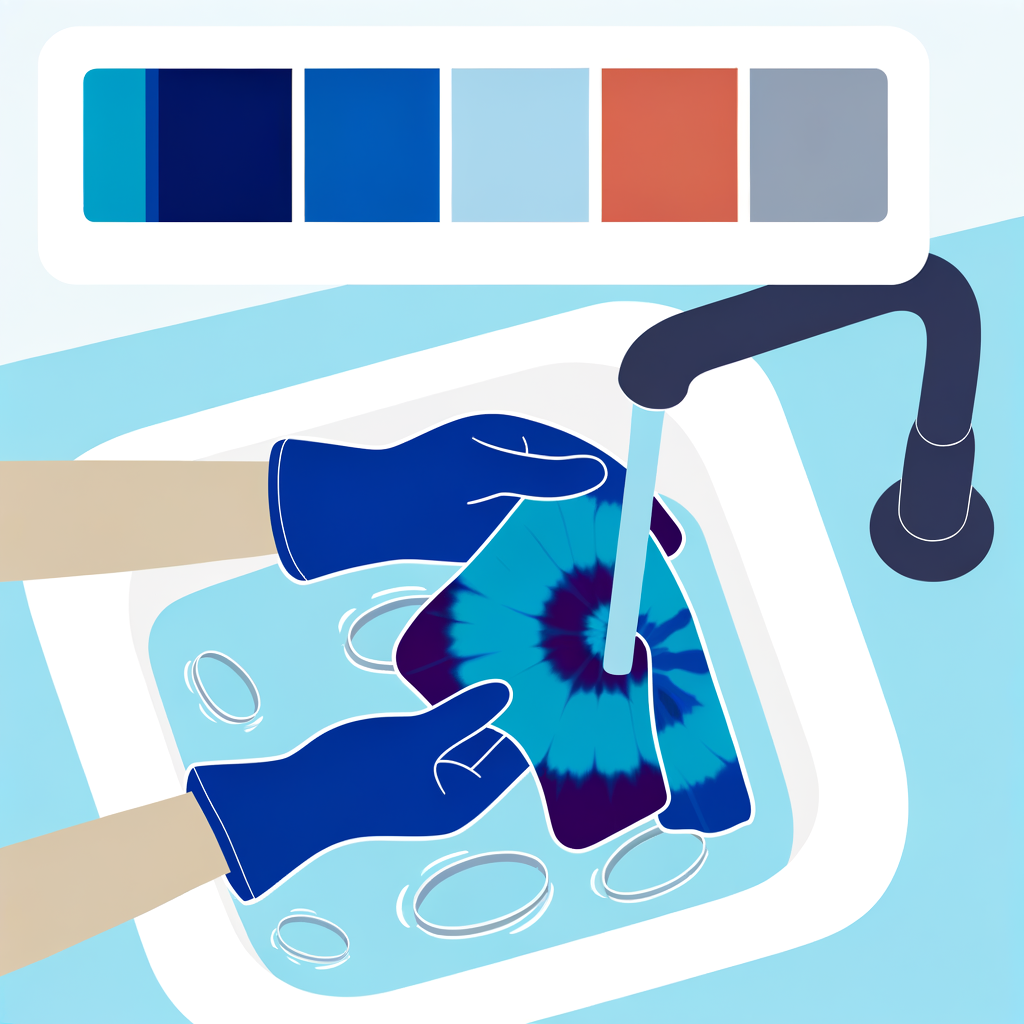
Rinse, Remove Bands, and Wash
After curing, take the shirt outside or to a utility sink. While still wearing gloves, rinse the shirt under cold running water to remove excess dye — start with cold water to prevent colors from bleeding into each other. Gradually increase to warm water as the runoff clears. Once the water runs mostly clear, carefully cut or remove the rubber bands and unfold the shirt to reveal your design! Rinse it again fully unfolded. Finally, machine wash the shirt alone (or with other tie-dye items) in warm water with a small amount of mild detergent. Tumble dry or air dry.
Wash your finished shirt separately for the first 2–3 washes to prevent any residual dye from staining other garments.
Common mistakes
- ×Removing rubber bands before rinsing, causing colors to bleed across the white resist lines.
- ×Starting with hot water, which causes colors to bleed and mix undesirably.
- ×Washing with other clothing immediately, risking dye transfer.
Sources
Generated from model knowledge — verify any factual claims independently.