How to Start a YouTube Channel from Scratch
Learn how to create, set up, and launch your own YouTube channel — from picking your niche and creating your account to filming your first video and growing your audience.
Materials
- Smartphone or camera
- Tripod or stable surface for filming
- Good light source (natural light or a ring light)
- Microphone (built-in or external)
- Free video editing software (e.g., DaVinci Resolve, CapCut, or iMovie)
- YouTube Studio (free, browser or app)
Before you start
- A Google account (or willingness to create one)
- A smartphone or camera capable of recording video
- Basic familiarity with using a web browser
Step 1 of 8
Choose Your Niche and Content Style
Before touching any settings, decide what your channel will be about. A focused niche helps YouTube recommend your videos to the right viewers and makes it easier for people to decide to subscribe. 1. Brainstorm topics you are genuinely passionate about and knowledgeable in. 2. Check whether there is an existing audience by searching those topics on YouTube and noting view counts. 3. Narrow down to one primary niche (e.g., budget cooking, PC gaming, personal finance for students). 4. Decide on a content style: tutorials, vlogs, reviews, commentary, or a mix. 5. Think about your posting frequency — one quality video per week is a realistic starting goal.
Pick a niche that sits at the intersection of your passion, your knowledge, and audience demand. Passion alone keeps you going; demand ensures people actually watch.
Common mistakes
- ×Choosing a niche that is too broad (e.g., 'everything') — it is hard to build a loyal audience without focus.
- ×Picking a topic purely for money without genuine interest — burnout happens fast.
- ×Skipping the research phase and assuming people will find the channel organically.
Step 2 of 8
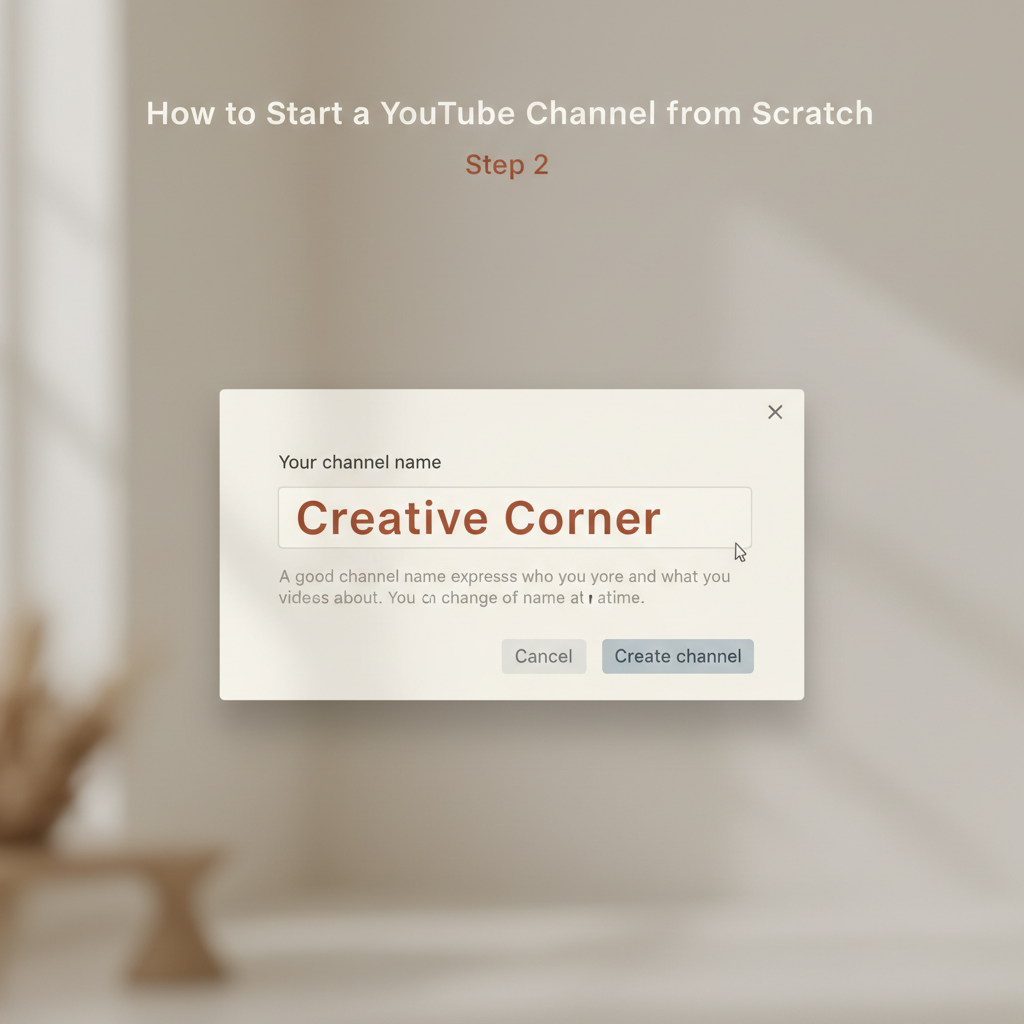
Create Your Google Account and YouTube Channel
YouTube is owned by Google, so you need a Google account first. 1. Go to accounts.google.com and sign up if you do not already have an account. 2. Visit youtube.com and click 'Sign In' in the top-right corner. 3. Click your profile icon, then select 'Create a channel'. 4. Choose a channel name that reflects your niche and is easy to remember and spell. You can use your own name or a brand name. 5. Click 'Create Channel' to confirm. 6. You now have a basic YouTube channel. Note your channel URL for future reference.
If you plan to treat this as a brand or business, create a Brand Account instead of a personal channel. Brand Accounts allow multiple managers and look more professional.
Common mistakes
- ×Using a channel name that is very similar to an existing popular channel — this causes confusion and can hurt discoverability.
- ×Forgetting to note the channel URL or handle early on.
Step 3 of 8
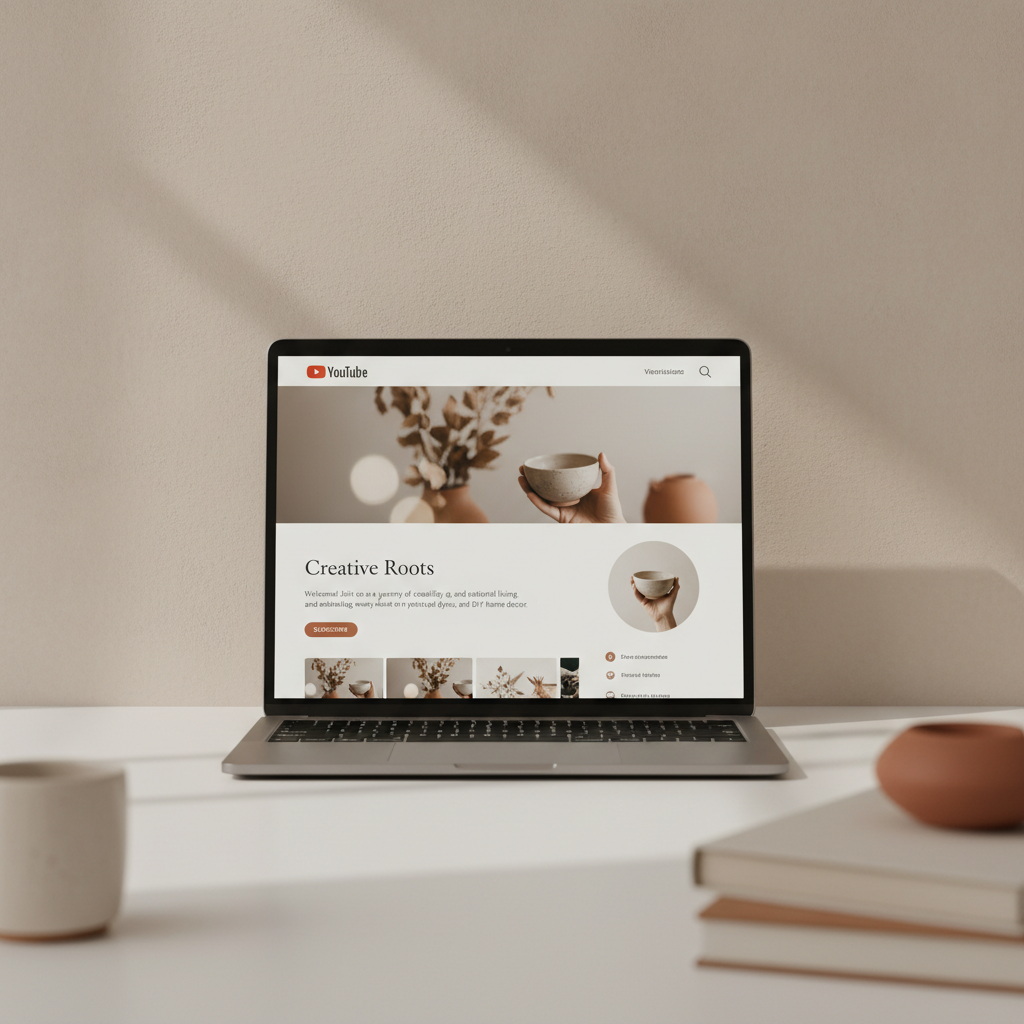
Set Up and Brand Your Channel Page
A well-branded channel page builds trust and encourages visitors to subscribe. 1. Open YouTube Studio (studio.youtube.com) and go to 'Customization'. 2. Upload a profile picture (channel icon): use a clear, high-resolution image — your face or a logo works well. Recommended size: 800 x 800 px. 3. Add channel art (banner image): this appears at the top of your channel page. Recommended size: 2560 x 1440 px. Free tools like Canva make this easy. 4. Write a channel description: explain who you are, what your channel is about, and how often you post. Keep it concise and include relevant keywords. 5. Add links (social media, website) in the banner area. 6. Set your channel handle (the @username) — pick something short and memorable.
Use consistent colors, fonts, and a logo across your banner, thumbnails, and social media. Visual consistency makes your brand instantly recognizable.
Common mistakes
- ×Uploading a blurry or pixelated profile picture.
- ×Leaving the channel description blank — this hurts both discoverability and first impressions.
- ×Using a banner image that looks cluttered or has text cut off on mobile screens.
Step 4 of 8
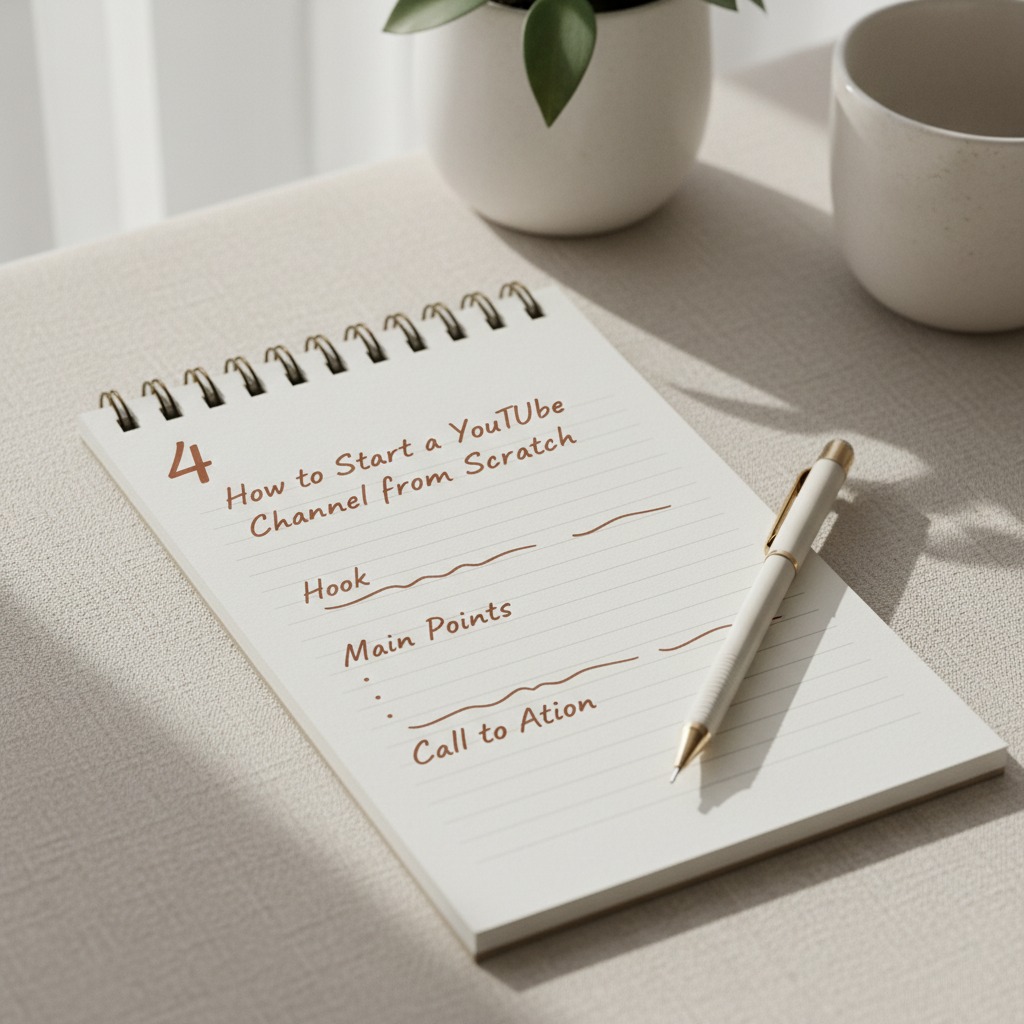
Plan and Script Your First Video
Good planning prevents rambling and saves editing time. 1. Choose a specific video topic within your niche that solves a problem or answers a question your target viewer has. 2. Write a simple outline or full script. At minimum, plan: a hook (first 15 seconds to grab attention), the main content, and a call to action at the end (e.g., 'Subscribe for more'). 3. Keep your first video focused and short — 5 to 10 minutes is ideal for beginners. 4. Research keywords: type your topic into the YouTube search bar and note the autocomplete suggestions. Use those phrases naturally in your script.
The first 30 seconds of your video determine whether viewers stay or leave. Open with a compelling question, a surprising fact, or a clear promise of what they will learn.
Common mistakes
- ×Starting the video with a long intro or logo animation — viewers click away quickly.
- ×Going off-topic without a script or outline.
- ×Ignoring keyword research and just guessing what people search for.
Step 5 of 8

Film Your Video
You do not need expensive gear to start — a modern smartphone is more than enough. 1. Find a quiet location with minimal background noise. 2. Set up your camera or phone on a tripod or stable surface at eye level. 3. Prioritize good lighting: face a window for natural light, or use a ring light. Avoid having a bright light source behind you. 4. Do a short test recording and play it back to check audio and video quality before filming the full video. 5. Speak clearly and at a natural pace. It is okay to do multiple takes. 6. Film a bit of extra footage (B-roll) of your subject, hands, or surroundings — it makes editing easier and more dynamic.
Audio quality matters more than video quality. Even a $20 clip-on lavalier microphone will dramatically improve viewer experience compared to a built-in phone mic in a large room.
Common mistakes
- ×Filming with a bright window or light directly behind you, which silhouettes your face.
- ×Skipping the test recording and discovering audio issues after a long filming session.
- ×Holding the phone in portrait (vertical) orientation — YouTube is horizontal (landscape), so film in 16:9 ratio.
Step 6 of 8
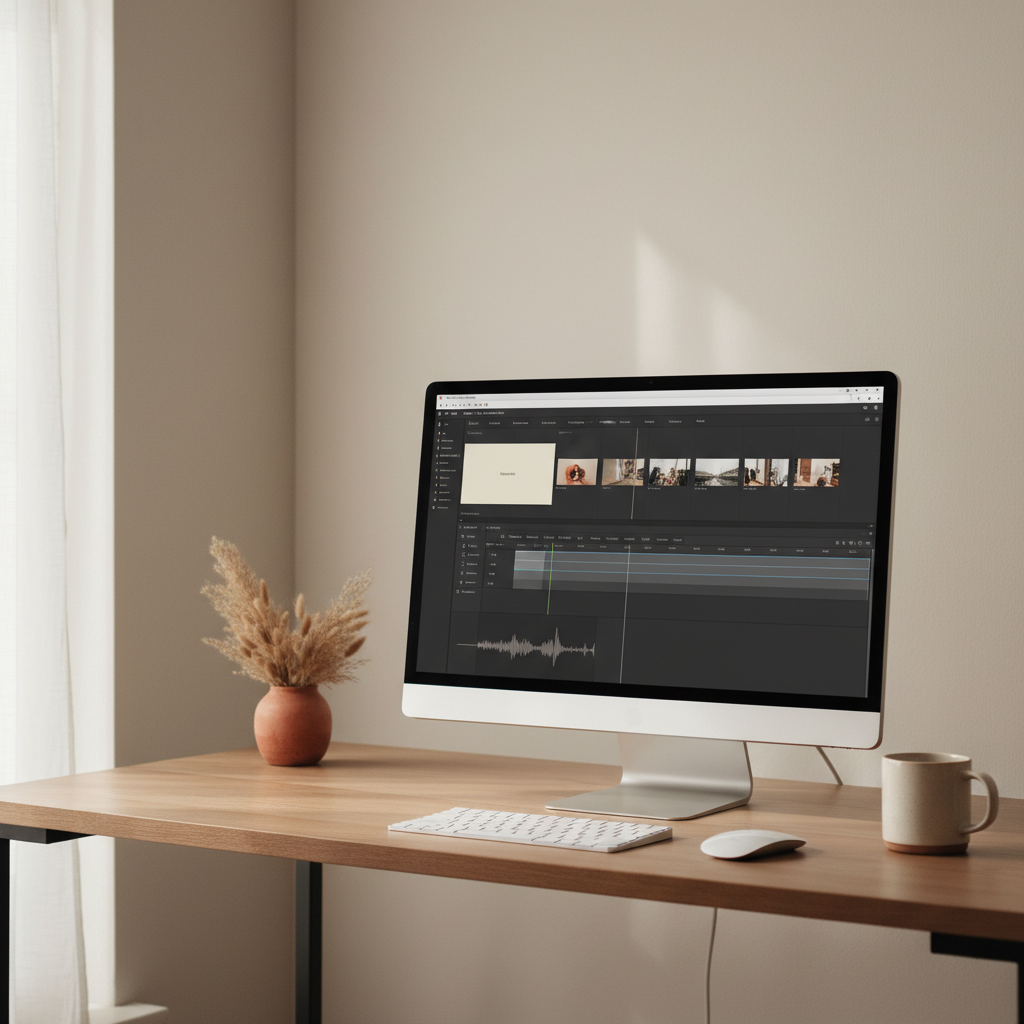
Edit Your Video
Editing polishes your footage and keeps viewers engaged. 1. Import your footage into a free editing app: DaVinci Resolve (desktop), CapCut (mobile/desktop), or iMovie (Mac/iPhone). 2. Cut out long pauses, mistakes, and filler words (um, uh). 3. Add a simple intro title card with your video title. 4. Include captions or subtitles — YouTube's auto-captions are a good starting point, but review them for errors. 5. Add background music at a low volume if appropriate. Use royalty-free music from YouTube Audio Library (available free in YouTube Studio). 6. Export your video in 1080p (Full HD) at minimum for good quality.
Keep your edits tight. A good rule of thumb: if a moment does not add information, emotion, or entertainment, cut it. Shorter, well-paced videos hold attention better than long, padded ones.
Common mistakes
- ×Over-editing with too many flashy transitions — simple cuts are usually best.
- ×Exporting in low resolution or the wrong file format.
- ×Forgetting to check audio levels — music that is too loud drowns out your voice.
Step 7 of 8
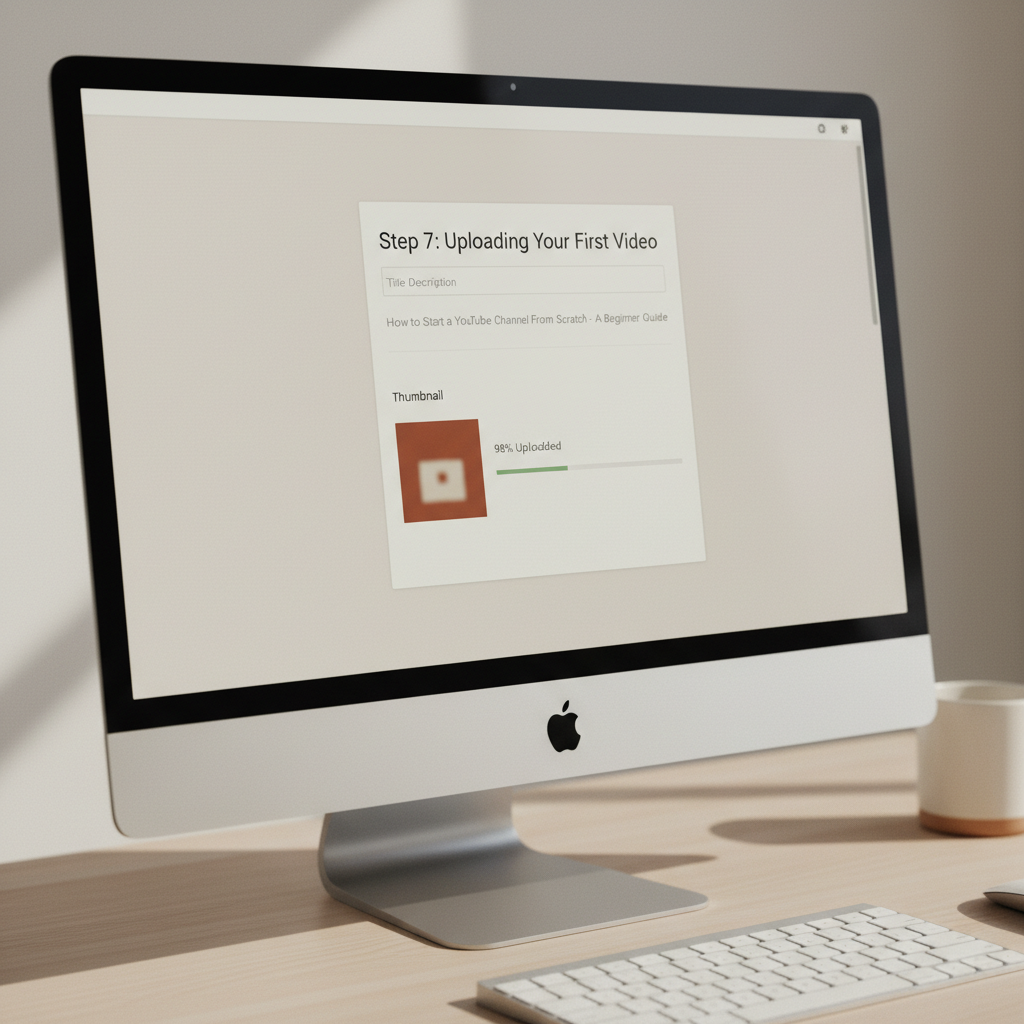
Upload, Optimize, and Publish Your Video
Optimization helps YouTube understand your video and show it to the right people. 1. In YouTube Studio, click the 'Create' button (camera icon) and select 'Upload videos'. 2. While the video uploads, fill in the details: Title: include your main keyword near the front. Keep it under 60 characters. Make it compelling. Description: write at least 150 words. Include keywords naturally, add timestamps if relevant, and link to related resources. Tags: add 5 to 10 relevant keyword tags. 3. Create a custom thumbnail: use a clear, high-contrast image with large readable text. Recommended size: 1280 x 720 px. Canva has free YouTube thumbnail templates. 4. Select the correct category and set the audience (made for kids or not). 5. Choose 'Public' for visibility and click 'Publish'.
Your thumbnail and title together act like a billboard ad. They are the main reason someone clicks — or does not. Spend as much time on your thumbnail as you do on your script.
Common mistakes
- ×Using the auto-generated thumbnail instead of a custom one — custom thumbnails get significantly more clicks.
- ×Keyword-stuffing the title or description unnaturally — write for humans first, search engines second.
- ×Publishing without reviewing the video one final time for any errors.
Step 8 of 8
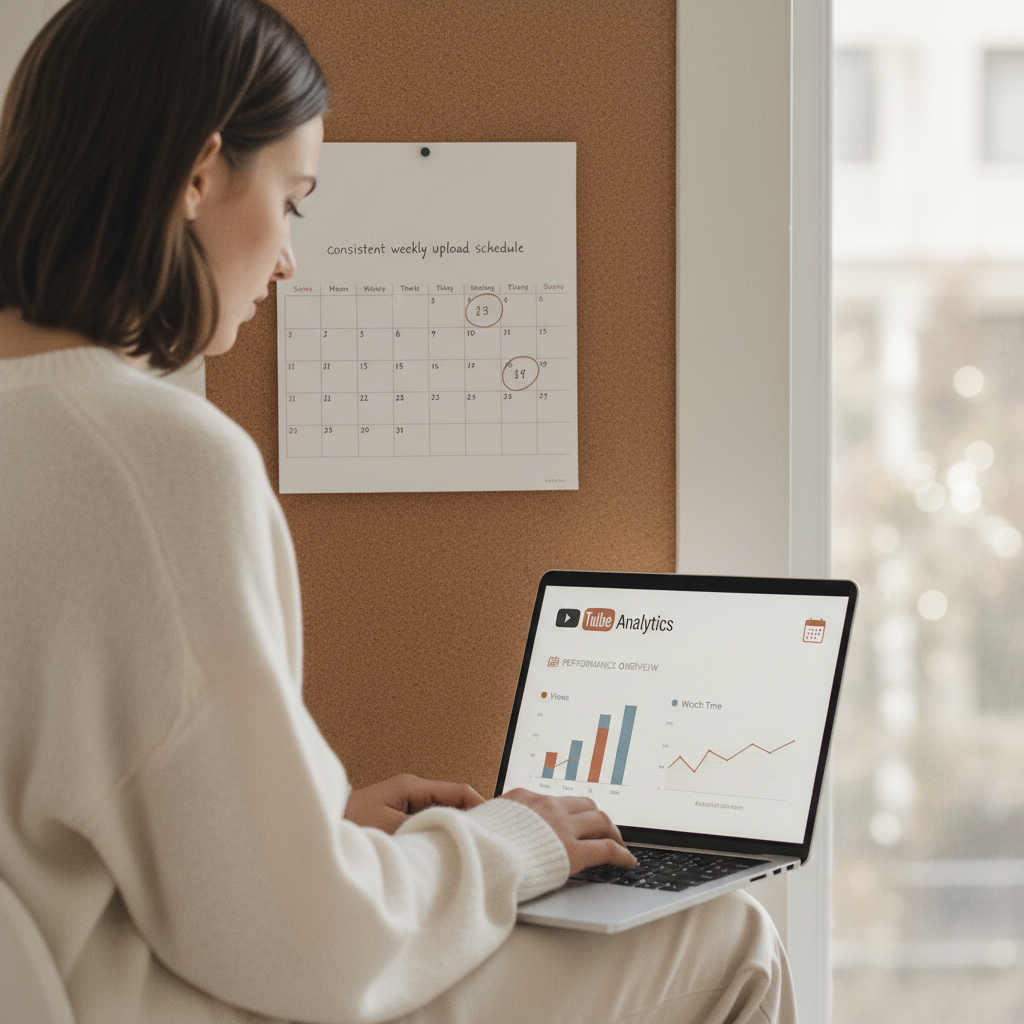
Promote Your Channel and Stay Consistent
Publishing is just the beginning — growth requires promotion and consistency. 1. Share your video on social media platforms where your target audience spends time (Instagram, Reddit, X, TikTok, Facebook groups). 2. Respond to every comment on your early videos — engagement signals boost your video in the algorithm and builds community. 3. Study your YouTube Analytics (in YouTube Studio) after a week: check click-through rate, average view duration, and traffic sources. 4. Post on a consistent schedule. Even once a week is fine — consistency matters more than frequency. 5. Watch your own videos with fresh eyes and note what you would improve next time. 6. Keep making videos. Most successful YouTubers say their first 20 to 30 videos were a learning phase — do not judge your channel by early results.
Do not chase subscribers in the first few months. Instead, focus on improving one thing per video — your hook, your audio, your thumbnail. Gradual improvement compounds into big results.
- If If your click-through rate is below 2 percent after 1 week, do Redesign your thumbnail and rework your title to be more compelling or curiosity-driven..
- If If your average view duration is below 30 percent of the video length, do Shorten your videos, improve your hook in the first 30 seconds, and cut any slow or off-topic sections..
Common mistakes
- ×Posting sporadically and then going silent for weeks — inconsistency kills channel momentum.
- ×Ignoring analytics and repeating the same mistakes video after video.
- ×Giving up after a few videos with low views — most channels take 6 to 12 months to gain traction.
- ×Buying fake subscribers or views — this violates YouTube's terms of service and can get your channel removed.
Sources
Generated from model knowledge — verify any factual claims independently.