How to Solve a 3x3 Rubik's Cube
Learn how to solve a 3x3 Rubik's cube from any scrambled state using the beginner-friendly layer-by-layer method, with clear step-by-step algorithms.
Materials
- A 3x3 Rubik's cube
Before you start
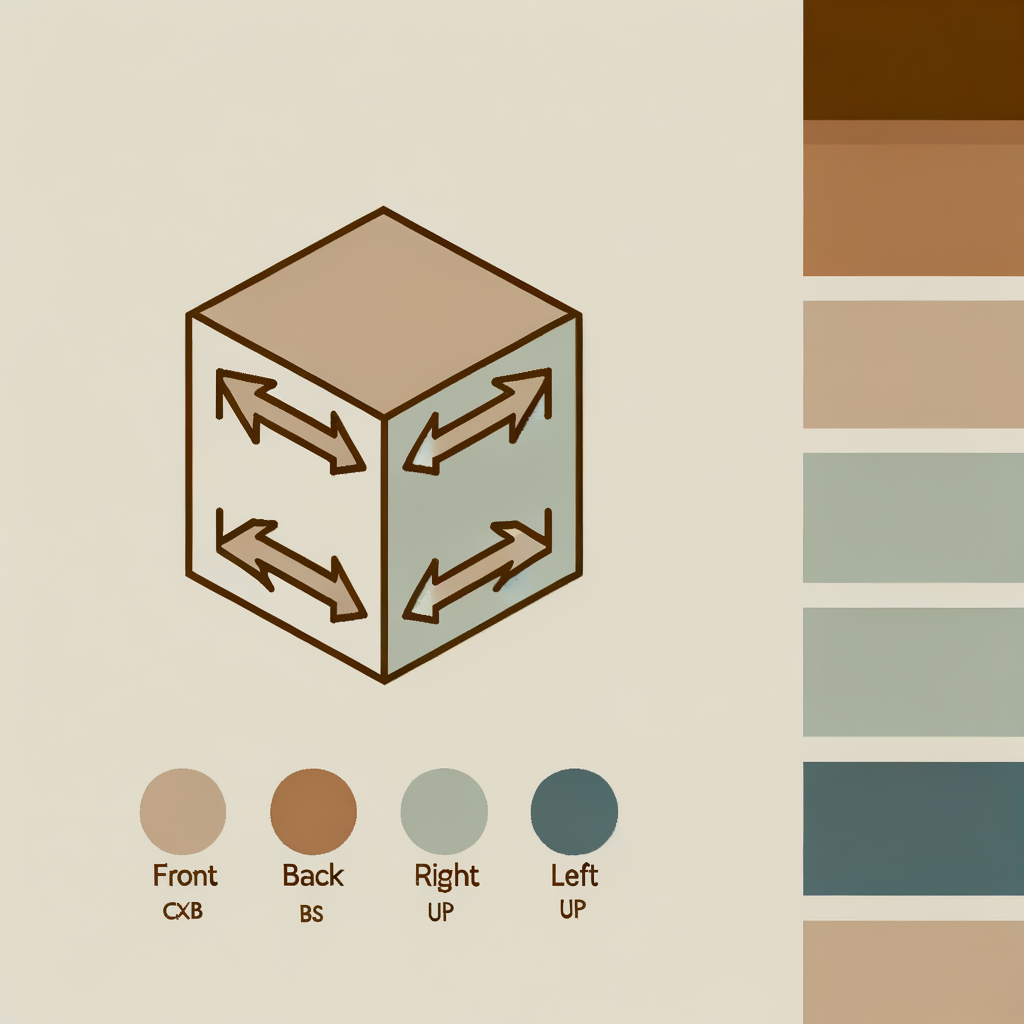
- Familiarity with cube notation: F, B, R, L, U, D (Front, Back, Right, Left, Up, Down) and ' for counter-clockwise turns
- A scrambled 3x3 Rubik's cube in hand
Step 1 of 6
Learn Cube Notation
Before solving, understand the move notation used in algorithms: • **F** = Front face clockwise • **B** = Back face clockwise • **R** = Right face clockwise • **L** = Left face clockwise • **U** = Up (top) face clockwise • **D** = Down (bottom) face clockwise • A **prime (')** after a letter means counter-clockwise (e.g., R' = Right counter-clockwise) • A **2** after a letter means a 180° double turn (e.g., U2 = Up face twice) Hold the cube with the white center on top and practice a few moves to get comfortable. Remember: center pieces never move relative to each other — they define each face's color.
Always keep the same face as 'Front' during an algorithm. Re-orient the whole cube only between algorithms, not during one.
Common mistakes
- ×Rotating the whole cube mid-algorithm instead of just the indicated face.
- ×Confusing clockwise direction — always look directly at the face you are turning.
Step 2 of 6
Solve the White Cross
Hold the cube with the white center on top (U face). Your goal is to form a plus/cross of white on the top face, with each edge piece's side color matching its center. 1. Find a white edge piece (e.g., white-red edge). 2. Move it to the bottom layer beneath its matching color center. 3. Turn the bottom face (D) until the edge is directly below its matching center. 4. Turn that face twice (e.g., F2) to bring the edge up into the correct position on the top cross. 5. Repeat for all four white edge pieces. At the end, the top face should show a white cross, and each edge's side color should match the center below it.
Solve the white-blue edge first, then work clockwise around the cube. This reduces the chance of disturbing already-placed edges.
Common mistakes
- ×Placing a white edge in the cross without checking that its side color matches the adjacent center.
- ×Flipping the edge piece upside-down — if the white sticker faces sideways, use F U R U' R' F' to flip it.
Step 3 of 6
Solve the White Corners (Complete First Layer)
Now place the four white corner pieces to complete the entire white (first) layer. 1. Find a white corner piece in the bottom layer (e.g., white-red-blue corner). 2. Rotate the bottom (D) face to position it directly below the slot it belongs in (between its two matching centers). 3. Use one of these algorithms depending on where the white sticker faces: • **White faces right:** R' D' R • **White faces front:** F D F' • **White faces down:** R' D2 R D R' D' R 4. Repeat for all four corners. When done, the entire white face and all four side colors of the first layer should be solid.
If a white corner is stuck in the top layer in the wrong position, use R' D' R to push it into the bottom layer first, then re-insert it correctly.
Common mistakes
- ×Trying to twist a corner directly into place — always bring it to the bottom layer first.
- ×Accidentally disturbing the white cross while inserting corners.
Step 4 of 6
Solve the Middle Layer Edges
Flip the cube so white is on the bottom. Now insert the four middle-layer edge pieces (the ones with no yellow sticker). 1. Look at the top (U) face edges for a non-yellow edge piece. 2. Rotate the U face until that edge's top color matches the center it faces. 3. Decide which direction the edge needs to go (left or right slot): • **Insert to the Right:** U R U' R' U' F' U F • **Insert to the Left:** U' L' U L U F U' F' 4. Repeat for all four middle edges. If a middle edge is already in the middle layer but incorrectly oriented, apply either algorithm to pop it out, then re-insert it correctly.
Scan all four top edges before starting — pick the one whose top color already matches a center to minimize extra U-face rotations.
Common mistakes
- ×Applying the algorithm before aligning the edge's top color with its matching center.
- ×Using the wrong direction algorithm — double-check which side (left or right) the edge needs to go.
Step 5 of 6
Make the Yellow Cross (OLL Step 1)
Now work on the top (yellow) face. The goal here is to form a yellow cross on the U face — you don't need to match side colors yet. Look at the top face. You'll see one of these patterns: • **Dot** (no yellow edges) → apply the algorithm 3 times • **L-shape** (2 adjacent yellow edges) → orient so the L points to the top-left, apply once • **Line** (2 opposite yellow edges) → orient horizontally, apply once • **Cross** → already done, skip to step 6 **Algorithm:** F R U R' U' F' Keep applying until you have a full yellow cross on top.
After each algorithm application, check the pattern again before re-applying. It always progresses: dot → L → line → cross.
Common mistakes
- ×Not orienting the L-shape or line correctly before applying the algorithm, causing it to cycle incorrectly.
- ×Confusing the yellow cross step with the full yellow face — side colors don't need to match yet.
Step 6 of 6
Orient the Yellow Corners and Edges (OLL Step 2 & PLL)
With the yellow cross in place, finish the cube in two sub-steps: **A) Orient Yellow Corners (make full yellow face):** 1. Look for a yellow corner already correctly oriented (yellow on top). 2. Hold it at the front-right-top position. 3. Apply: R U R' U R U2 R' 4. Without rotating the top layer, check again. Repeat until all corners are yellow-up. **B) Permute Last Layer (PLL — move pieces to correct positions):** *Cycle three corners:* U R U' L' U R' U' L (repeat if needed) *Cycle three edges:* R2 U F B' R2 F' B U R2 After each algorithm, check if any layer is solved. Rotate the U face to align colors, then check again. Continue until all six faces are solid colors — the cube is solved!
For PLL, if two adjacent corners are swapped AND two edges are swapped, apply the corner cycle first, then the edge cycle.
Common mistakes
- ×Rotating the entire cube while orienting yellow corners — only the face turns in the algorithm should move.
- ×Giving up if the cube looks 'more scrambled' mid-PLL — trust the algorithm and finish it completely before evaluating.
Sources
Generated from model knowledge — verify any factual claims independently.