How to Sharpen a Dull Kitchen Knife at Home
Learn how to restore a sharp, safe edge to your dull kitchen knives at home using a whetstone, honing rod, or alternative tools — no professional equipment required.
Materials
- Kitchen knife (chef's knife, paring knife, etc.)
- Whetstone (coarse 200–400 grit and fine 1000–3000 grit) OR honing rod OR pull-through sharpener
- Non-slip mat or damp towel (to stabilize the whetstone)
- Water or honing oil (for whetstone lubrication)
- Dry cloth or paper towel (for wiping the blade)
Before you start
- Basic familiarity with handling kitchen knives safely
Step 1 of 6
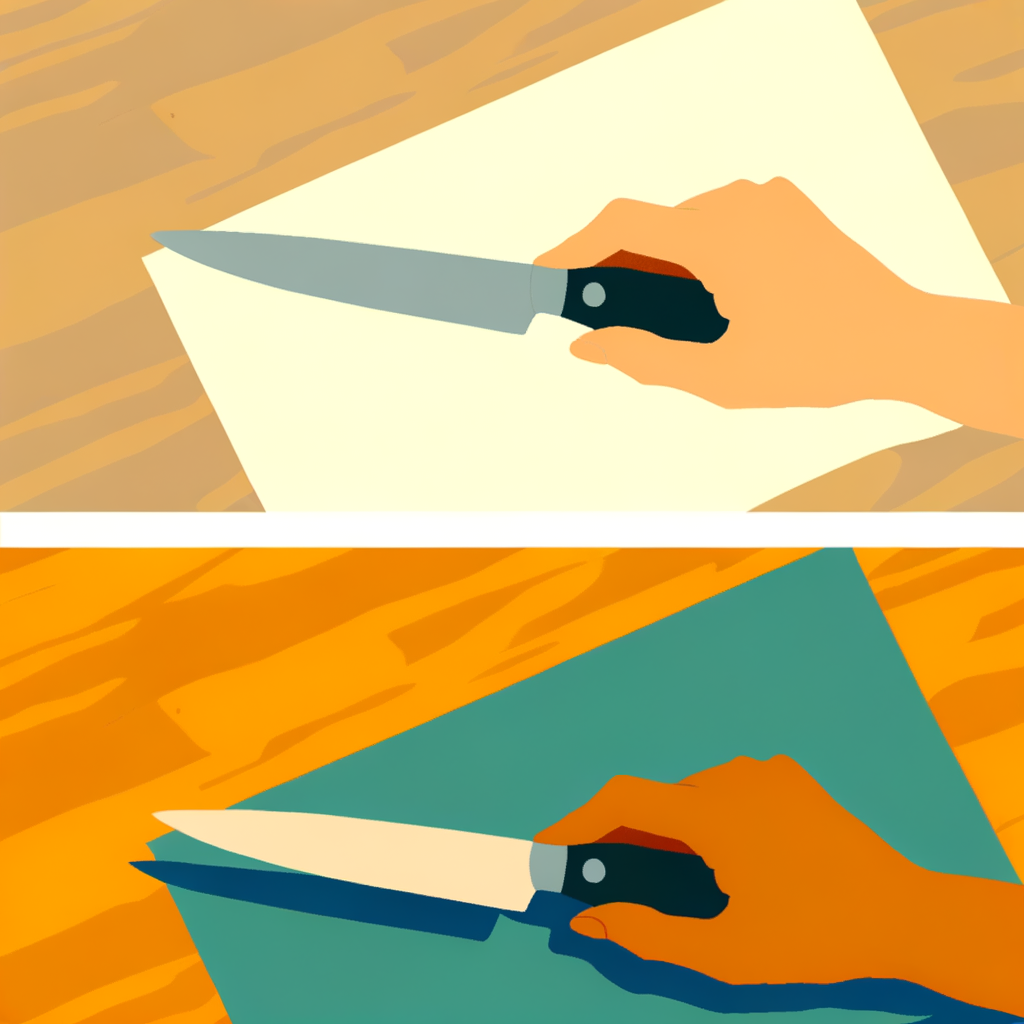
Test Your Knife's Sharpness
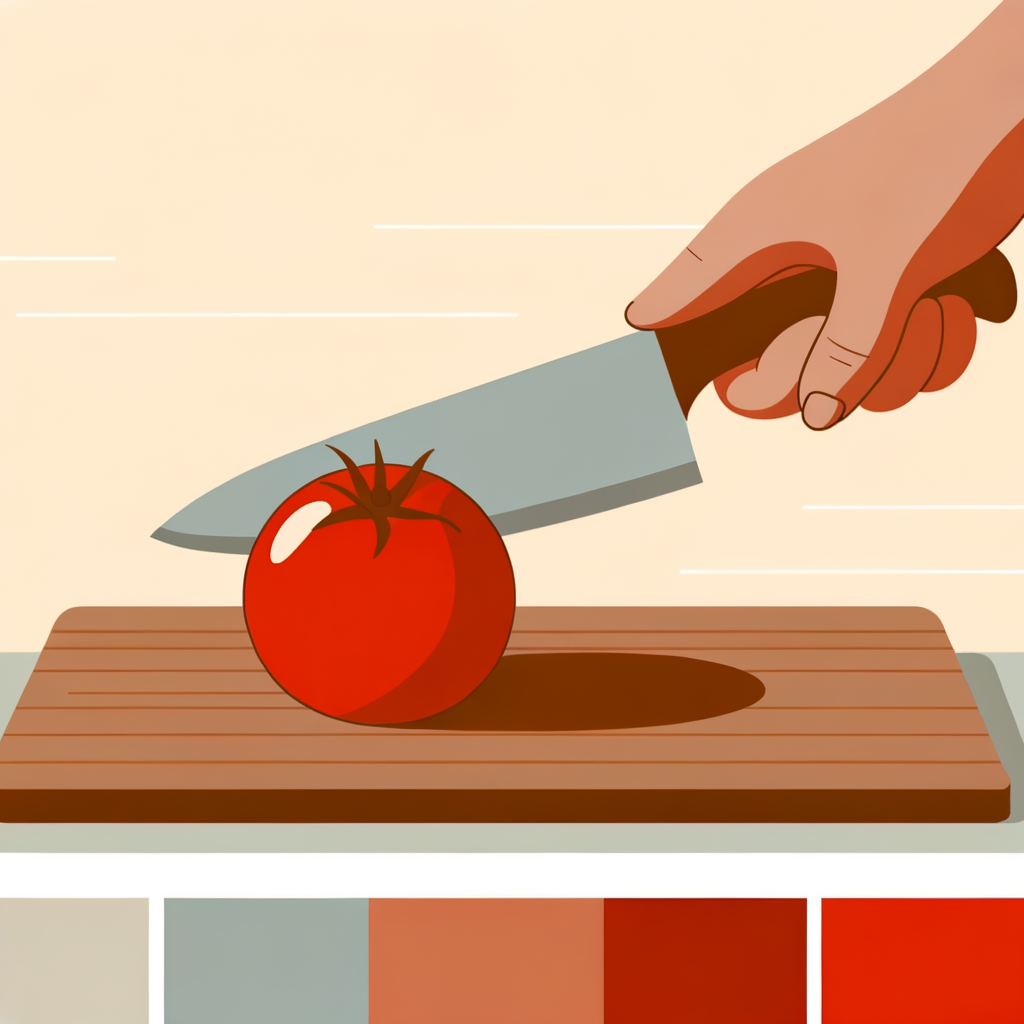
Before sharpening, determine how dull your knife actually is — this tells you which method and grit level to start with. **Paper test:** Hold a sheet of printer paper upright and slice downward through it. A sharp knife glides cleanly; a dull one tears, snags, or crumples the paper. **Tomato test:** Try slicing a ripe tomato with light pressure. A sharp knife pierces the skin effortlessly; a dull one slides off. **Fingernail test (safe version):** Gently rest (do NOT slide) the spine-side edge on your fingernail at a slight angle. A sharp edge will catch slightly; a dull edge will slide right off. Based on results: - Slightly dull → honing rod or fine whetstone is enough. - Moderately/very dull → start with a coarse whetstone or pull-through sharpener.
Most knives that 'feel dull' are actually just misaligned, not truly dull. Try the honing rod first — it's faster and preserves more metal.
Common mistakes
- ×Skipping the sharpness test and over-sharpening a knife that only needed honing.
- ×Running a finger along the blade edge to test — always use the paper or tomato test instead.
Step 2 of 6
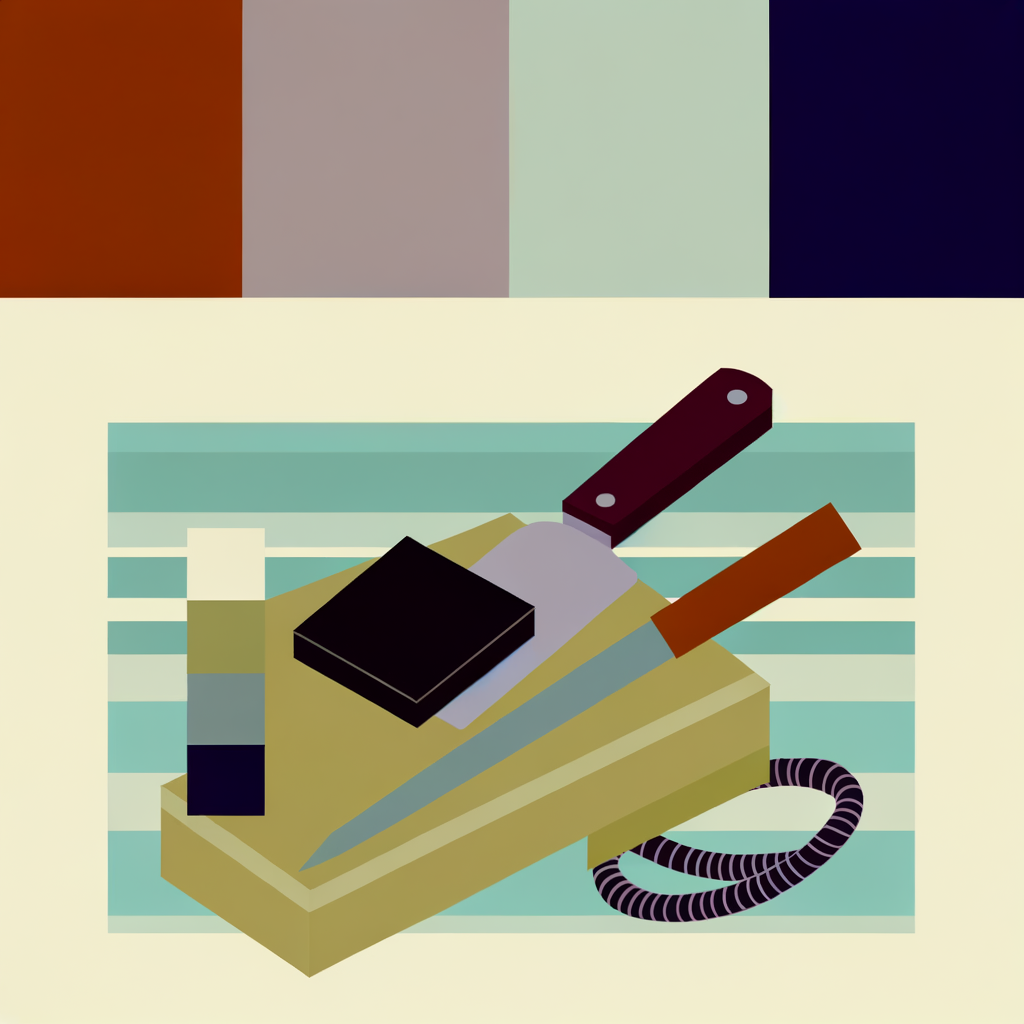
Choose Your Sharpening Method
Pick the right tool for the job based on what you have available and how dull the knife is: **Whetstone (best results):** A two-sided whetstone (coarse + fine grit) removes metal to reshape the edge, then polishes it. Ideal for moderately to very dull knives. Requires a little practice but gives the best, longest-lasting edge. **Honing rod (quick maintenance):** A honing rod (steel or ceramic) doesn't sharpen — it realigns the microscopic edge that folds over with use. Use it every 1–2 uses to maintain sharpness between full sharpenings. **Pull-through sharpener (easiest):** A countertop pull-through sharpener is beginner-friendly and fast, but removes more metal than necessary and gives a less refined edge. Good for occasional use. **Sandpaper / coffee mug (emergency hack):** The unglazed ceramic ring on the bottom of a coffee mug acts like a fine sharpening stone. Swipe the blade across it at the correct angle — great in a pinch.
Invest in a quality whetstone (1000/3000 grit combo) — it's the most cost-effective long-term solution and works on all blade types.
- If If the knife is only slightly dull or was recently sharpened, do Use a honing rod to realign the edge — skip the whetstone for now..
- If If the knife is very dull, chipped, or has never been sharpened, do Start with the coarse side of a whetstone or a pull-through sharpener to reshape the edge first..
Step 3 of 6
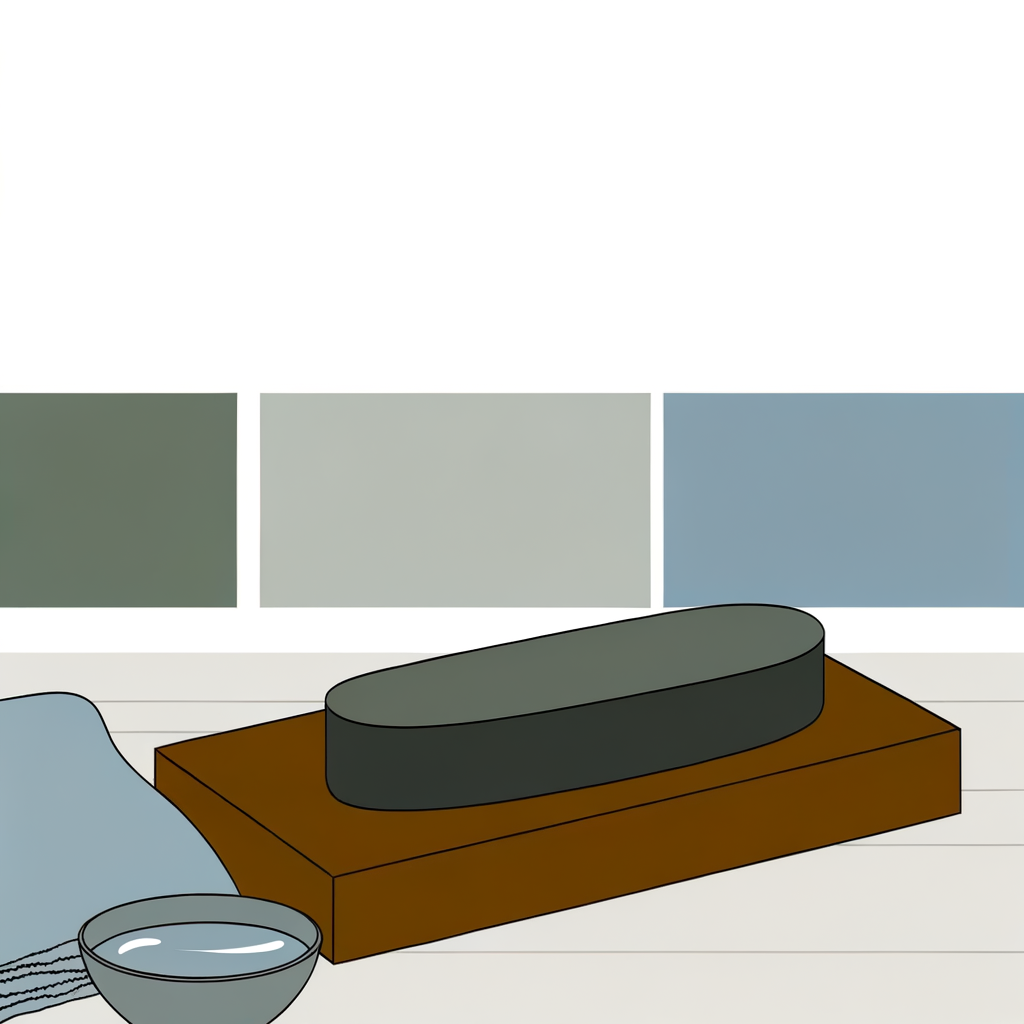
Prepare Your Sharpening Surface
Proper setup prevents accidents and gives better results. **For a whetstone:** 1. Soak a water stone in water for 5–10 minutes until bubbles stop rising (oil stones use honing oil instead — check your stone's instructions). 2. Place the stone on a damp towel or non-slip mat on a stable counter. The stone must NOT slide. 3. Orient the stone lengthwise in front of you. **For a honing rod:** 1. Hold the rod vertically with the tip resting firmly on a folded towel on the counter (safer than holding it in the air). **For a pull-through sharpener:** 1. Place it on a flat, stable surface and hold it firmly with your non-dominant hand.
Common mistakes
- ×Using a dry whetstone — always lubricate with water or oil to prevent clogging and overheating.
- ×Placing the stone on a slippery surface — it can shift mid-stroke and cause injury.
Step 4 of 6

Sharpen the Knife at the Correct Angle
The sharpening angle is the most important factor. Most Western kitchen knives are sharpened at **15–20° per side**; Japanese knives typically use **10–15°**. **Quick angle guide:** A 20° angle is roughly the width of two stacked quarters between the spine and the stone. **Whetstone technique:** 1. Hold the handle with your dominant hand, thumb on the spine. 2. Place the blade edge-down on the far end of the stone at your chosen angle. 3. Use 2–3 fingertips of your other hand on the flat of the blade to apply gentle, even pressure. 4. Push the blade forward and across the stone in a smooth arc (as if trying to slice a thin layer off the stone), moving from heel to tip in one stroke. 5. Lift and repeat — do NOT drag the blade backward while maintaining edge contact. 6. Complete 6–10 strokes on one side, then switch to the other side for the same number. 7. Once a slight 'burr' (tiny wire edge) forms on the opposite side, move to the fine grit side and repeat with lighter pressure. **Honing rod technique:** 1. With the rod tip on the towel, place the heel of the blade near the top of the rod at 15–20°. 2. Draw the blade downward and toward you in a smooth arc from heel to tip. 3. Alternate sides — 5–8 strokes per side.
Listen for a consistent 'whisper' sound as the blade glides across the stone — an inconsistent sound means your angle is shifting.
- If If you're unsure about maintaining the angle freehand, do Use an angle guide clip (available cheaply online) that attaches to the spine of the blade to hold the correct angle automatically..
Common mistakes
- ×Changing the angle mid-stroke — keep it consistent throughout for an even edge.
- ×Using too much pressure — let the abrasive do the work; heavy pressure causes uneven wear.
- ×Sharpening only one side — always work both sides equally to form a symmetrical edge.
Step 5 of 6
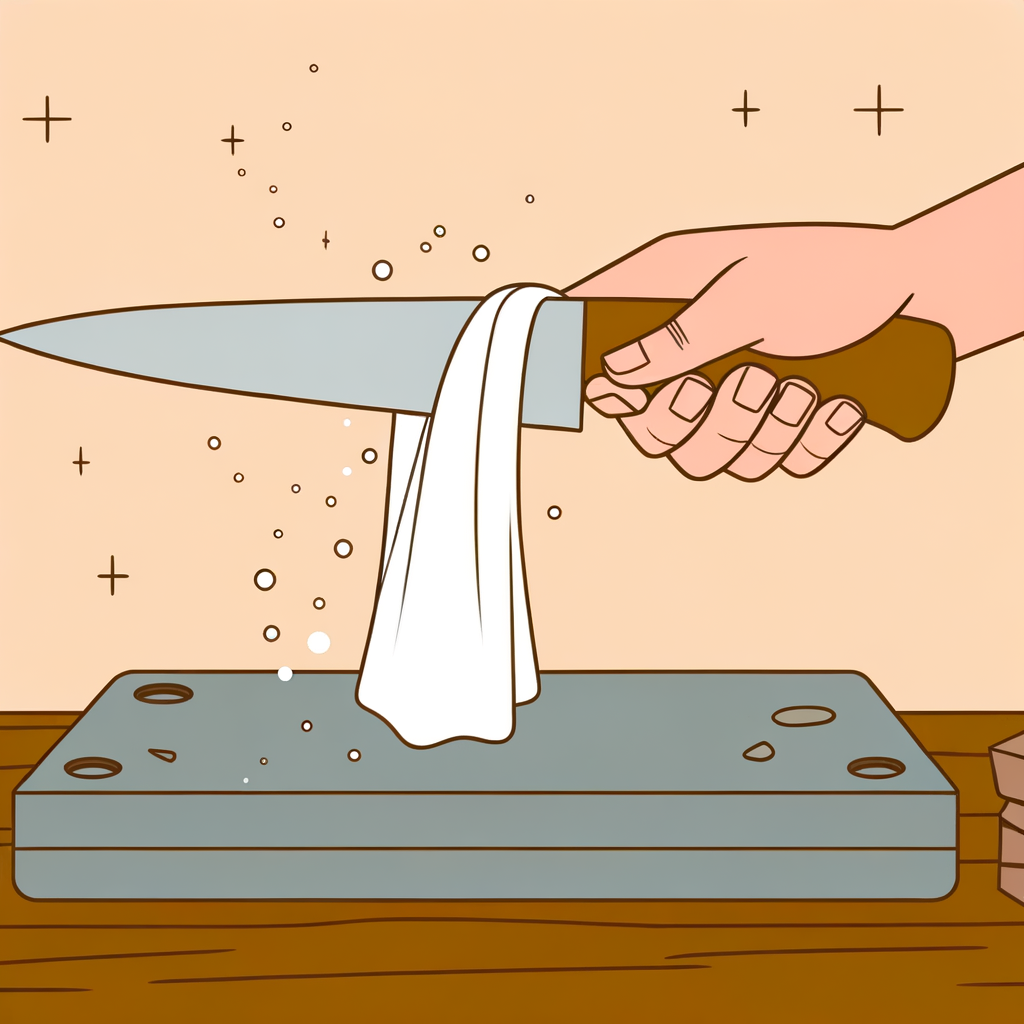
Refine and Polish the Edge
After sharpening on the coarse grit, switch to the fine grit side of your whetstone (or a ceramic honing rod) to remove the burr and polish the edge to a smooth, razor finish. 1. Repeat the same strokes from Step 4 on the fine grit side, but use noticeably lighter pressure. 2. Do 4–6 alternating strokes per side (one stroke on the left, one on the right, and so on) — this helps remove the burr evenly. 3. Finish with 2–3 very light 'edge-trailing' strokes (pulling the spine forward, edge trailing) on each side to knock off any remaining burr. 4. Wipe the blade clean with a dry cloth to remove metal filings and stone slurry. **Optional stropping:** If you have a leather strop or even a piece of cardboard, drag the blade spine-first (edge trailing) across it 5–6 times per side. This polishes the edge to a mirror finish and dramatically improves sharpness.
The burr should be gone after alternating light strokes. If you can still feel a tiny wire edge with your fingernail on the spine side, do a few more alternating strokes.
Common mistakes
- ×Skipping the fine grit step — a coarse-only edge is sharp but rough and won't last as long.
- ×Pressing too hard on the fine grit — light pressure is key to a polished, burr-free edge.
Step 6 of 6
Test and Store Your Knife Properly
**Test the edge:** - **Paper test:** Slice through printer paper — it should cut cleanly with zero tearing. - **Tomato test:** The knife should glide through tomato skin with zero pressure. - If it still struggles, repeat Steps 4–5 with a few more strokes. **Rinse the blade:** Wash the knife with warm soapy water to remove any metal filings before using it on food. Dry immediately — never leave knives soaking in water. **Store it safely:** - **Knife block** — classic and safe. - **Magnetic wall strip** — saves drawer space and keeps edges from dulling against other utensils. - **Blade guard/sheath** — great for drawer storage. - Avoid tossing knives loose in a drawer — edges chip and people get cut. **Maintenance schedule:** - Hone with a rod every 1–2 uses. - Full whetstone sharpen every 3–6 months depending on use.
Use a plastic or wooden cutting board, not glass or ceramic — hard surfaces dull knife edges much faster.
Common mistakes
- ×Putting a freshly sharpened knife in the dishwasher — heat and harsh detergents dull and damage blades quickly.
- ×Storing knives loose in a drawer — edges chip and it's a safety hazard.
Sources
Generated from model knowledge — verify any factual claims independently.