How to Shade a Sphere to Make It Look 3D
Learn how to apply light, shadow, and gradient shading techniques to a drawn sphere so it appears convincingly three-dimensional on paper or digitally.
Materials
- Paper or digital canvas
- Pencil (HB, 2B, 4B, and 6B recommended) OR charcoal OR digital drawing app
- Eraser (kneaded eraser works best for highlights)
- Compass or circular template (optional)
- Blending stump or cotton swab (for traditional media)
Before you start
- Ability to draw a basic circle (freehand or with a compass/template)
- Basic familiarity with your chosen medium (pencil, charcoal, or digital brush)
Step 1 of 8
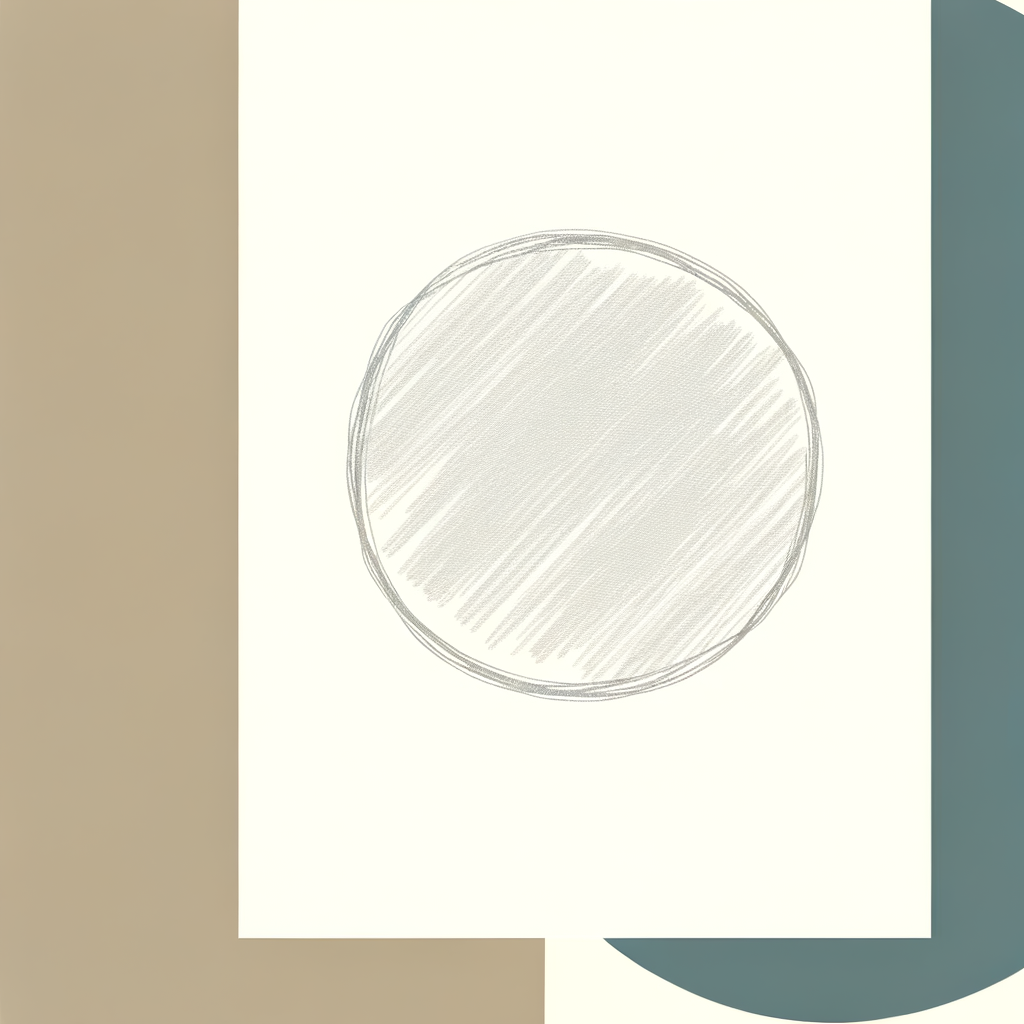
Draw a Clean Circle
Start by drawing a smooth, even circle — this is the outline of your sphere. Use a compass, circular template, or trace a round object for precision. If drawing freehand, sketch lightly so you can adjust the shape easily. Keep the outline light; you don't want a heavy contour line competing with your shading later. Once satisfied, lightly erase the outline so it's barely visible — the shading itself will define the edge.
Leave extra space below and to one side of the circle — you'll need room for the cast shadow in a later step.
Common mistakes
- ×Drawing the outline too dark, which creates a harsh, flat-looking border that shading can't overcome.
- ×Making the circle too small — a larger sphere gives you more room to show tonal gradation.
Step 2 of 8
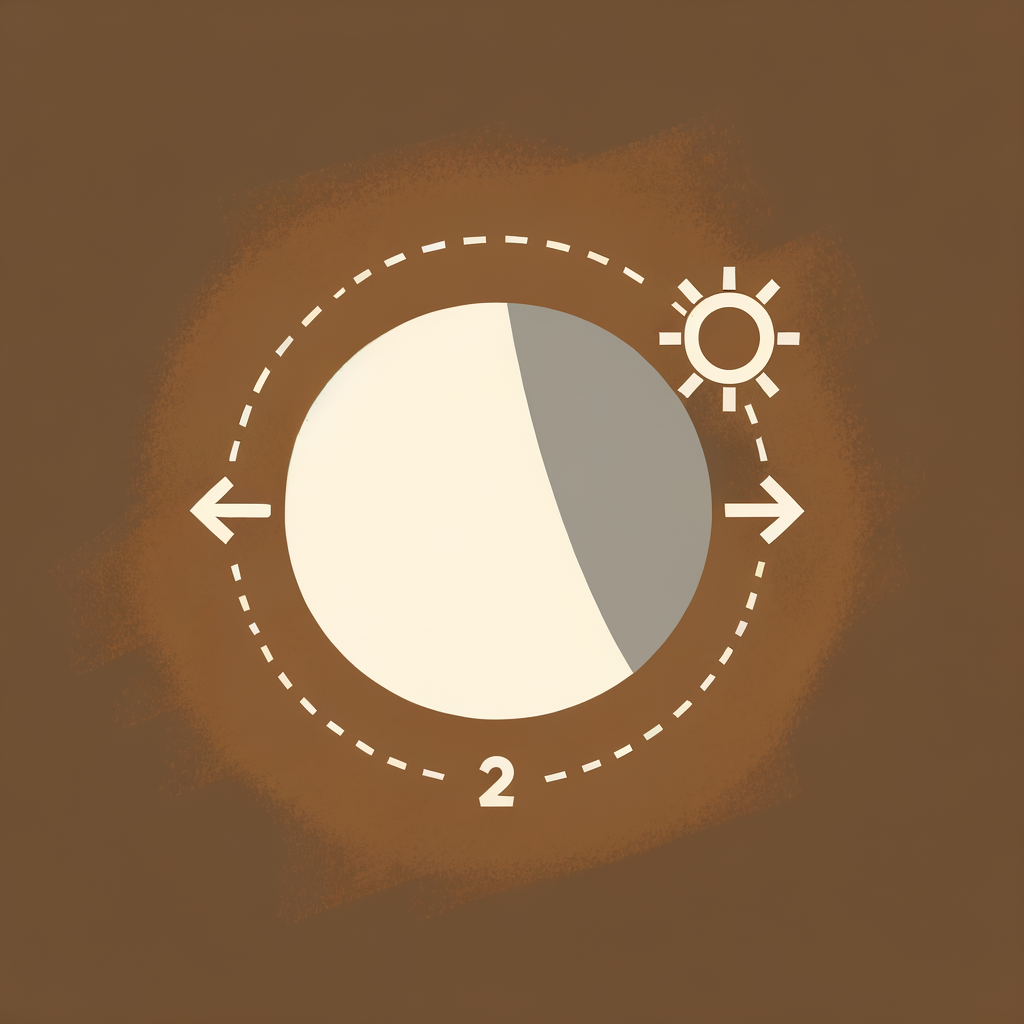
Decide on Your Light Source
Before adding any tone, choose where your light is coming from and commit to it. A common choice is upper-left at roughly a 45-degree angle. Mark a small 'X' or dot outside the circle to remind yourself of the light source position throughout the drawing. This single decision controls everything: where the highlight sits, where the darkest shadow falls, and where the cast shadow is thrown. Consistency is key — changing the light source mid-drawing will make the sphere look confusing.
A light source coming from the upper-left is the most intuitive for right-handed artists and is widely used in classical drawing instruction.
Common mistakes
- ×Forgetting the light source and shading intuitively, leading to inconsistent values.
- ×Placing the light source directly in front — this flattens the sphere and reduces the sense of volume.
Step 3 of 8
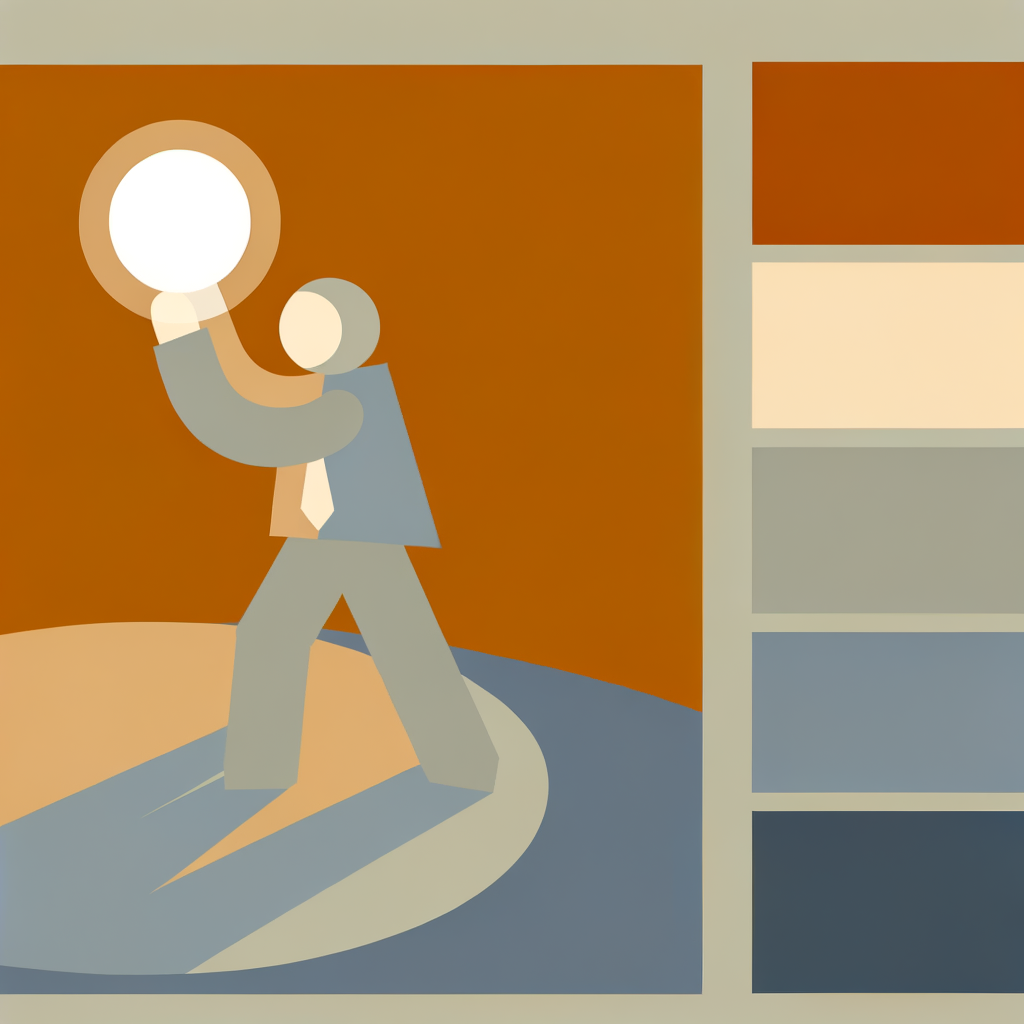
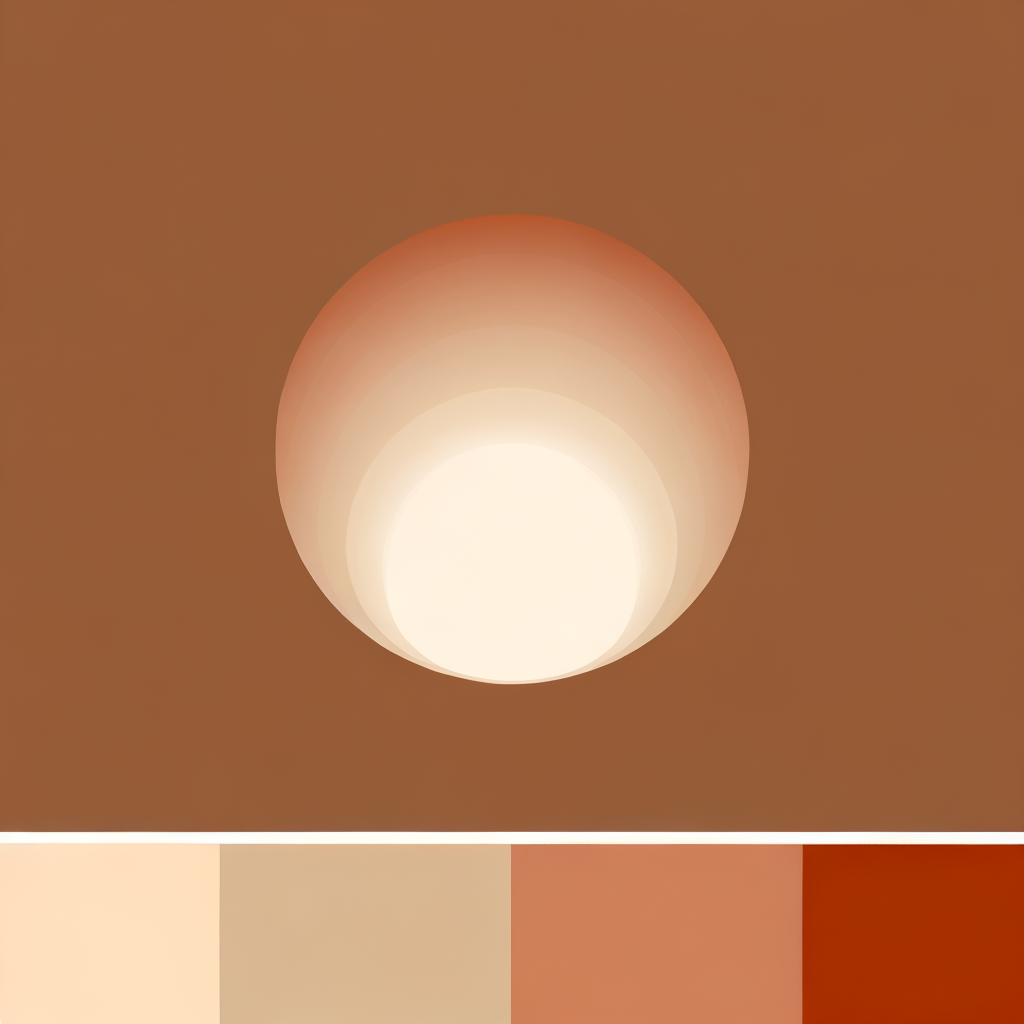
Identify and Reserve the Highlight
The highlight is the brightest spot on the sphere — the point where light hits most directly. For an upper-left light source, this sits in the upper-left quadrant of the circle, slightly off-center. Do NOT shade this area. In traditional media, leave the paper white here or use a kneaded eraser to lift tone later. In digital media, simply avoid painting over it, or add a white dot at the end. The highlight should be a small, soft-edged oval shape — not a harsh white dot.
The highlight is rarely a perfect circle — it's usually a soft, slightly elongated oval. Keeping its edges soft makes the surface look smooth and glossy.
Common mistakes
- ×Making the highlight too large, which flattens the sphere.
- ×Placing the highlight dead-center, which makes the light appear to come from directly in front.
Step 4 of 8
Apply the Base Mid-Tone
Using a light pencil (HB or 2B) or a low-opacity brush, apply a uniform, light tone across the entire sphere EXCEPT the highlight area. This base tone represents the general lit surface of the sphere and gives you a foundation to build darker values on top. Use smooth, circular strokes or hatching that follows the curve of the sphere. Keep the pressure light and even — you're establishing the lightest shadow value, not the darkest.
Work in layers — it's much easier to add darkness than to remove it. Start lighter than you think you need to.
Common mistakes
- ×Pressing too hard and making the base tone too dark, leaving no room for deeper shadows.
- ×Leaving streaky, uneven marks that break the illusion of a smooth surface.
Step 5 of 8
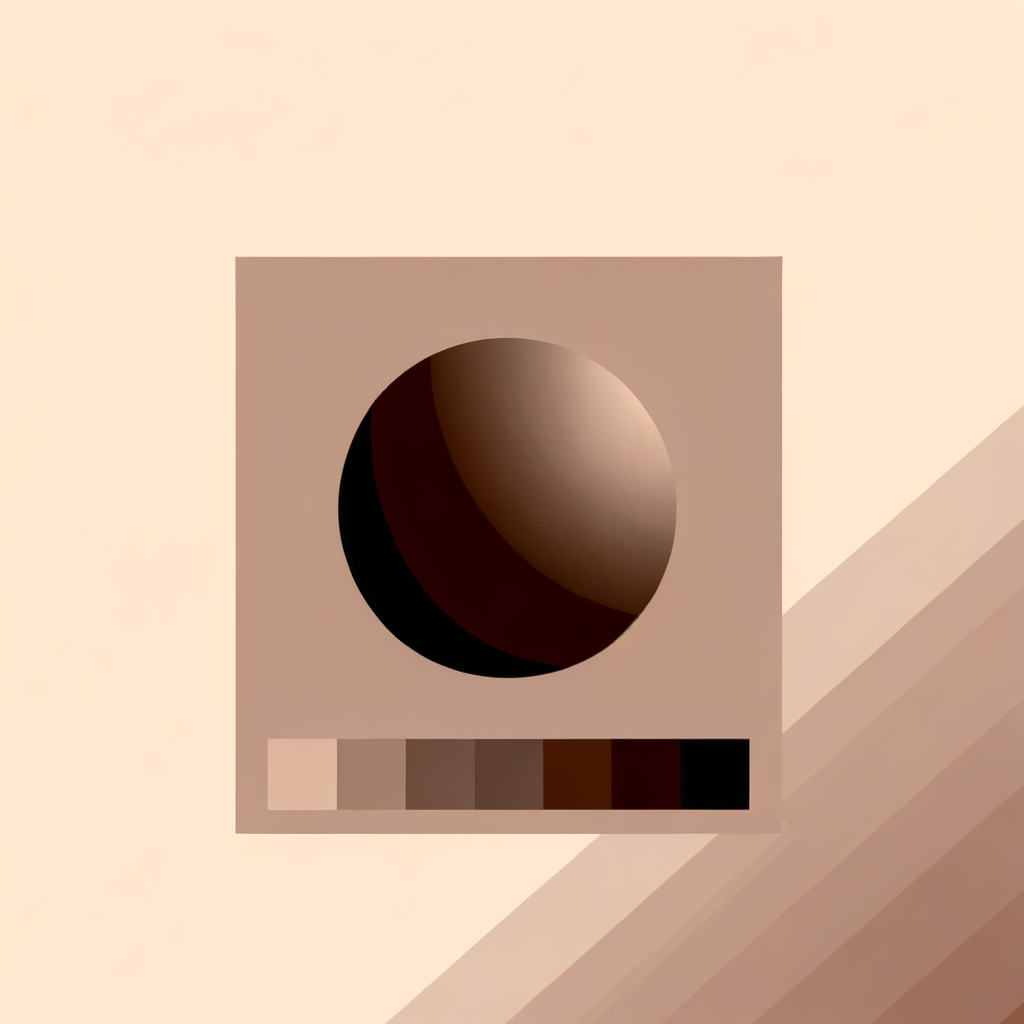
Build the Core Shadow
The core shadow is the darkest area on the sphere itself — it sits on the side opposite the light source, but NOT at the very edge of the sphere. For an upper-left light, the core shadow falls in the lower-right area, forming a curved band. Using a darker pencil (4B or 6B) or higher opacity brush, gradually build up tone in this region. Blend outward toward the mid-tone so there's a smooth, gradual transition — no hard lines. The darkest point of the core shadow is typically about two-thirds of the way across the sphere from the light source.
Use a blending stump or your fingertip to gently smooth the transition between the core shadow and the mid-tone — this is what creates the convincing illusion of a curved surface.
- If If your sphere still looks flat after adding the core shadow, do Darken the core shadow further and ensure the highlight is clearly lighter by comparison — strong contrast is key to the 3D illusion..
Common mistakes
- ×Placing the darkest shadow at the very edge of the sphere — this is incorrect and flattens the form.
- ×Creating a hard edge between the shadow and mid-tone instead of a smooth gradient.
Step 6 of 8

Add Reflected Light at the Edge
Reflected light is a subtle but crucial detail. The very edge of the sphere on the shadow side (the rim opposite the light) receives a small amount of light bounced back from the surrounding surface or environment. This means the edge of the sphere is slightly lighter than the core shadow — creating a thin, soft lighter band along the rim. Gently lighten the outermost edge of the shadow side using an eraser (traditional) or by reducing opacity (digital). This separates the sphere from the background and reinforces its roundness.
Don't make the reflected light too bright — it should be noticeably lighter than the core shadow but still darker than the mid-tones on the lit side.
Common mistakes
- ×Making the reflected light too bright, which looks unnatural and competes with the main highlight.
- ×Skipping reflected light entirely — without it, the sphere can look like it's merging with the background.
Step 7 of 8
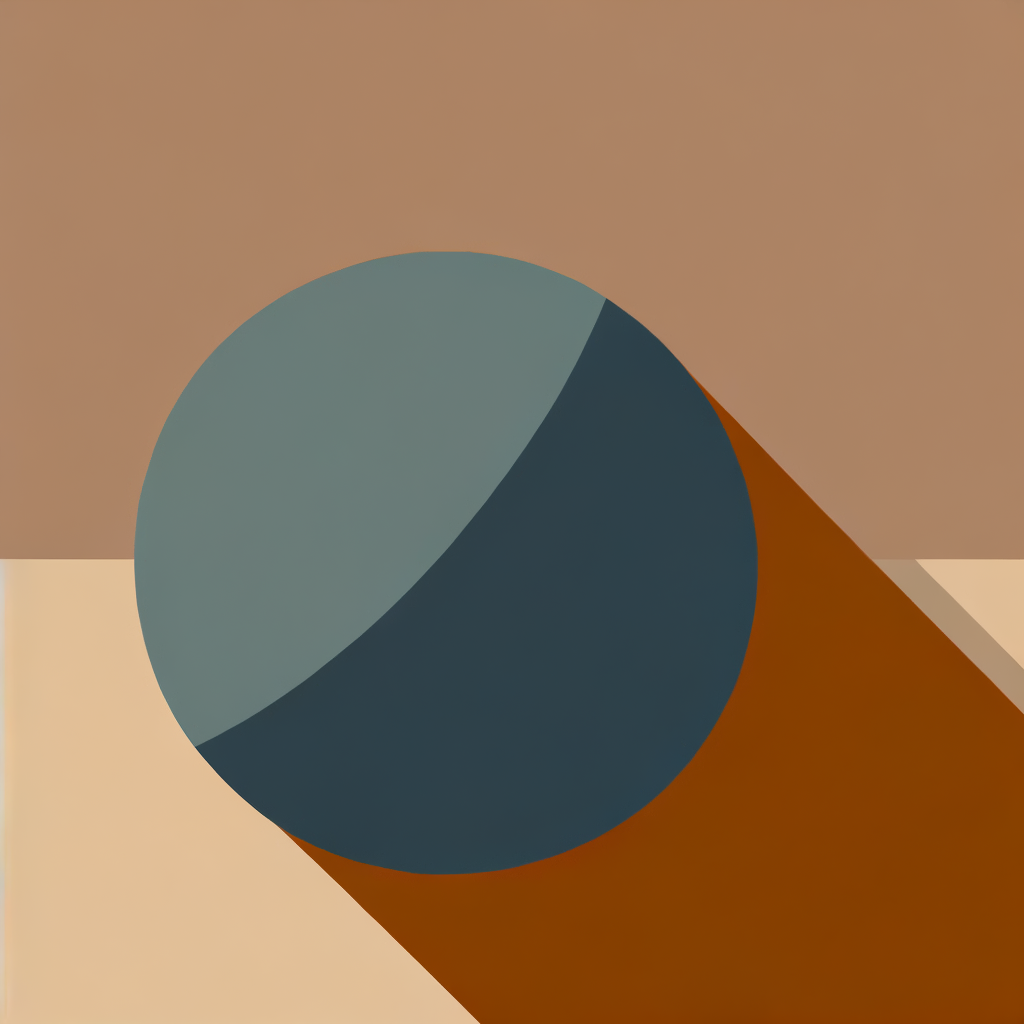
Draw the Cast Shadow
The cast shadow is the shadow the sphere throws onto the surface it rests on. It appears on the opposite side from the light source — for an upper-left light, it falls to the lower-right of the sphere. The cast shadow is darkest and sharpest right where it meets the sphere (the contact point), and it gradually lightens and softens as it extends outward. Draw an elliptical shadow shape beneath the sphere, darkest at the contact edge and fading out. The sphere should appear to sit ON the shadow, not float above it.
The contact shadow (the very darkest part where the sphere meets the surface) is often the darkest value in the entire drawing — darker even than the core shadow.
- If If the sphere still looks like it's floating, do Darken the contact shadow right at the base of the sphere and ensure there is no gap between the sphere's edge and the shadow..
Common mistakes
- ×Making the cast shadow perfectly round instead of elliptical — it should be stretched in the direction away from the light.
- ×Forgetting to make the shadow darkest at the contact point, which makes the sphere appear to float.
Step 8 of 8
Refine and Blend for a Polished Result
Step back and evaluate your sphere as a whole. Check that the tonal values flow smoothly from the bright highlight → light mid-tone → darker mid-tone → core shadow → reflected light. Blend any harsh transitions using a blending stump, cotton swab, or digital smudge tool. Sharpen the highlight if needed by erasing or adding a white dot. Deepen the cast shadow's contact edge. Finally, very lightly soften the outline of the sphere itself so it blends into the background rather than having a hard border — this is what makes it truly look like a 3D object floating in space.
Squint your eyes at the drawing — if the sphere reads as a 3D ball even when blurred, your values are working correctly. If it looks flat, you likely need more contrast between the highlight and the core shadow.
Common mistakes
- ×Over-blending until all contrast is lost — you still need clear separation between the lightest and darkest values.
- ×Leaving a visible dark outline around the entire sphere, which flattens it.
Sources
Generated from model knowledge — verify any factual claims independently.