How to Roll Up a Yoga Mat Properly
Learn how to roll your yoga mat neatly and evenly after each practice so it stays in great shape, stores easily, and is ready for your next session.
Materials
- Yoga mat
- Mat cleaning spray or damp cloth (optional)
- Mat strap or carry bag (optional)
Step 1 of 5
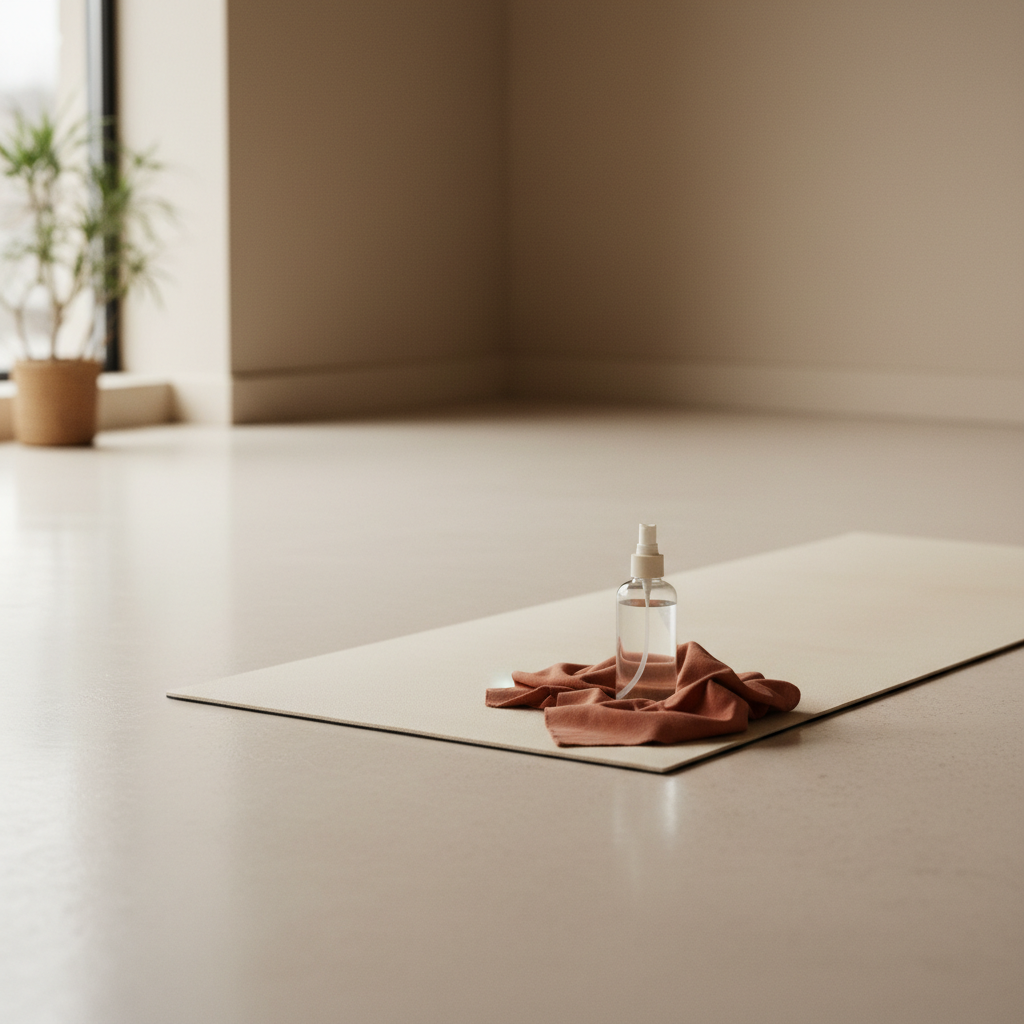
Lay the Mat Flat and Clean It
Spread your yoga mat out fully on the floor, top (grippy) side facing up. Before rolling, give it a quick wipe-down to remove sweat, oils, and dust. You can use a dedicated mat cleaning spray or simply a lightly damp cloth. Wipe from one end to the other in long strokes, then let it air for 30–60 seconds so it is not wet when you roll it. Rolling a damp mat can trap moisture and cause mold or odor over time.
Make cleaning a habit after every session — it only takes 30 seconds and dramatically extends the life of your mat.
Common mistakes
- ×Rolling the mat while it is still wet, which can lead to mildew and bad odors.
- ×Skipping the clean entirely, causing oils and bacteria to build up in the material.
Step 2 of 5
Identify the Correct End to Start Rolling
Always start rolling from the top (head) end of the mat — the end where your hands rest during poses like Downward Dog. Rolling from this end means the bottom (foot) end finishes on the outside of the roll. This is important because the foot end collects the most dirt and sweat, and keeping it on the outside prevents that grime from transferring to the clean top surface during storage.
If your mat has a logo or design, rolling from the top end usually keeps the logo visible on the outside of the finished roll — a nice bonus.
Common mistakes
- ×Starting from the foot end, which places the dirtiest part of the mat against the clean top surface.
Step 3 of 5
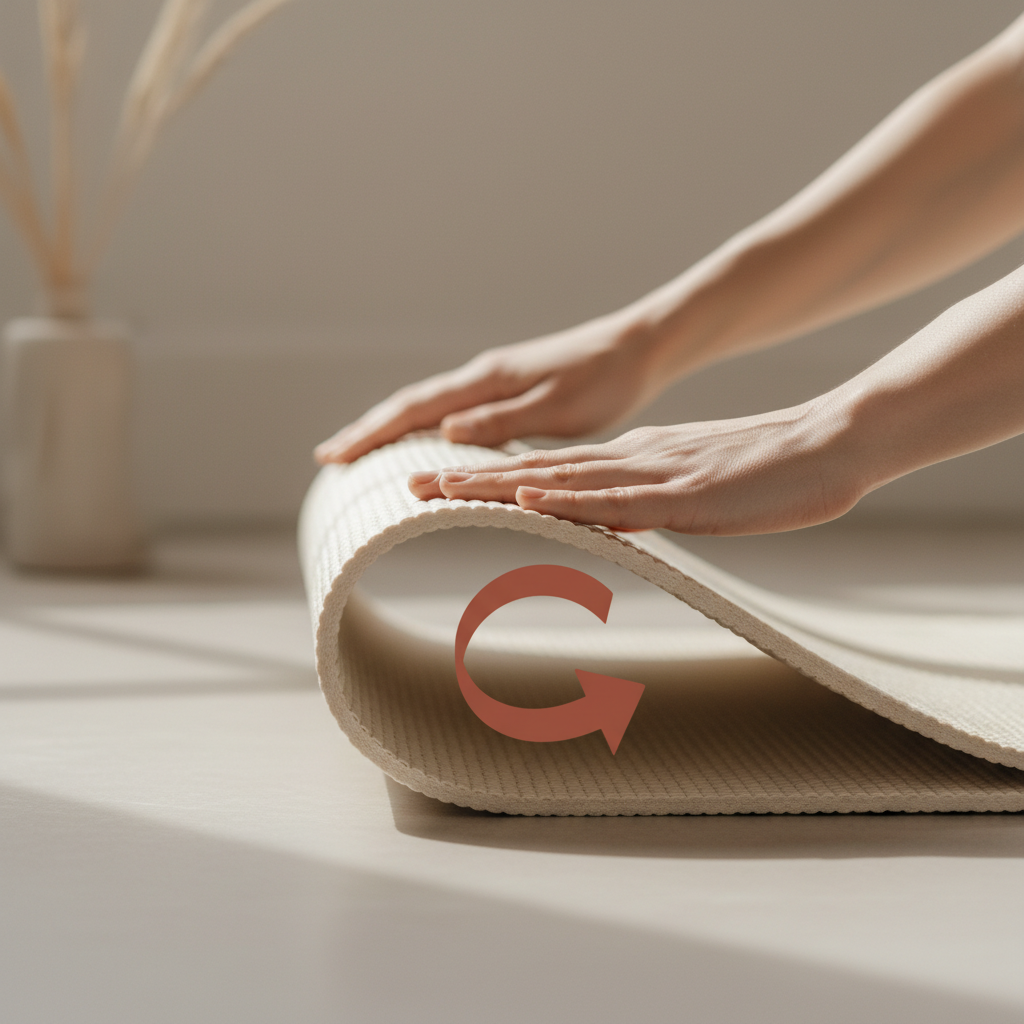
Begin Rolling Tightly and Evenly
Kneel or stand at the top end of the mat. Fold the very edge over by about 2–3 inches to create a firm starting point. Then use both hands — placed roughly shoulder-width apart — to roll the mat toward you in a slow, controlled motion. Apply even, gentle pressure with your palms as you roll to keep the cylinder tight and prevent air pockets or lumps from forming inside.
Keep your hands moving together at the same pace. If one side gets ahead of the other, the roll will come out uneven and may not fit in your carry bag.
- If If the mat keeps unrolling or feels slippery, do Start with a slightly tighter initial fold (4–5 inches) to give the roll more grip at its core before continuing..
Common mistakes
- ×Rolling too loosely, which creates a bulky, floppy roll that unravels easily.
- ×Letting one side race ahead of the other, resulting in a lopsided or diagonal roll.
Step 4 of 5
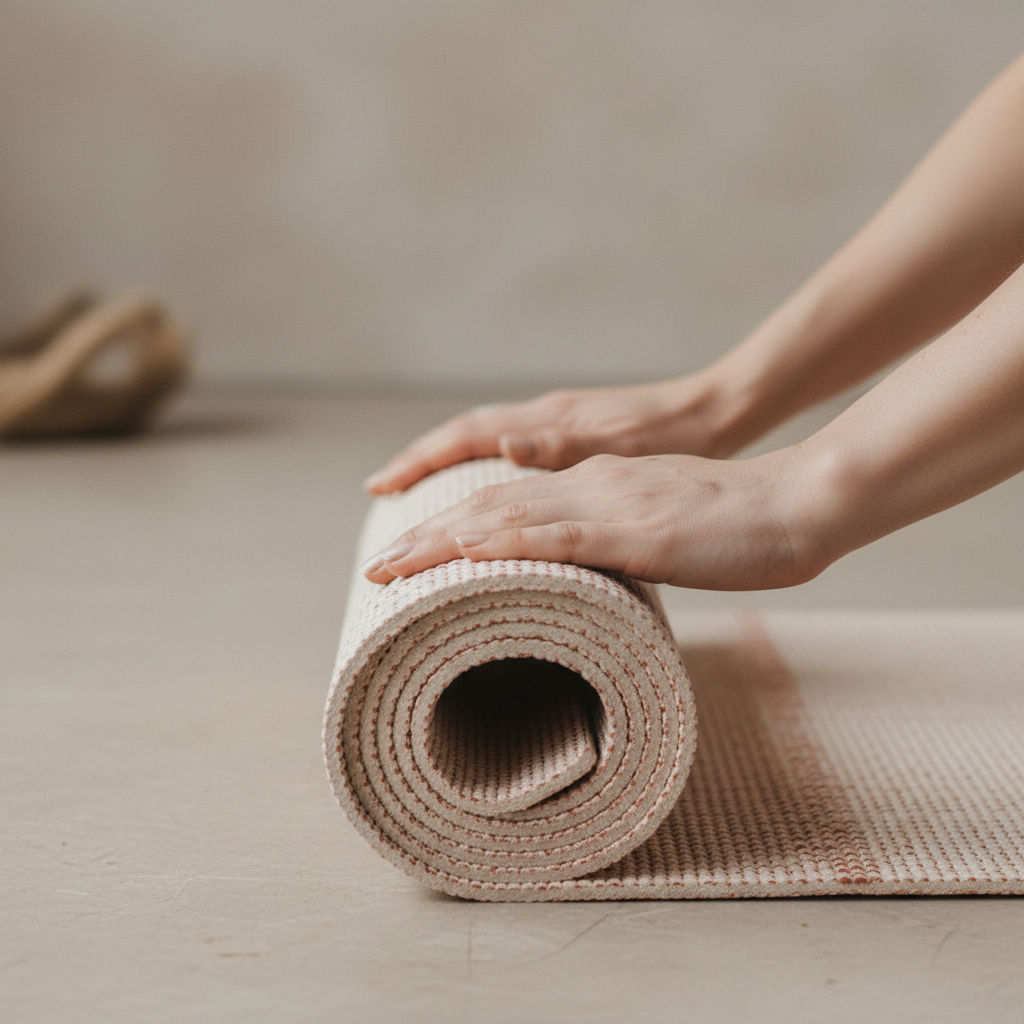
Check Alignment as You Go
Every few rolls, pause and look down the length of the mat from above. The edges on both sides should line up in a straight, even line. If one side is drifting ahead, gently push it back with your thumb before continuing. Keeping the edges aligned ensures the finished roll is a neat, uniform cylinder that sits flat and does not wobble.
Common mistakes
- ×Not checking alignment until the end, when it is much harder to correct.
Step 5 of 5

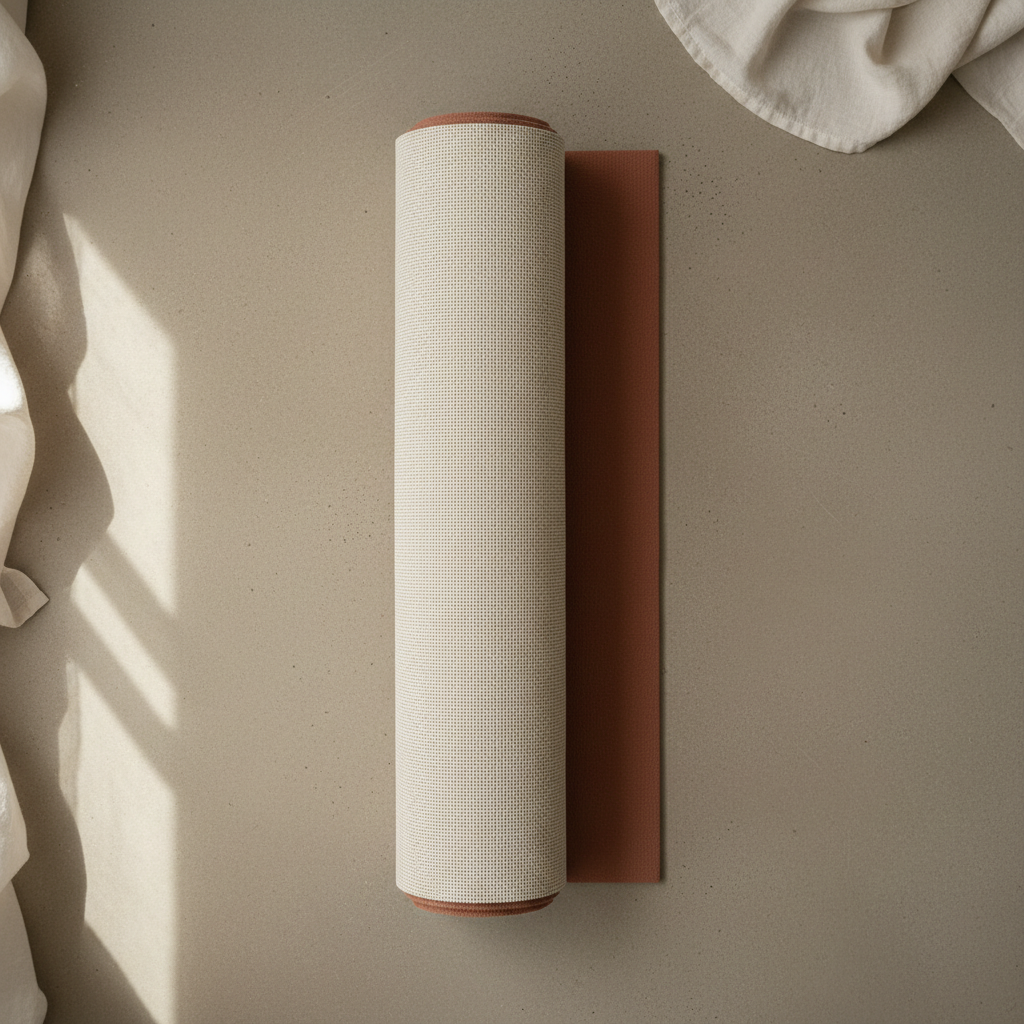
Finish the Roll and Secure It
Continue rolling until you reach the foot end of the mat. Give the completed roll one final firm press all the way along its length to tighten it up. Then secure it so it does not unravel during storage or transport. You have a few options: 1. Use a yoga mat strap — loop it around the center of the roll and buckle or tie it snugly. 2. Use the mat's own carry bag — slide the rolled mat in from one end. 3. Use a simple hair tie or rubber band around the middle if you have nothing else handy.
Store the secured roll standing upright on one end rather than lying on its side. This prevents flat spots and keeps the roll's shape over time.
- If If you do not have a strap or bag, do Tie the mat loosely with a shoelace or a strip of fabric — just enough to keep it from springing open..
Common mistakes
- ×Storing the mat without securing it, so it unrolls and picks up dust.
- ×Storing the mat in direct sunlight or near a heat source, which can warp or crack the material.
Sources
Generated from model knowledge — verify any factual claims independently.