How to Roll a Mat Properly
Learn how to roll any mat — yoga, exercise, camping, or decorative — neatly and tightly so it stays compact, holds its shape, and is easy to store or carry.
Materials
- Mat (yoga, exercise, camping, or decorative)
- Mat strap, elastic band, or carrying bag (optional)
Step 1 of 5
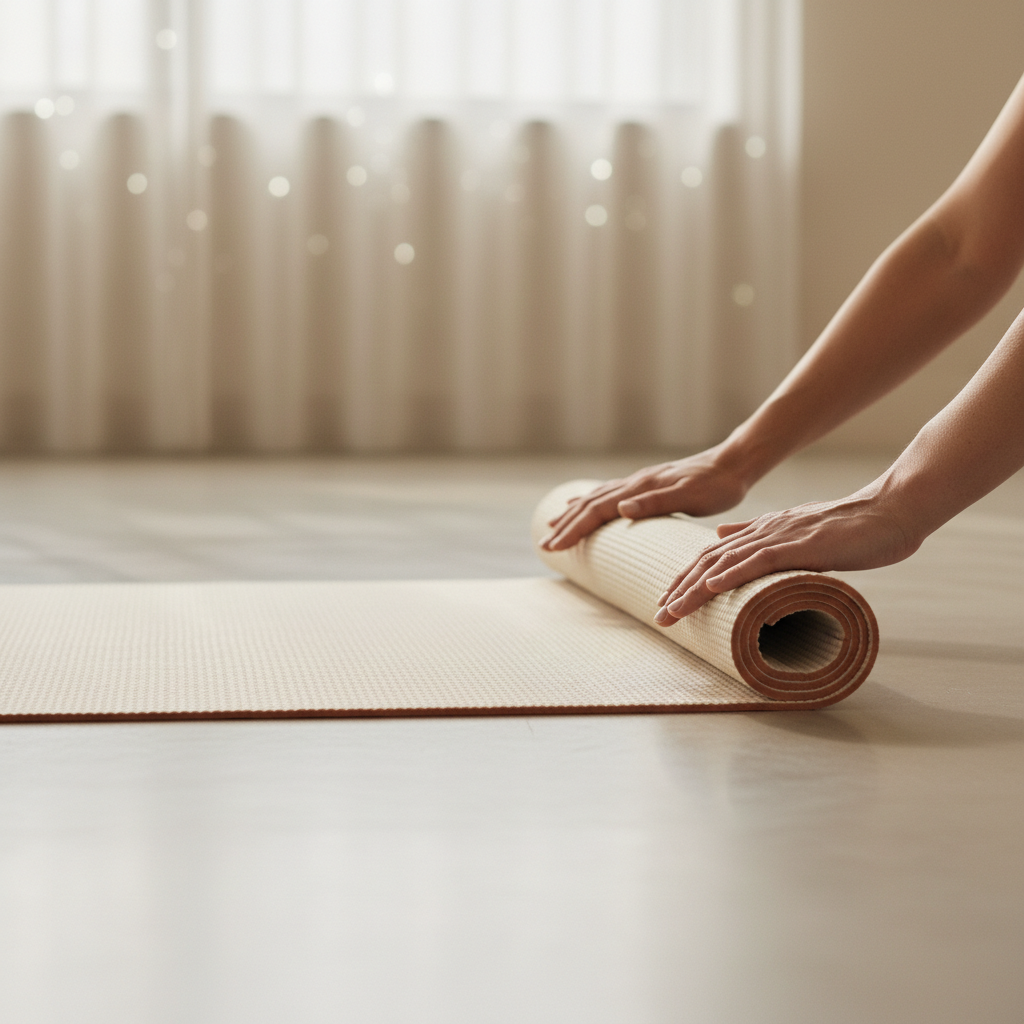
Lay the Mat Flat on a Clean Surface
Start by spreading the mat out completely on a flat, clean surface such as the floor. Smooth out any folds, bumps, or wrinkles with your hands by running them across the surface from the center outward. Make sure both edges are aligned and the mat is lying as flat as possible. If the mat is dirty, wipe it down and let it dry before rolling. Rolling a damp or dirty mat can cause mold, odors, or surface damage over time.
For yoga mats, place the top (grip) side face-down if you want the mat to lie flatter when unrolled next time. For most other mats, roll with the top side facing inward to protect the surface.
Common mistakes
- ×Rolling over wrinkles or folds, which creates permanent creases.
- ×Rolling a wet or damp mat, which can lead to mold and bad odors.
Step 2 of 5
Choose Your Starting End
Decide which end of the mat you will start rolling from. For yoga and exercise mats, it is generally best to start from the end opposite to where your head rests (the foot end), so the top end of the roll is the cleanest part. For camping or sleeping mats, start from the foot end as well to push any trapped air toward the open end as you roll. For decorative or area mats, start from either end — whichever gives you a tighter, neater roll.
- If If the mat has a top (grip or printed) side, do Decide whether to roll top-side in (protects the surface) or top-side out (common for yoga mats stored in bags) based on your preference..
- If If the mat is thick or foam-based, do Start with a very tight first fold to anchor the roll and prevent it from loosening as you go..
Step 3 of 5
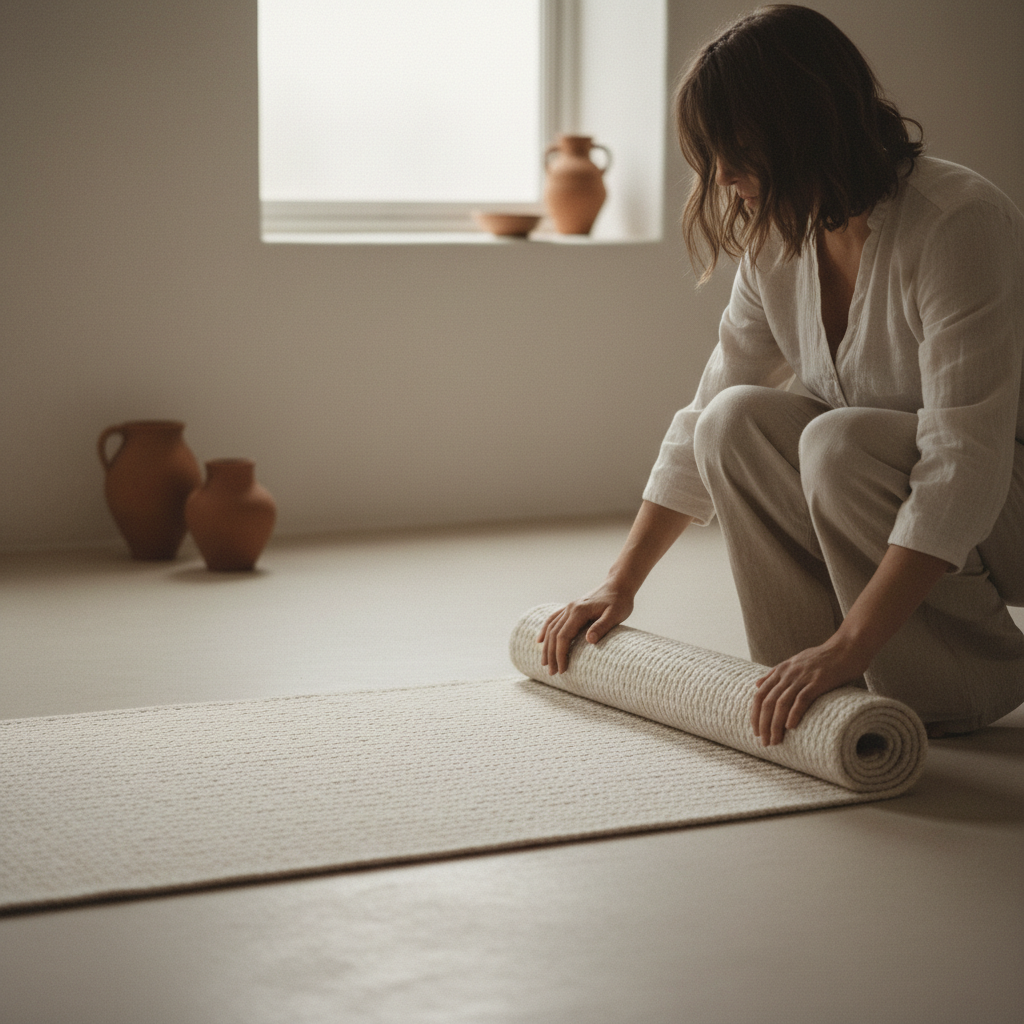
Begin Rolling Tightly and Evenly
Using both hands placed at equal distances from each side of the mat, begin rolling the mat toward the far end. Apply firm, even pressure with your palms as you roll, keeping the roll as tight and cylindrical as possible. Advance a few inches at a time, pressing down and forward. Keep checking that both sides of the roll are staying even — if one side starts to drift ahead of the other, ease it back into alignment before continuing. A tight first few rolls are the most important, as they set the shape for the entire roll.
Apply slightly more pressure at the center of the roll than at the edges to prevent the mat from bowing outward in the middle.
Common mistakes
- ×Rolling too loosely at the start, which causes the whole roll to be floppy and uneven.
- ×Letting one side get ahead of the other, resulting in a diagonal, uneven roll.
- ×Rolling too quickly without pressing down, trapping air bubbles inside.
Step 4 of 5
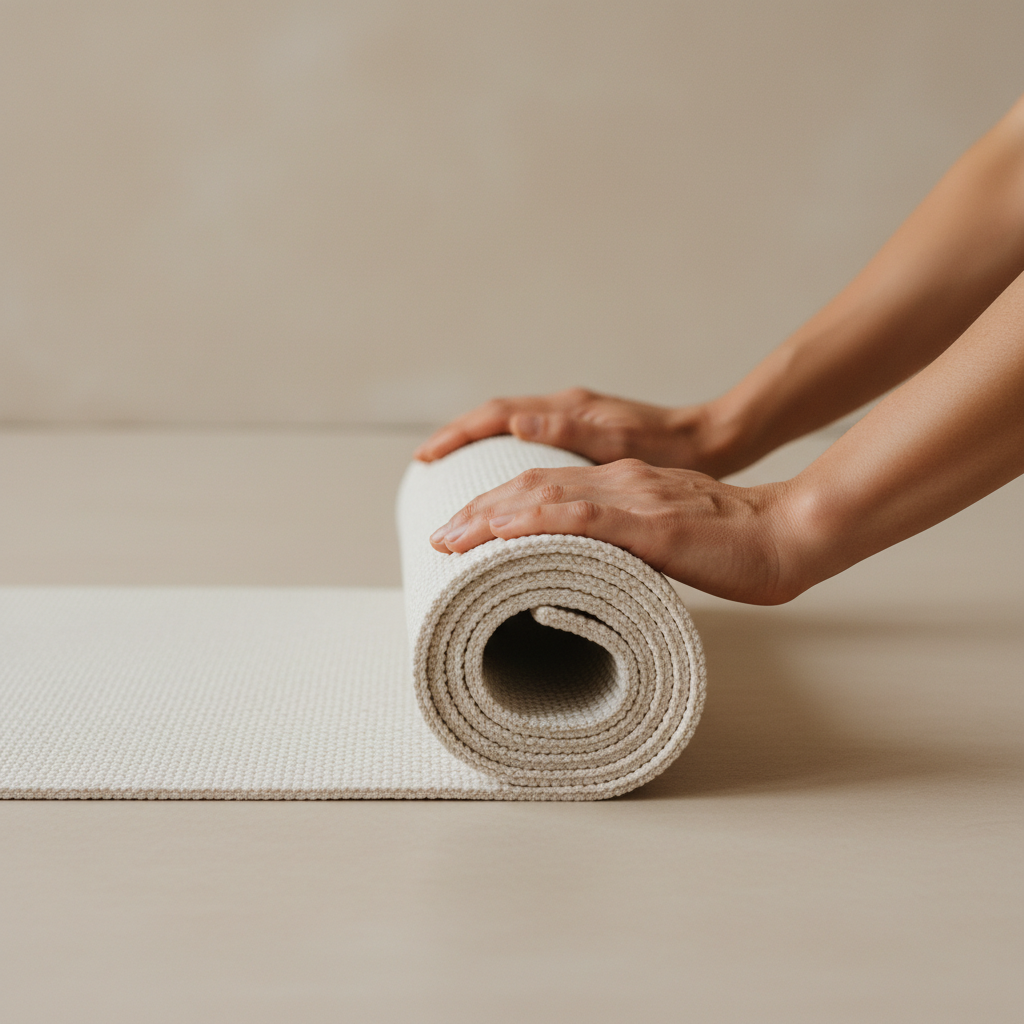
Complete the Roll and Align the Edges
Continue rolling all the way to the far end of the mat. As you reach the last section, maintain pressure so the final edge is tucked snugly against the roll rather than sticking out loosely. Once fully rolled, hold the roll firmly and look at both ends. If the edges are uneven (one end sticking out more than the other), gently tap the protruding end against the floor a couple of times to nudge it into alignment.
Common mistakes
- ×Releasing pressure too early near the end, causing the last section to unroll or flare out.
- ×Skipping the edge alignment check, leaving the mat lopsided in its bag or strap.
Step 5 of 5
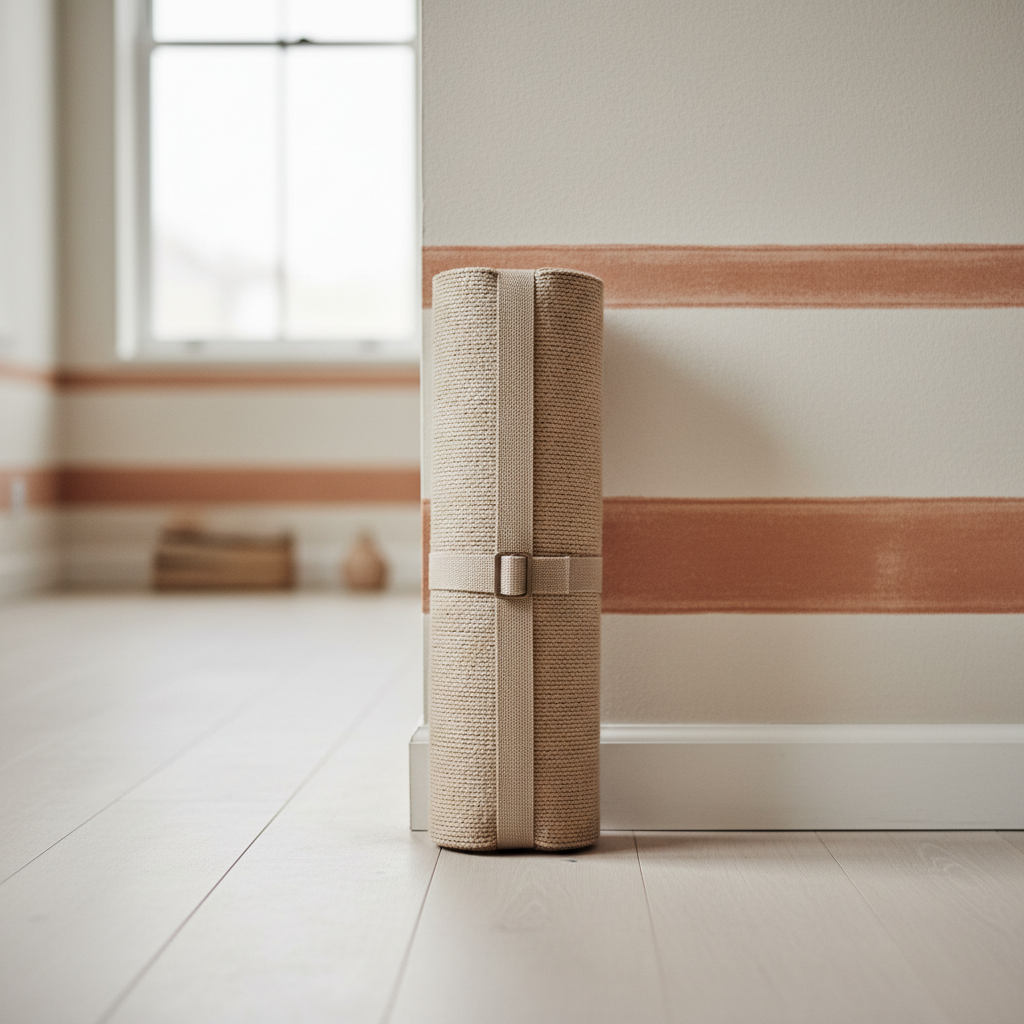
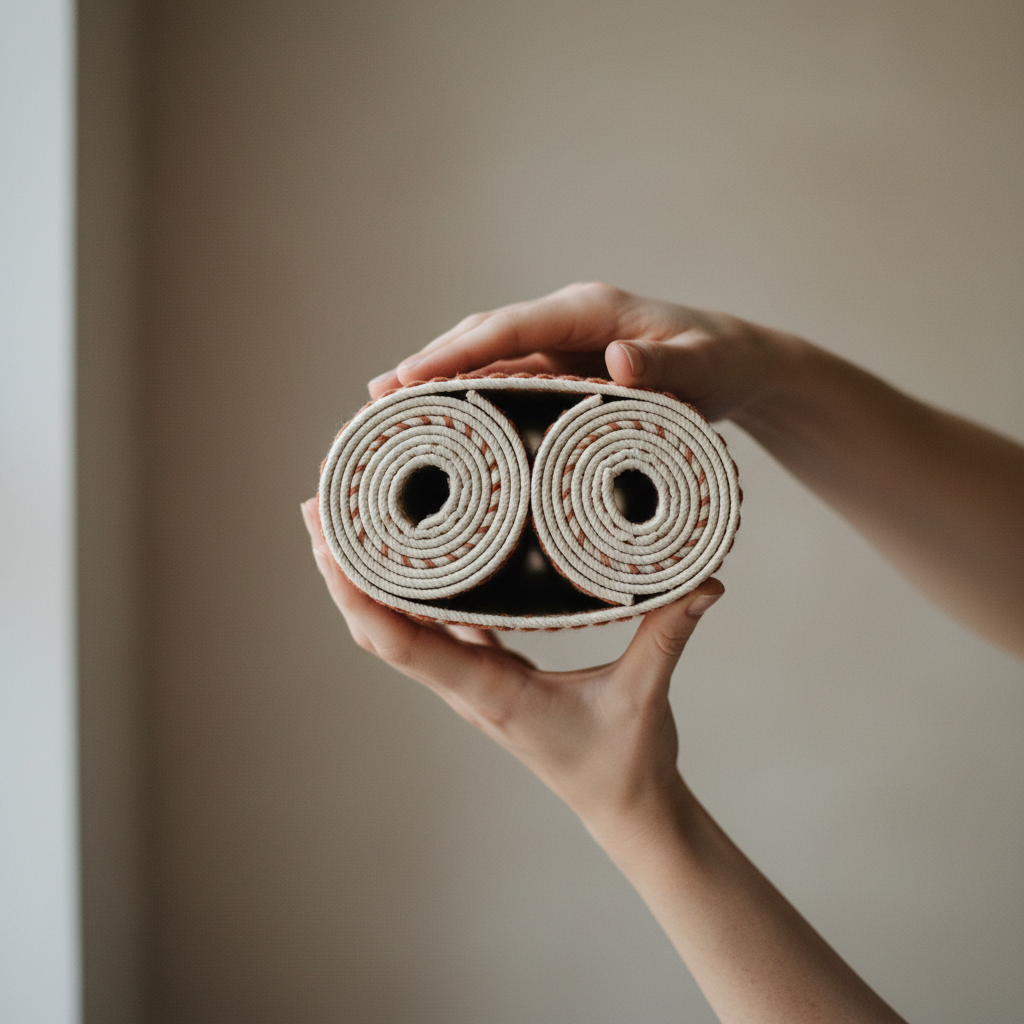
Secure the Roll for Storage or Transport
Keep the mat rolled by securing it with one of the following methods: 1. Mat strap or tie: Wrap a dedicated mat strap or a simple fabric tie around the center of the roll and buckle or knot it snugly. 2. Elastic band: Slip a wide elastic band around the roll at the center. 3. Carrying bag: Slide the rolled mat into its carrying bag or sleeve, which will hold the shape naturally. 4. Tuck method (for thick foam mats): Tuck the loose outer edge under one of the side loops of the roll to hold it without any accessories. Store the secured roll upright (standing on one end) or lying flat in a cool, dry place away from direct sunlight to prevent material degradation.
Avoid storing a rolled mat under heavy objects or in a compressed space for long periods, as this can cause permanent deformation.
- If If you have no strap or band available, do Use a shoelace, a strip of fabric, or even a hair tie for a temporary fix to keep the mat rolled..
- If If the mat keeps unrolling on its own, do The mat may have a strong memory curl in the opposite direction — try rolling it the other way, or leave it rolled and secured for a few hours to help it hold the shape..
Sources
Generated from model knowledge — verify any factual claims independently.