How to Remove Old Wallpaper Without Damaging the Wall
Learn how to safely strip old wallpaper from your walls using the right tools and techniques, while keeping the underlying drywall or plaster intact and ready for repainting or re-wallpapering.
Materials
- Wallpaper scorer / perforating tool
- Pump garden sprayer or sponge
- Warm water
- Wallpaper removal solution or fabric softener (optional)
- Wide plastic or metal scraper / putty knife (6–10 inch)
- Drop cloths or plastic sheeting
- Painter's tape
- Bucket
- Sponge and clean rags
- Drywall joint compound / spackle
- Sandpaper (120 and 220 grit)
- Primer (PVA or drywall primer)
Before you start
- Basic comfort with DIY home tasks
- Access to water and electrical outlets in the room
Step 1 of 7
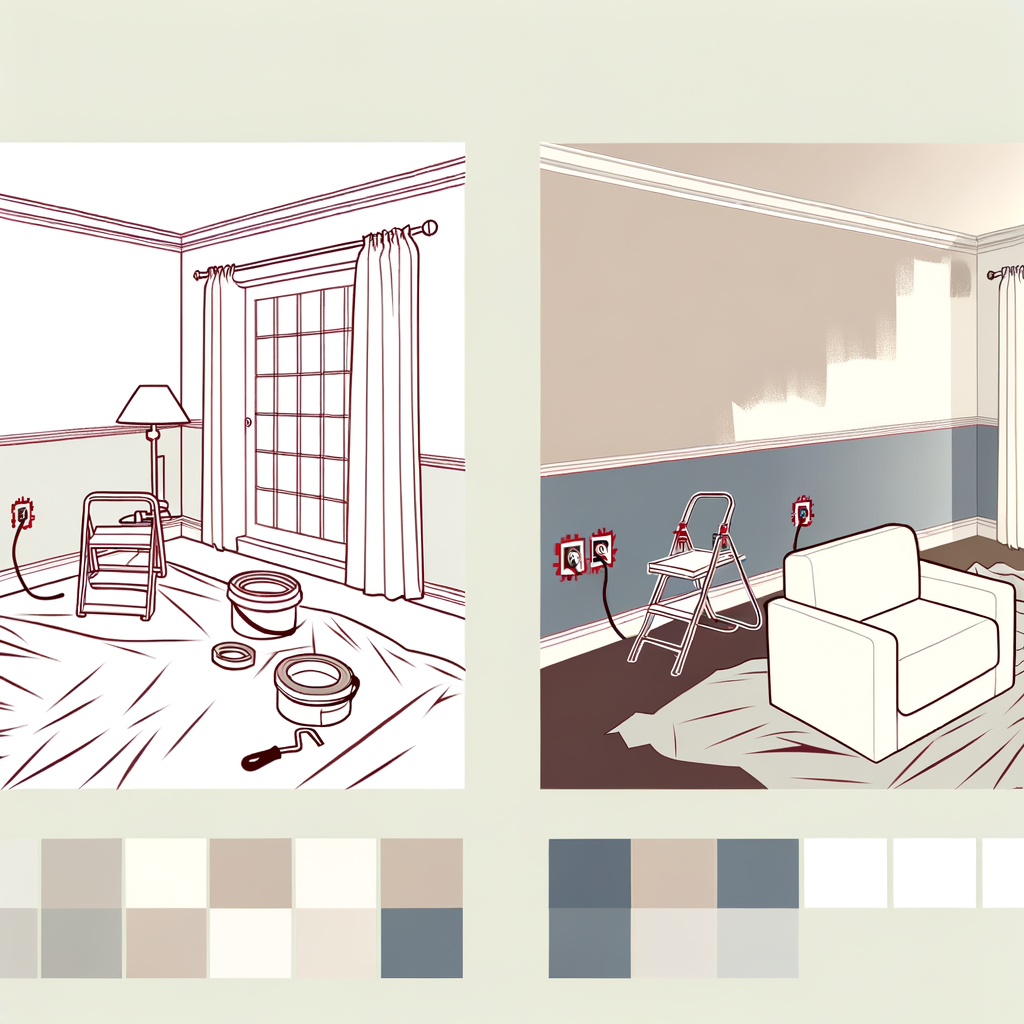
Prepare the Room
Before touching the wallpaper, protect your space and turn off power to the room. 1. Move furniture away from the walls or cover it with drop cloths. 2. Lay plastic sheeting or drop cloths on the floor along the base of each wall to catch wet paper scraps and drips. 3. Apply painter's tape over electrical outlets and light switches. 4. Go to your breaker box and turn off the circuit(s) supplying power to the room. Confirm power is off with a non-contact voltage tester. 5. Remove outlet covers and switch plates and set them aside.
Lay an extra layer of old newspaper on top of the drop cloths — it absorbs water better than plastic and makes cleanup much faster.
Common mistakes
- ×Forgetting to turn off electricity before applying water near outlets.
- ×Skipping drop cloths and ending up with wet paper scraps stuck to the floor.
Step 2 of 7
Identify Your Wall Type and Wallpaper Layers
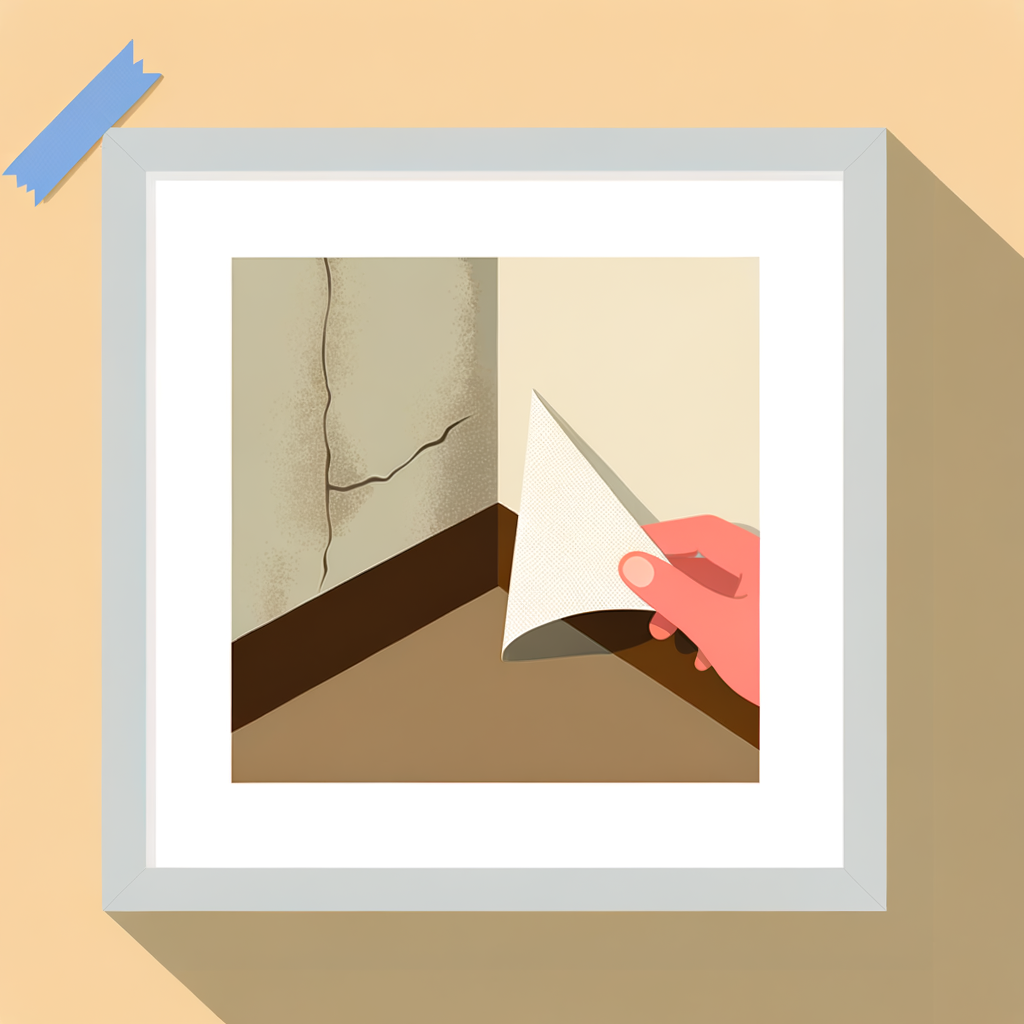
Knowing what's behind the wallpaper determines how aggressive you can be with water and scraping. **Wall types:** - **Drywall (gypsum board):** Most common in homes built after the 1950s. The paper facing is vulnerable to water damage, so you must work quickly in small sections. - **Plaster:** Found in older homes. Much more water-resistant and forgiving. **Wallpaper layers:** - **Single layer:** Peel a corner to check — if you see bare wall or paint, there's only one layer. - **Multiple layers:** You may see another pattern underneath. Each layer must be removed separately. **Test for a primer/sizing coat:** Peel back a small corner. If the drywall paper tears away with the wallpaper, the wall was never primed before papering — proceed with extra caution and minimal water.
If you're unsure of your wall type, knock on the wall — drywall sounds hollow, plaster sounds solid and dense.
- If If the wall is drywall (especially unprimed), do Work in very small sections (2–3 sq ft at a time), use minimal water, and use a plastic scraper to avoid gouging..
- If If the wall is plaster, do You can be more liberal with water and use a metal scraper with moderate pressure..
Common mistakes
- ×Assuming there's only one layer without checking first.
- ×Using too much water on unprimed drywall, causing the paper face to tear off.
Step 3 of 7
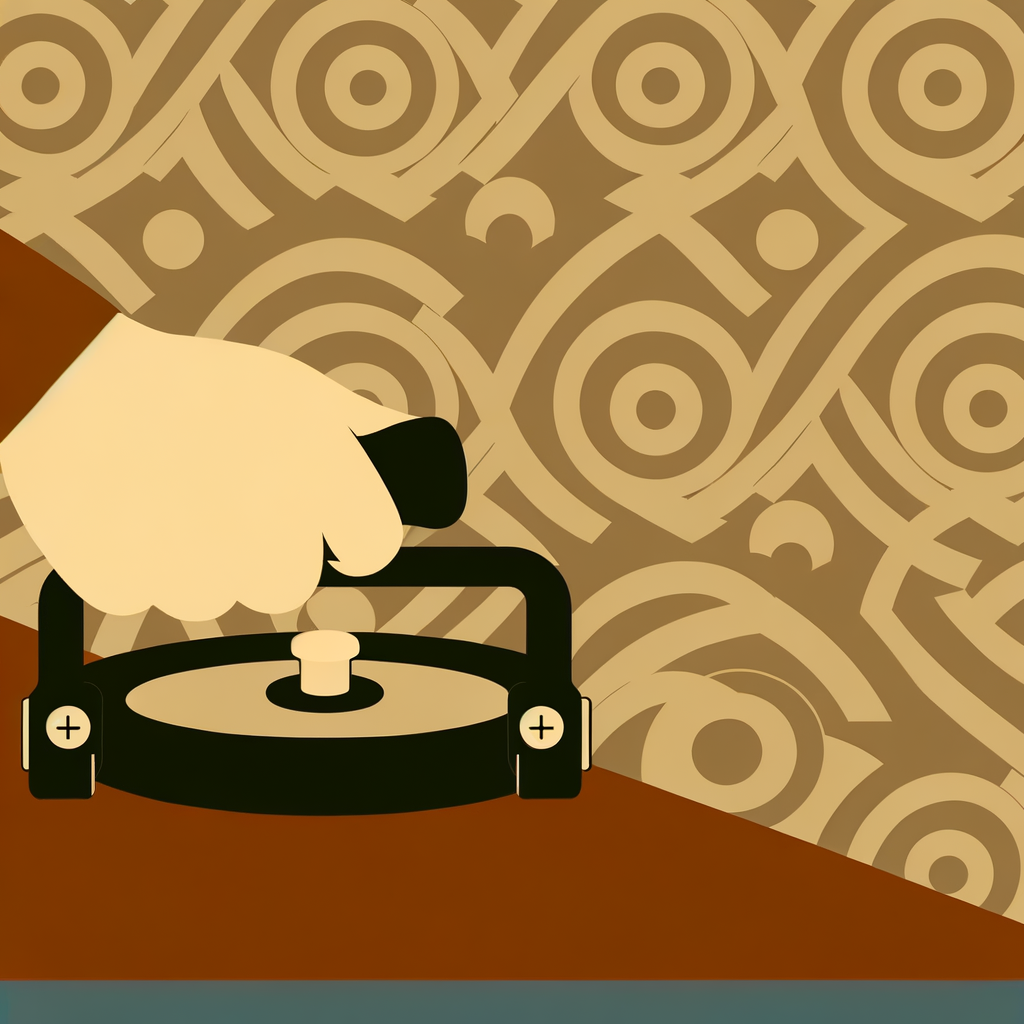
Score the Wallpaper Surface
Most wallpaper has a vinyl or coated top layer that repels water. Scoring breaks through this barrier so your soaking solution can reach the adhesive underneath. 1. Use a wallpaper scorer (also called a perforating tool) and run it in overlapping circular motions across the entire surface. 2. Apply light, even pressure — you want to perforate the paper, NOT dig into the wall behind it. 3. Work from top to bottom and cover the whole wall before moving to the next step. **Note:** If the wallpaper is already peeling, flaking, or is a thin non-coated paper, you may be able to skip scoring — test by spraying a small area first to see if water soaks in readily.
Don't press too hard with the scorer — on drywall especially, deep scores can gouge the wall surface and create extra patching work later.
Common mistakes
- ×Pressing the scorer too hard and gouging the drywall beneath.
- ×Skipping scoring on vinyl-coated wallpaper, causing the soaking solution to bead off and be ineffective.
Step 4 of 7
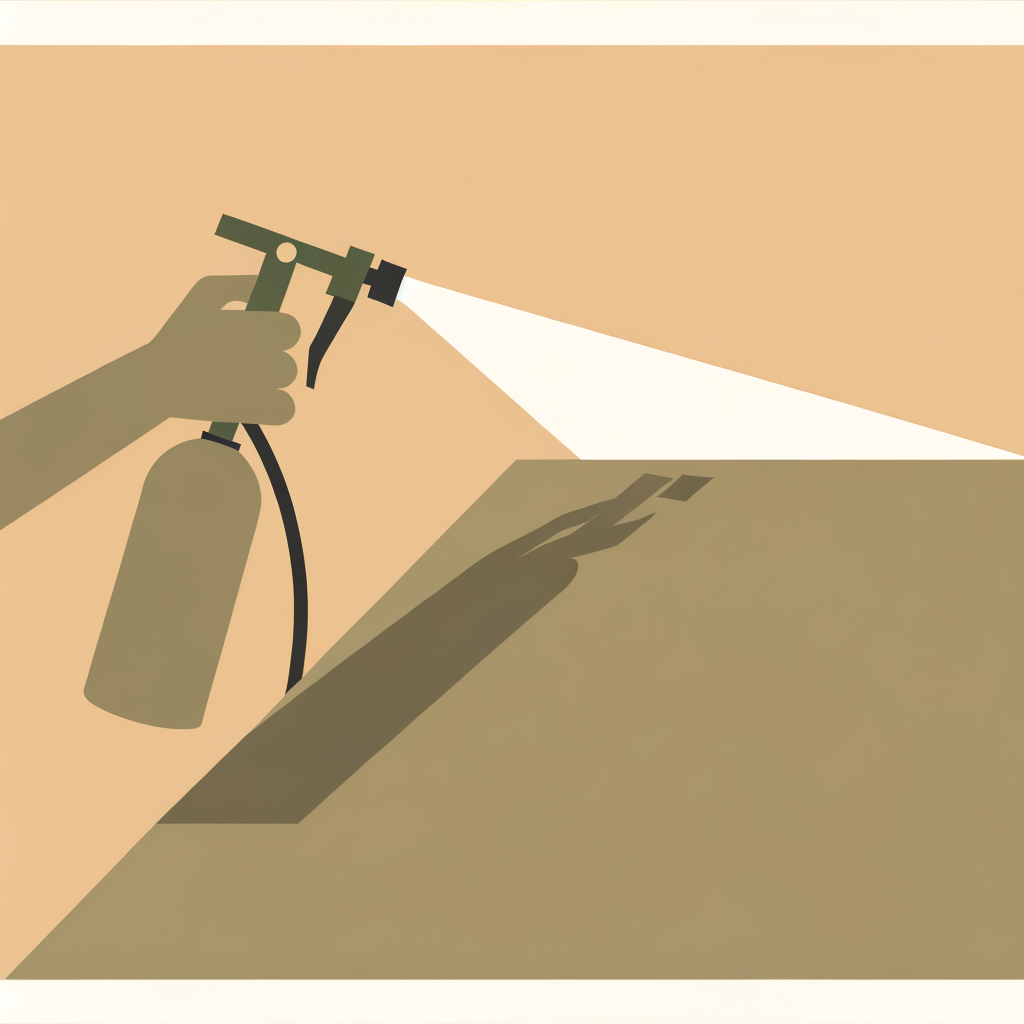
Soak the Wallpaper
Now you'll saturate the wallpaper to dissolve the adhesive (paste) holding it to the wall. **Make your solution:** - Option A (DIY): Mix warm water with a few drops of dish soap or a capful of liquid fabric softener in a pump sprayer or bucket. - Option B (Commercial): Mix a wallpaper removal concentrate (like DIF) with warm water per package directions. **Apply the solution:** 1. Fill a pump garden sprayer with your solution. 2. Working in manageable sections (about 3–4 sq ft on drywall, larger on plaster), spray the wall generously until the paper looks visibly wet and darkened. 3. Wait 3–5 minutes for the solution to penetrate and soften the adhesive. Don't let it dry out — re-spray if needed. 4. Test a corner: if the paper lifts easily, it's ready. If not, wait another 2 minutes.
Warm water works significantly faster than cold water at dissolving old paste. If you have a steam wallpaper remover, it's even more effective — especially on thick or multi-layered paper.
- If If the paper is not releasing after 5 minutes of soaking, do Re-score the area more thoroughly and apply another round of solution, waiting an additional 3–5 minutes..
- If If you have a steam wallpaper remover available, do Hold the steam plate against the wall for 20–30 seconds per section for faster, more effective adhesive softening — especially useful on plaster walls..
Common mistakes
- ×Soaking too large an area at once, causing the solution to dry before you can scrape it.
- ×Not waiting long enough for the adhesive to soften, leading to tearing instead of clean peeling.
Step 5 of 7
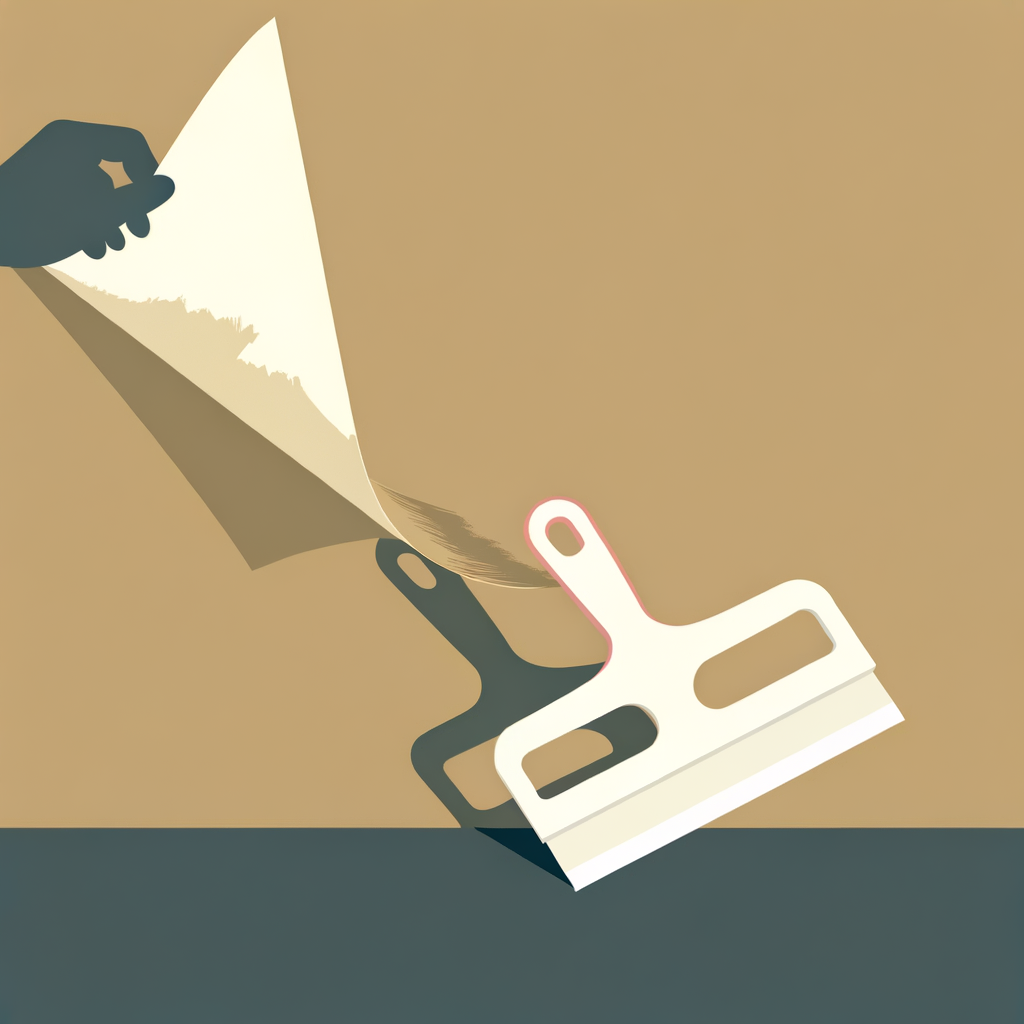
Scrape Off the Wallpaper
With the adhesive softened, carefully remove the wallpaper using a scraper. 1. Start at a seam, corner, or any naturally loose edge. 2. Hold your scraper at a low angle (about 30°) to the wall — this reduces the risk of digging in. 3. Slide the scraper under the paper with gentle, steady pressure and push forward in smooth strokes. 4. Peel large sections by hand where possible — grab the loosened paper and pull slowly at a low angle parallel to the wall. 5. Drop scraped pieces onto your drop cloth as you go. 6. Re-spray any stubborn spots and wait another minute before trying again — never force dry paper. 7. Repeat the soak-and-scrape process section by section until all paper is removed.
Pull the paper back on itself at a very low angle (almost parallel to the wall) rather than pulling it straight out — this dramatically reduces tearing and wall damage.
Common mistakes
- ×Holding the scraper at a steep angle, which gouges the drywall or plaster.
- ×Forcing dry or under-soaked paper, which tears into tiny pieces and makes removal much harder.
- ×Rushing and skipping re-soaking stubborn spots.
Step 6 of 7
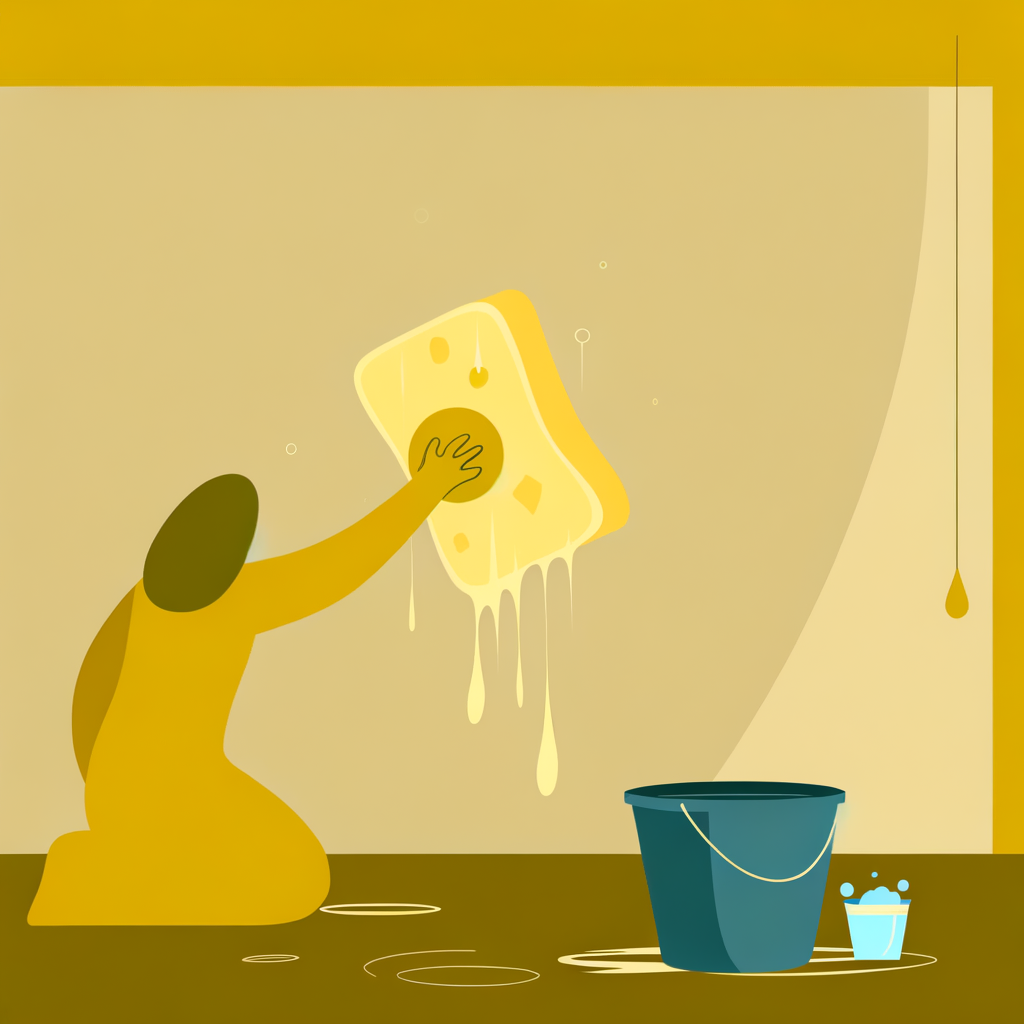
Remove Adhesive Residue
After the paper is off, a layer of old paste or glue residue is almost always left on the wall. This must be cleaned off before any painting or re-papering. 1. Mix warm water with a small amount of wallpaper removal solution or dish soap in a bucket. 2. Using a large sponge, wash down the entire wall in circular motions to dissolve and lift the sticky residue. 3. Rinse the sponge frequently and change your water when it becomes cloudy. 4. Run your hand over the wall — it should feel smooth and clean, not tacky or gritty. 5. Wipe the wall down with clean, damp rags to remove any soap residue. 6. Allow the wall to dry completely — at least 24 hours, ideally 48 hours — before moving to repairs. Use fans to speed drying.
Feel the wall with the back of your hand — it's a more sensitive way to detect remaining tackiness than using your fingertips.
Common mistakes
- ×Skipping this step and painting over residue, which causes paint to bubble and peel.
- ×Not allowing the wall to fully dry before priming, trapping moisture inside.
Step 7 of 7
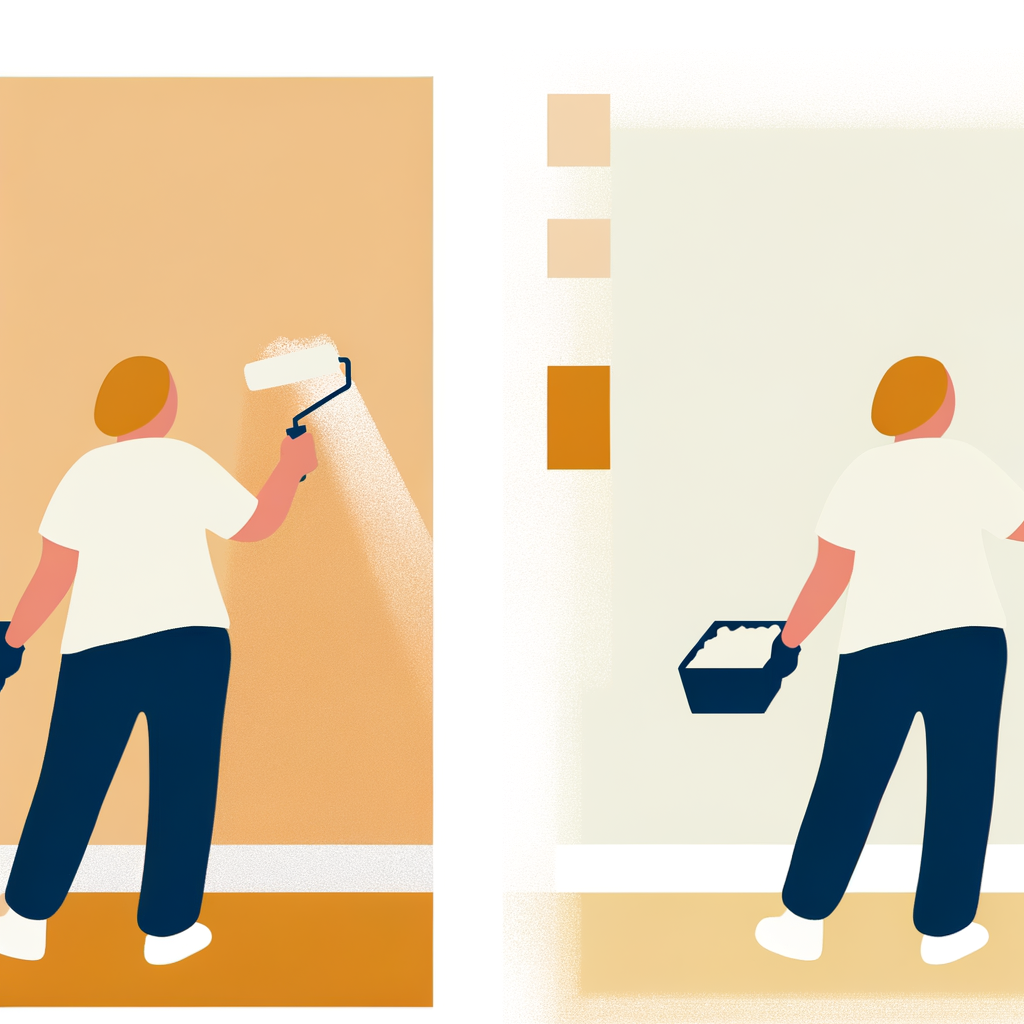
Repair and Prime the Wall
Even careful removal often leaves small gouges, tears, or dings. Now is the time to restore the wall surface. **Repair:** 1. Inspect the wall in raking light (shine a flashlight at a low angle) to reveal all imperfections. 2. Apply drywall joint compound or spackle to any gouges, torn drywall paper, or holes using a putty knife. Feather the edges smooth. 3. Let dry fully (check the product label — usually 4–8 hours), then sand smooth with 120-grit sandpaper. 4. For torn drywall paper facing, apply a thin skim coat of compound, let dry, and sand. 5. Wipe away all dust with a damp cloth. **Prime:** 1. Apply a coat of PVA primer or drywall primer to the entire wall. This seals the surface, prevents paint from soaking in unevenly, and locks down any remaining adhesive. 2. Allow primer to dry fully per manufacturer's instructions before painting or re-papering.
Use a tinted primer (tinted to match your final paint color) to improve coverage and reduce the number of topcoats needed.
Common mistakes
- ×Skipping primer and painting directly over bare drywall or repaired spots, causing uneven sheen ('flashing').
- ×Not sanding repairs smooth, leaving visible bumps under the final paint.
Sources
Generated from model knowledge — verify any factual claims independently.