How to Jump-Start a Car with a Dead Battery
Learn how to safely jump-start a car with a dead battery using jumper cables and a working donor vehicle, so you can get back on the road quickly.
Materials
- Jumper cables (at least 10–12 gauge, 10–20 ft long)
- A working donor vehicle
- Safety gloves (optional but recommended)
- Safety glasses (optional but recommended)
Before you start
- A working donor vehicle with a fully charged battery
- Basic knowledge of where your car's battery is located
Step 1 of 7
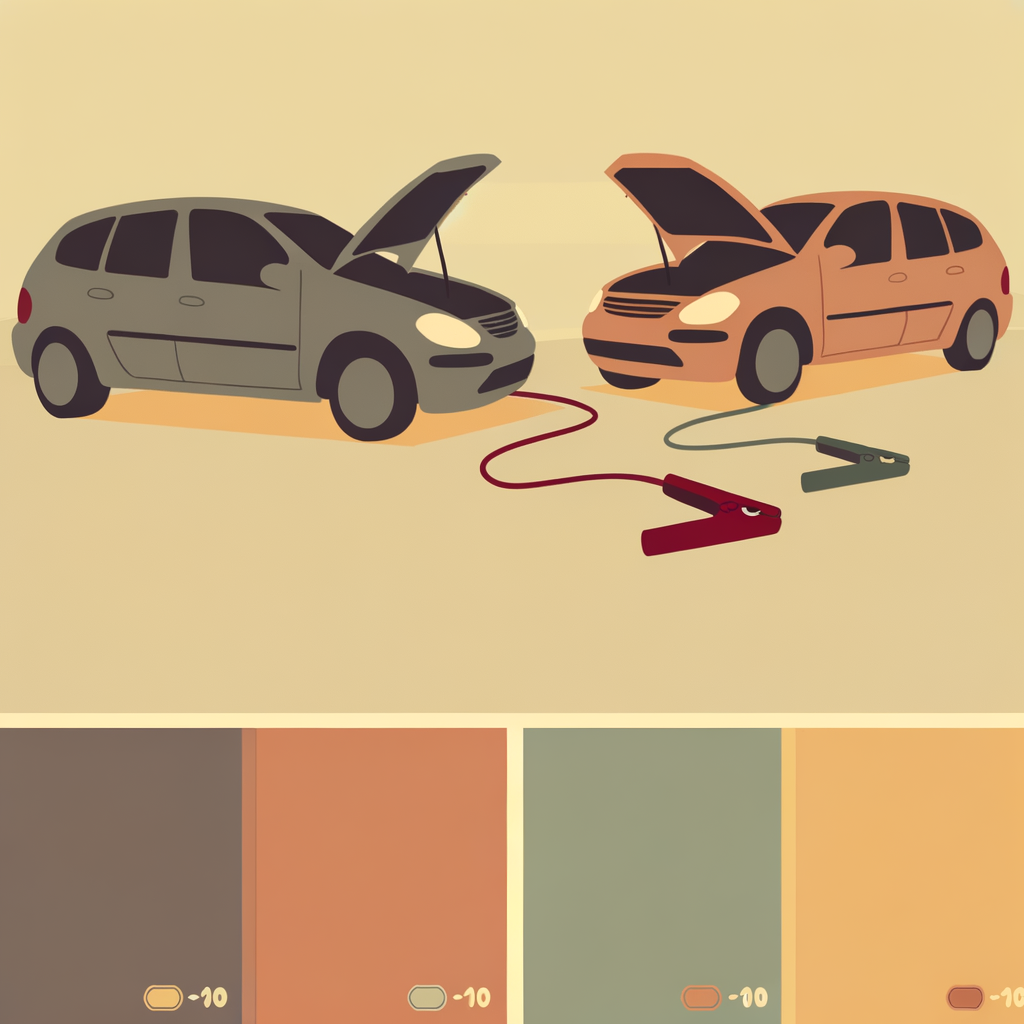
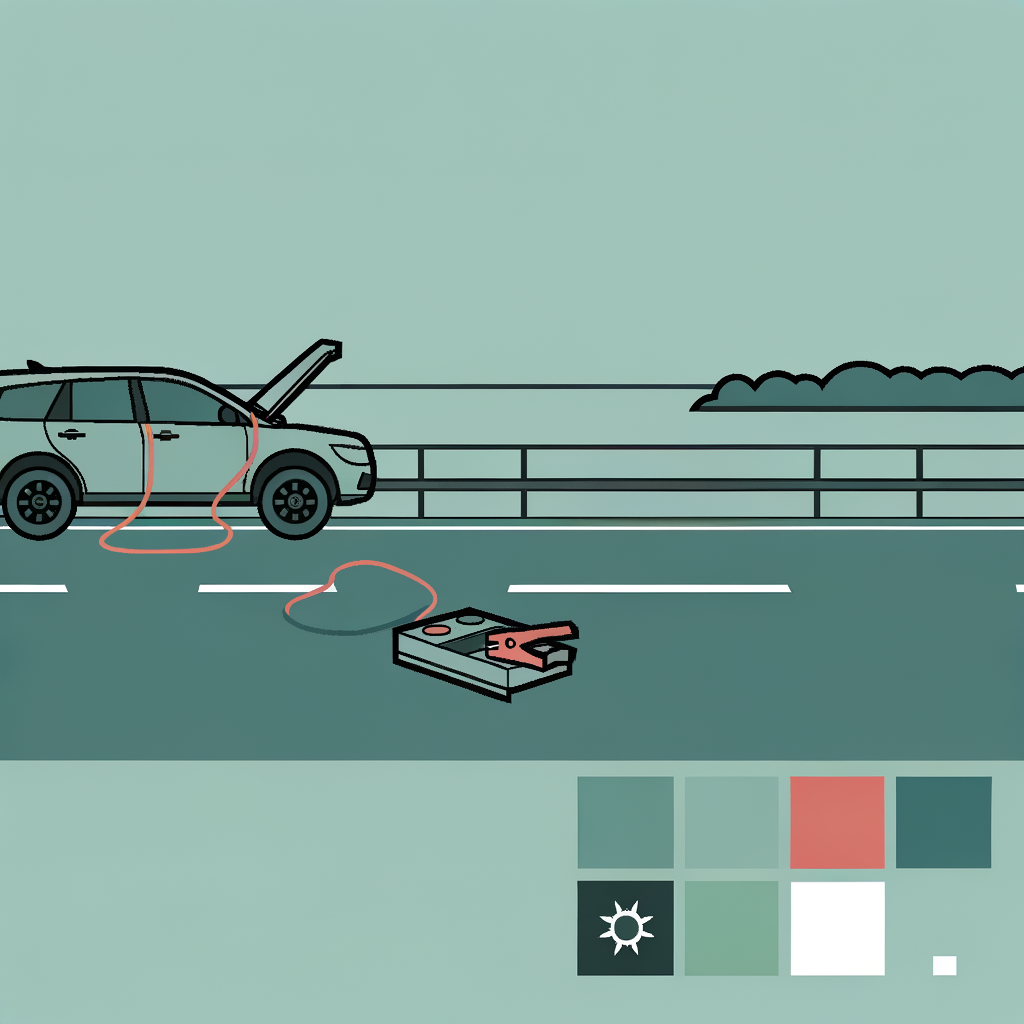
Position the Vehicles and Inspect the Batteries
Park the donor (working) vehicle nose-to-nose with the dead vehicle, or side by side if that's not possible — close enough that the jumper cables can reach both batteries comfortably. Turn off both vehicles and engage the parking brakes on each. Open both hoods and locate the batteries. Inspect them visually: look for cracks, corrosion (white or bluish powder around terminals), leaks, or a swollen/bulging case. If you see any of these signs on either battery, do NOT proceed — a damaged battery can explode when jump-started.
If your battery terminals look corroded, use a wire brush or a rag to clean them before attaching the clamps — a better connection means a faster jump-start.
Common mistakes
- ×Parking the cars too far apart so the cables don't reach both batteries.
- ×Skipping the battery inspection and jump-starting a damaged or leaking battery.
Step 2 of 7
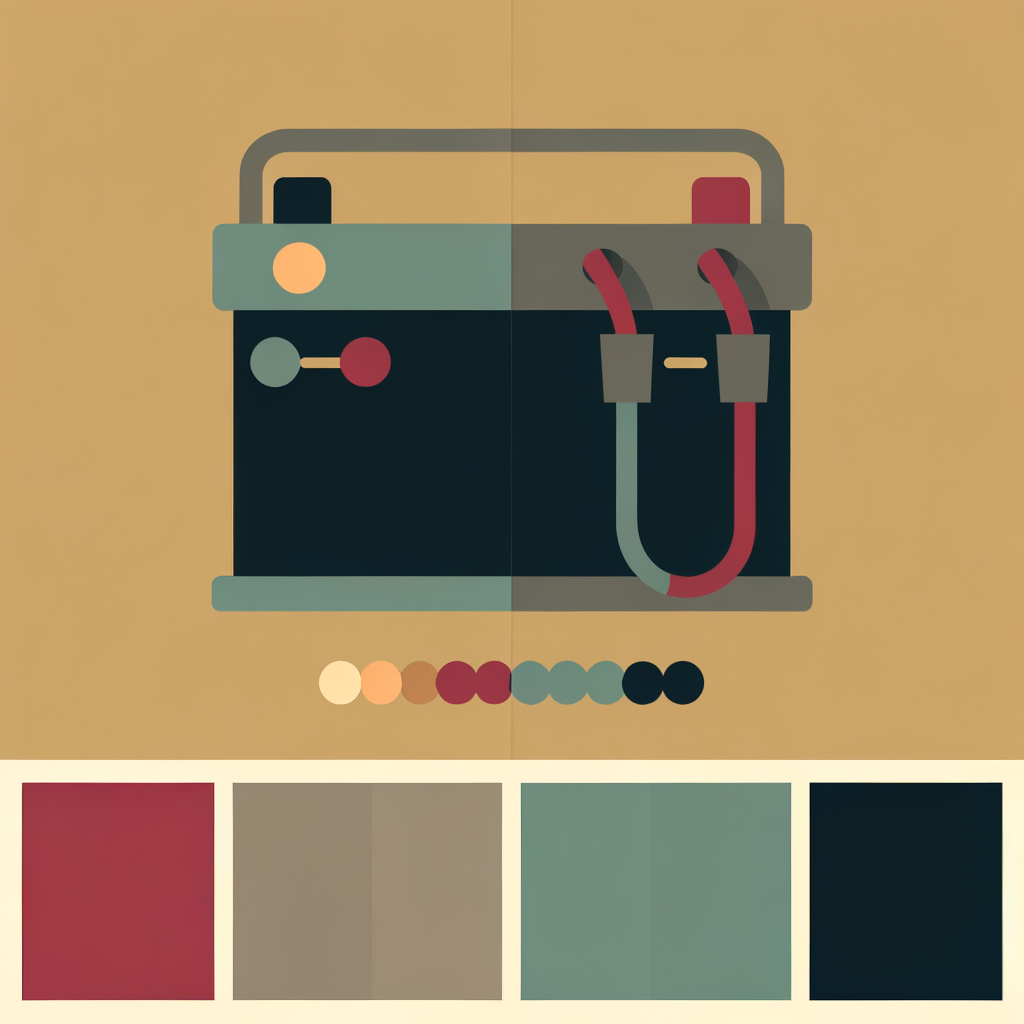
Identify the Battery Terminals
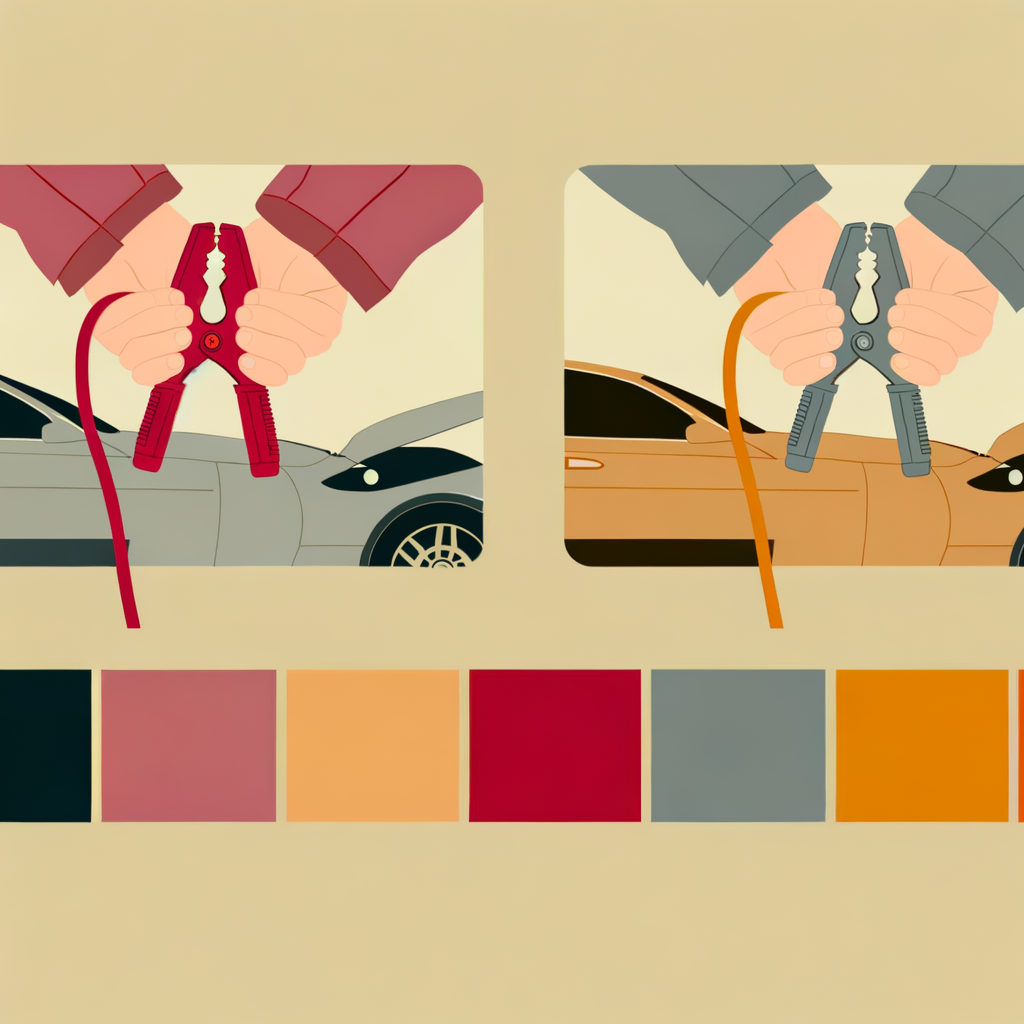
On each battery, identify the two terminals: • **Positive (+)** — usually marked with a '+' sign, often has a red cover or red cable attached. • **Negative (−)** — usually marked with a '−' sign, often has a black cover or black cable attached. Also identify an unpainted metal surface on the dead car's engine block or chassis — you'll use this as a grounding point in the next step. This is safer than clamping directly to the negative battery terminal on the dead car.
Take a photo of both batteries before connecting anything — it's a handy reference if you get confused mid-process.
Common mistakes
- ×Confusing the positive and negative terminals — connecting them incorrectly can damage both vehicles' electrical systems.
- ×Forgetting to find a grounding point on the dead car's engine block before starting.
Step 3 of 7
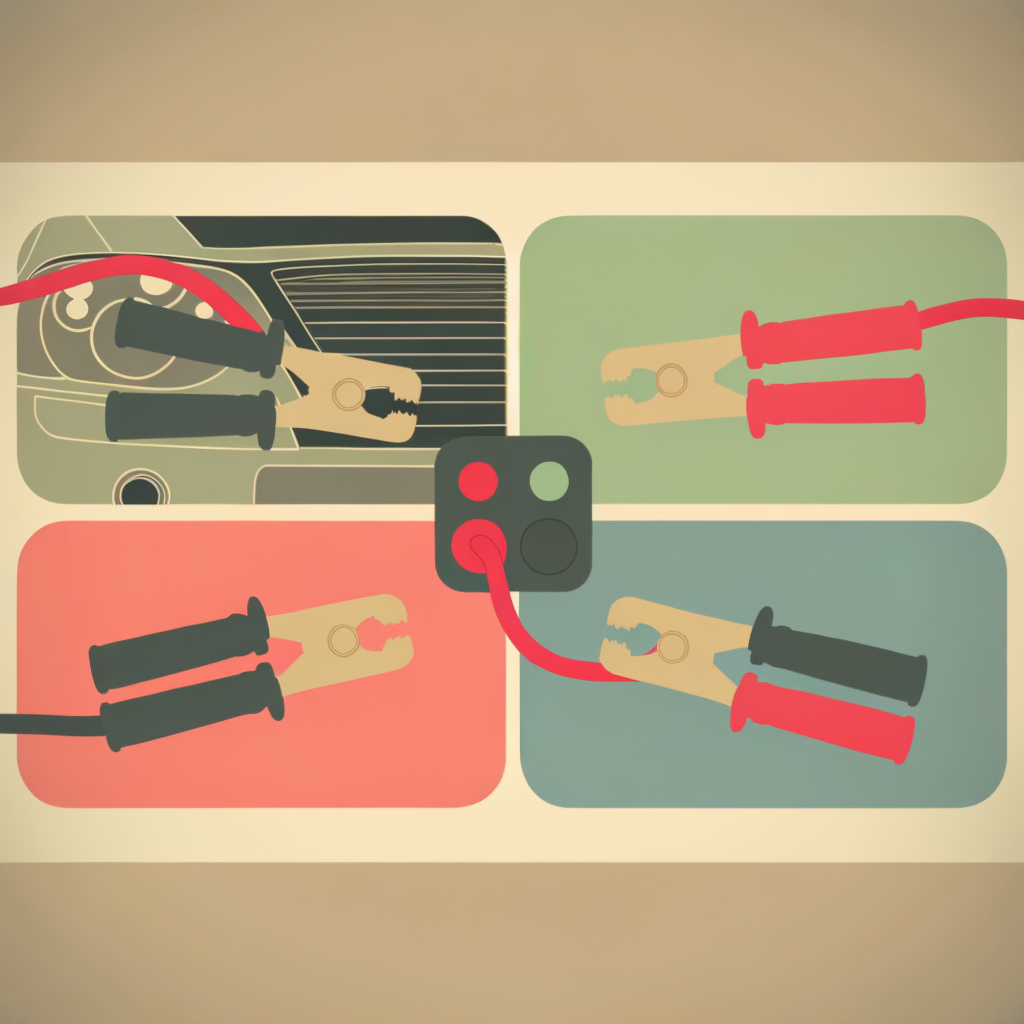
Connect the Jumper Cables in the Correct Order
Connect the four clamps in this exact order to minimize the risk of sparks near the battery: 1. 🔴 **Red clamp → Positive (+) terminal of the DEAD battery.** 2. 🔴 **Red clamp (other end) → Positive (+) terminal of the GOOD battery.** 3. ⚫ **Black clamp → Negative (−) terminal of the GOOD battery.** 4. ⚫ **Black clamp (other end) → Unpainted metal on the DEAD car's engine block or chassis** (NOT the dead battery's negative terminal). Double-check that the clamps are firmly attached and that no cables are near moving parts like fans or belts.
Remember the order with this phrase: 'Red dead, red alive, black alive, black ground.'
- If If you cannot find an unpainted metal surface on the engine block, do Use the negative terminal of the dead battery as a last resort, but move quickly and keep your face away from the battery..
Common mistakes
- ×Connecting the cables in the wrong order, which can cause sparks or damage electronics.
- ×Clamping the final black clamp to the dead battery's negative terminal instead of the engine block — this increases spark risk near flammable battery gas.
- ×Not securing the clamps firmly, causing a poor connection.
Step 4 of 7
Start the Donor Vehicle and Let It Charge
Start the donor (working) vehicle and let it run for 2–3 minutes. This allows the alternator to push charge into the dead battery through the cables. For severely depleted batteries, you may need to wait 5 minutes or more. You can rev the donor engine slightly (to ~2,000 RPM) to increase the charging current — but this is optional.
If you have a portable jump starter (battery pack), you can skip the donor vehicle entirely — just connect it the same way and follow the device's instructions.
Common mistakes
- ×Trying to start the dead car immediately without letting the donor vehicle charge the battery first.
- ×Revving the donor engine too aggressively, which is unnecessary and can stress the alternator.
Step 5 of 7
Start the Dead Vehicle
After 2–3 minutes of charging, attempt to start the previously dead vehicle. Turn the key or press the start button and hold for up to 5 seconds. • **If it starts:** Great! Move on to the next step. • **If it doesn't start:** Wait another 2–3 minutes and try again. If it still won't start after 3–4 attempts, the battery may be too far gone, or there may be another underlying issue (bad alternator, faulty starter, etc.).
- If If the car still won't start after 3–4 attempts, do Stop trying and call a roadside assistance service or mechanic — the issue may be beyond a dead battery..
- If If the car starts successfully, do Proceed to disconnect the cables in the correct order (next step)..
Common mistakes
- ×Cranking the engine for too long (more than 5–7 seconds) in one attempt, which can overheat the starter motor.
- ×Giving up after one attempt — sometimes a second or third try is all it takes.
Step 6 of 7
Disconnect the Cables in Reverse Order
Once the dead car is running, disconnect the jumper cables in the **reverse** of the order you connected them: 1. ⚫ **Black clamp from the engine block/chassis of the previously dead car.** 2. ⚫ **Black clamp from the negative (−) terminal of the donor battery.** 3. 🔴 **Red clamp from the positive (+) terminal of the donor battery.** 4. 🔴 **Red clamp from the positive (+) terminal of the previously dead battery.** Be careful not to let any clamps touch each other or any metal surfaces while other clamps are still connected.
Keep the revived car running for at least 20–30 minutes (ideally by driving it) so the alternator can fully recharge the battery. Turning it off too soon may leave you stranded again.
Common mistakes
- ×Removing the cables in the wrong order, which can cause sparks.
- ×Letting the clamps swing and touch each other or the car body while still partially connected.
Step 7 of 7
Drive to Recharge the Battery and Assess Its Health
Drive the revived car for at least 20–30 minutes at highway speeds (if possible) to allow the alternator to fully recharge the battery. Avoid short trips immediately after a jump-start. Afterward, consider having the battery tested at an auto parts store (many do this for free). If the battery is more than 3–5 years old or fails the test, it's time to replace it to avoid being stranded again.
Keep a set of jumper cables (or a portable jump starter pack) in your trunk at all times — you'll be ready to help yourself or others in the future.
- If If the battery dies again shortly after the jump-start, do The battery likely needs replacement or the alternator may be faulty — visit a mechanic or auto parts store for testing..
Common mistakes
- ×Turning the car off too soon after jump-starting, leaving the battery insufficiently charged.
- ×Ignoring an old or weak battery — a jump-start is a temporary fix, not a permanent solution.
Sources
Generated from model knowledge — verify any factual claims independently.