How to Identify the North Star (Polaris) in the Night Sky
Learn how to reliably locate Polaris, the North Star, using easy-to-spot star patterns and simple naked-eye techniques — no telescope or equipment required.
Materials
- A dark location away from heavy light pollution
- Optional: a red-light flashlight (preserves night vision)
- Optional: a star map app (e.g., SkyMap, Stellarium) for confirmation
Before you start
- Located in the Northern Hemisphere (Polaris is not visible from the Southern Hemisphere)
- A clear night sky with minimal cloud cover
- Eyes adjusted to the dark (allow ~10–20 minutes away from bright lights)
Step 1 of 6

Find a Dark Spot and Let Your Eyes Adjust
Move away from streetlights, buildings, and screens. Stand in an open area with a clear view of the sky — a field, park, or rooftop works well. Give your eyes at least 10–15 minutes to dark-adapt. During this time, avoid looking at any white or blue-tinted light sources. You'll notice progressively more stars becoming visible as your pupils fully dilate. The more stars you can see, the easier the next steps will be.
Use a red-light flashlight if you need to check notes or a map — red light has the least impact on night vision.
Common mistakes
- ×Checking your phone with full brightness, which resets your night vision and requires another 10+ minutes to recover.
- ×Trying to stargaze from a city center where light pollution washes out most stars.
Step 2 of 6
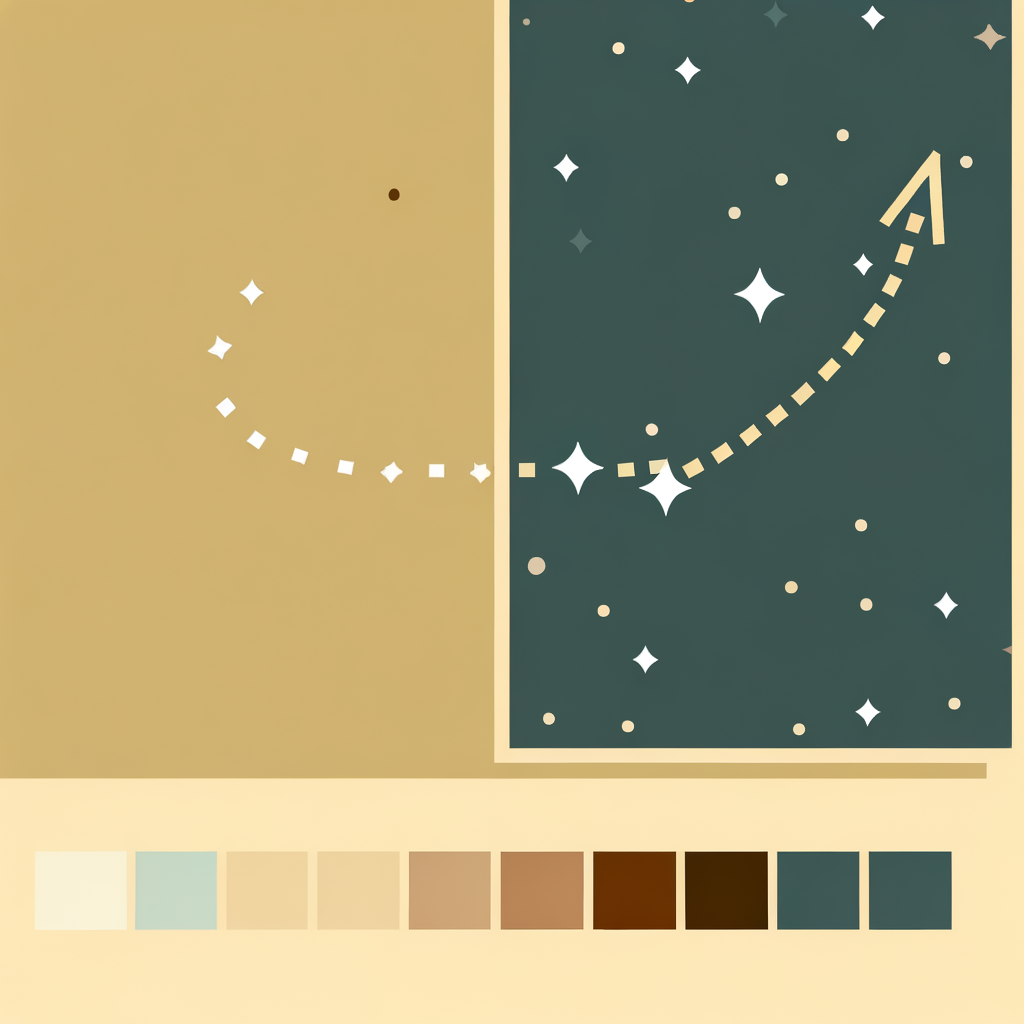
Locate the Big Dipper
Face north (use a compass or phone if unsure which direction is north). Scan the sky for the Big Dipper — a group of 7 bright stars shaped like a large ladle or cooking pot with a long, curved handle. The 'bowl' of the dipper consists of 4 stars forming a rectangle, and the 'handle' is 3 stars curving away from it. The Big Dipper is one of the most recognizable star patterns in the Northern Hemisphere and is visible year-round at mid-latitudes, though its orientation rotates with the seasons.
In spring, the Big Dipper appears high overhead. In autumn, it sits lower near the northern horizon. If you can't find it immediately, scan the entire northern half of the sky.
- If If the Big Dipper is below the horizon or obscured by clouds, do Skip to Step 4 and use Cassiopeia instead — it is on the opposite side of Polaris and is often visible when the Big Dipper is not..
Common mistakes
- ×Confusing the Little Dipper for the Big Dipper — the Little Dipper is smaller and its stars are fainter.
- ×Giving up too quickly; the Big Dipper's orientation changes by season, so it may not look exactly like familiar diagrams.
Step 3 of 6
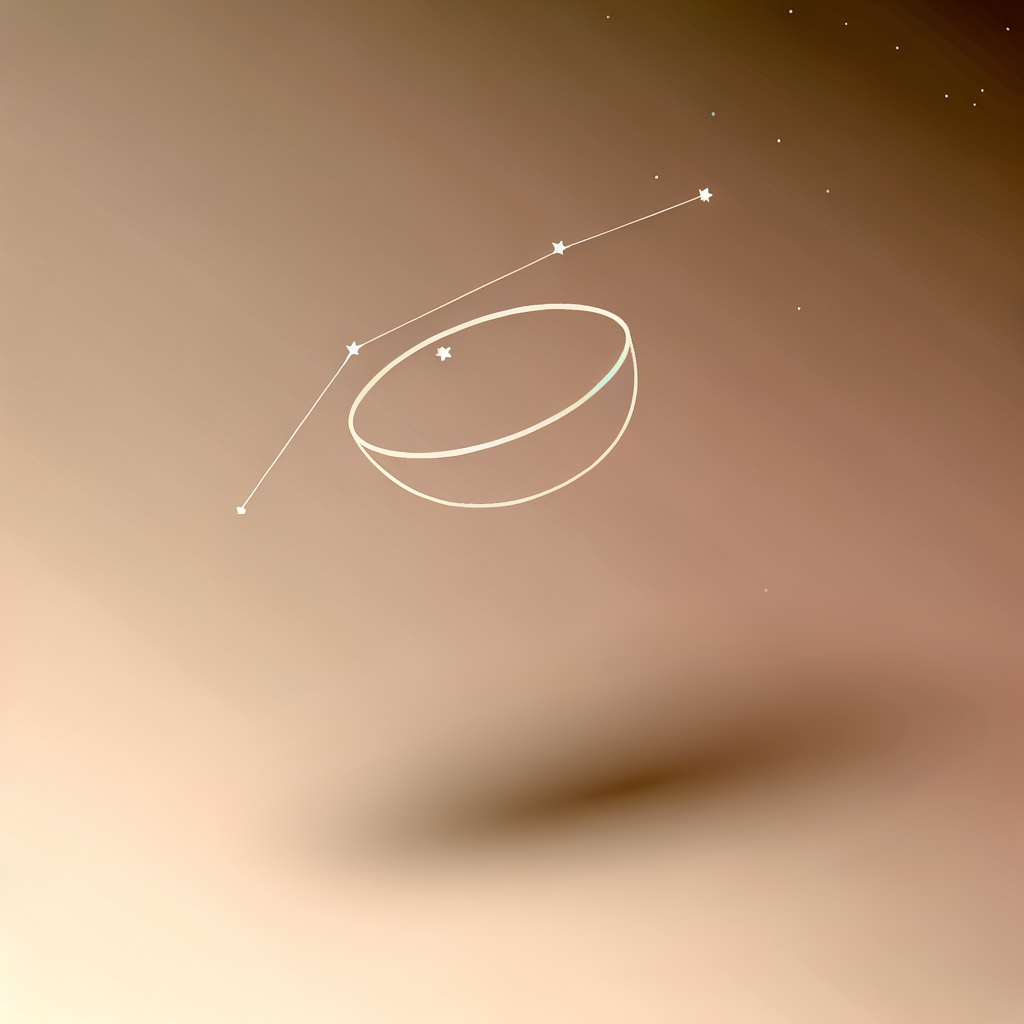
Use the 'Pointer Stars' to Find Polaris
Focus on the two stars that form the outer edge of the Big Dipper's bowl (the side farthest from the handle). These are called the 'Pointer Stars' — Dubhe (top) and Merak (bottom). Draw an imaginary straight line from Merak through Dubhe and continue extending it outward in the same direction for about 5 times the distance between those two stars. The moderately bright star you land on is Polaris, the North Star. It won't be the brightest star in the sky — it's actually only medium brightness — but it will be the only notable star in that area.
The distance from the pointer stars to Polaris is roughly the width of your fist held at arm's length, multiplied by about 2.5.
Common mistakes
- ×Drawing the line in the wrong direction — always go from the inner bowl edge (Merak) toward the outer edge (Dubhe), then onward.
- ×Expecting Polaris to be the brightest star in the sky — it is not. Sirius and Venus are far brighter.
Step 4 of 6
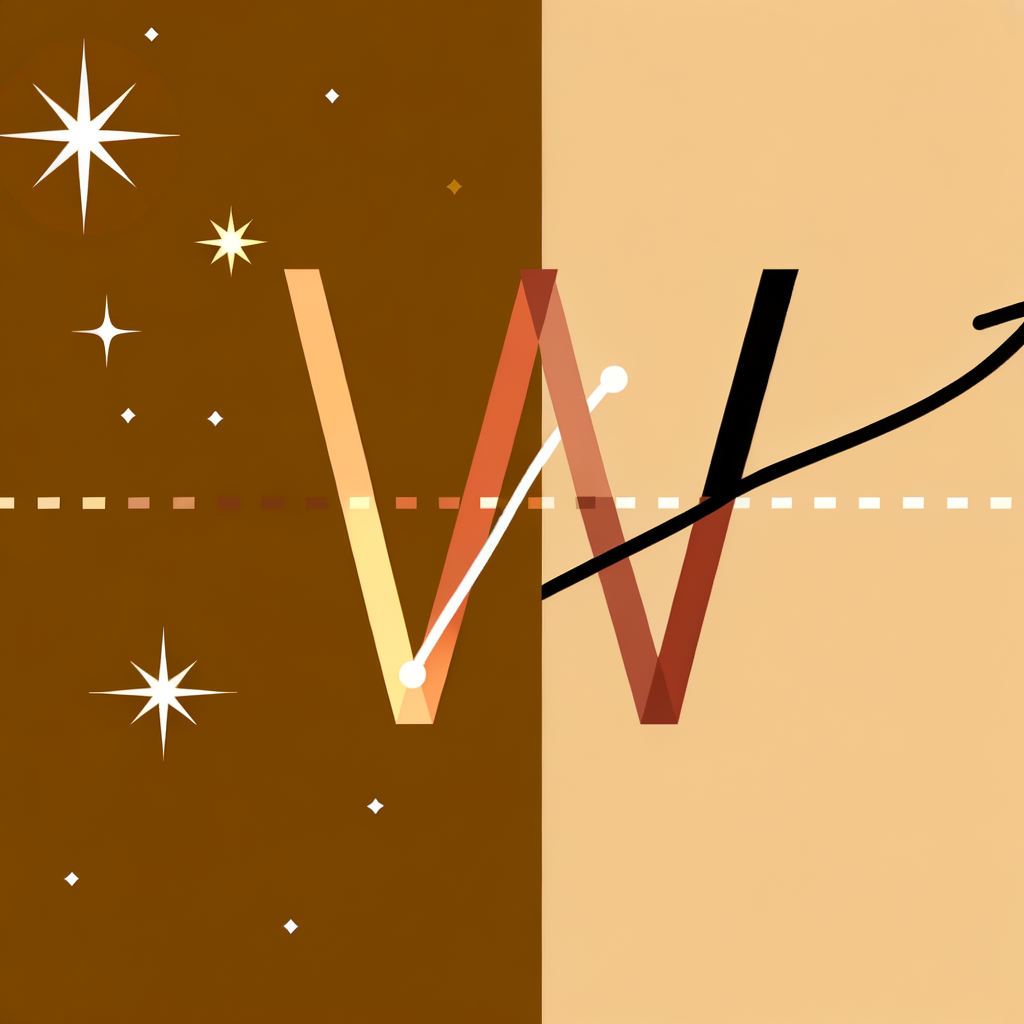
Confirm Using Cassiopeia (Alternative Method)
Cassiopeia is a W- or M-shaped constellation of 5 bright stars located on the opposite side of Polaris from the Big Dipper. To use it: find the distinctive W or M shape in the northern sky. The middle point of the W (or M) acts as an arrow pointing roughly toward Polaris. Polaris sits approximately halfway between Cassiopeia and the Big Dipper. This method is especially useful in autumn and winter when Cassiopeia rides high in the sky while the Big Dipper is lower.
Cassiopeia is circumpolar at most Northern Hemisphere latitudes, meaning it never sets below the horizon — making it a reliable backup at any time of year.
- If If both the Big Dipper and Cassiopeia are visible, do Use both methods to cross-reference and confirm you have the correct star — Polaris should be roughly equidistant between them..
Common mistakes
- ×Confusing Cassiopeia's W with other star groupings — look specifically for 5 stars in a clear zigzag pattern.
- ×Pointing from the wrong vertex of the W — use the central, most prominent dip of the W shape.
Step 5 of 6
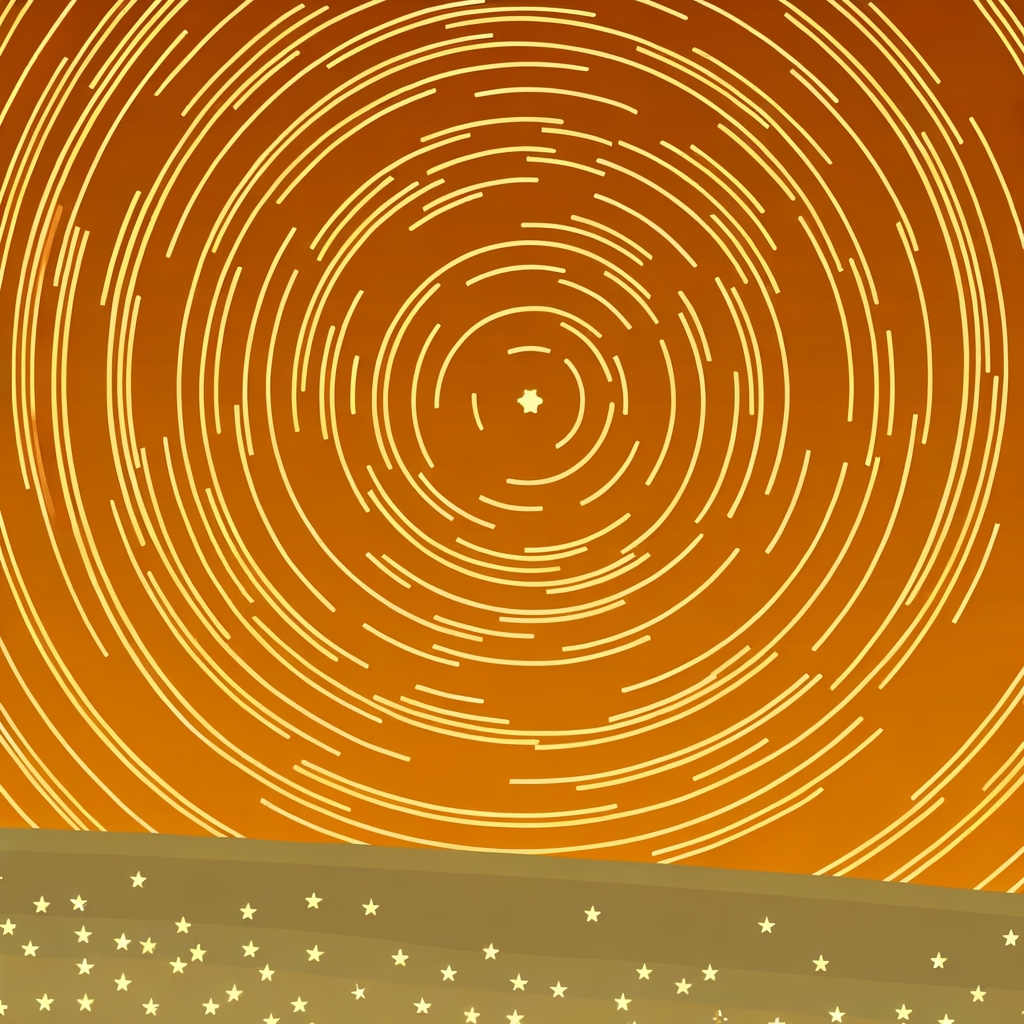
Verify It's Polaris — The Star That Doesn't Move
Once you've identified your candidate star, observe it for a few minutes or compare it across 20–30 minutes. All other stars in the night sky appear to slowly rotate around Polaris due to Earth's rotation, but Polaris itself stays nearly fixed in place. It sits within 1° of the true celestial north pole. You can also verify by noting its altitude above the horizon — from your location, Polaris's height in degrees above the horizon equals your latitude. For example, if you're at 40°N latitude, Polaris will be 40° above the northern horizon.
Use a star map app like Stellarium to confirm the star's identity by pointing your phone at it. This is a great way to build confidence before relying on the skill alone.
Common mistakes
- ×Mistaking a bright planet like Jupiter for Polaris — planets don't twinkle and won't be in the northern circumpolar region.
- ×Thinking Polaris is perfectly stationary — it traces a tiny circle less than 1° wide, which is imperceptible to the naked eye.
Step 6 of 6

Use Polaris to Determine True North
Now that you've found Polaris, put it to use! Stand facing Polaris directly — you are now facing true geographic north. Extend your right arm: that is east. Extend your left arm: that is west. Behind you is south. Unlike a magnetic compass, which points to magnetic north (which shifts over time and varies by location), Polaris always indicates true north with remarkable accuracy. This makes it an excellent navigation reference for hiking, camping, or simply orienting yourself in an unfamiliar area at night.
Practice this skill on multiple nights to build confidence. Over time, locating Polaris will become second nature — you'll spot it within seconds.
Common mistakes
- ×Confusing true north with magnetic north — they can differ by several degrees depending on your location.
- ×Only practicing once and forgetting the steps — repetition over a few nights will make this a permanent skill.
Sources
Generated from model knowledge — verify any factual claims independently.