How to Grow Tomatoes from Seeds at Home
Learn how to successfully grow tomatoes from seeds at home, from selecting the right seeds and starting them indoors to transplanting healthy seedlings into your garden or containers.
Materials
- Tomato seeds (variety of your choice)
- Seed-starting trays or small pots (2–3 inch cells)
- Seed-starting mix or fine potting compost
- Plastic wrap or a humidity dome
- Spray bottle filled with water
- Grow lights or a very sunny south-facing windowsill
- Liquid fertilizer (balanced or tomato-specific)
- Larger pots or garden bed for transplanting
- Labels and a marker
Before you start
- Basic understanding of your local frost dates
- Access to a sunny windowsill or grow lights
Step 1 of 8
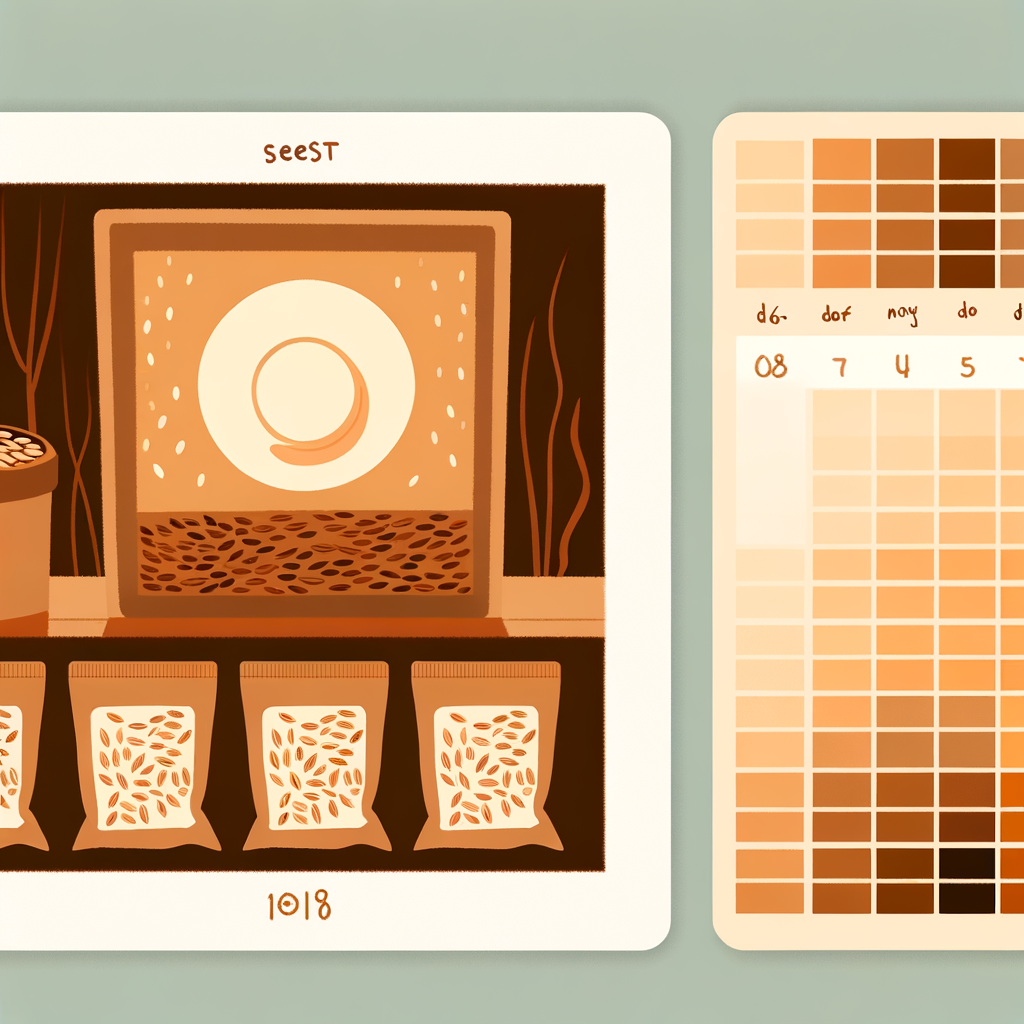
Choose the Right Tomato Variety and Timing
Select a tomato variety suited to your climate and space. Determinate (bush) varieties like 'Roma' or 'Celebrity' are compact and great for containers, while indeterminate varieties like 'Cherry' or 'Beefsteak' grow tall and need staking. Start seeds indoors 6–8 weeks before your last expected frost date — this is the most critical timing factor. Starting too early leads to leggy, overgrown seedlings; too late means a shorter harvest season.
Check your local cooperative extension website or a frost date calculator to find your exact last frost date. It varies significantly by region.
- If If you have limited indoor space or no garden bed, do Choose a compact determinate or patio variety like 'Tumbling Tom' or 'Patio' that thrives in containers..
- If If you live in a short-season climate, do Choose an early-maturing variety (under 70 days to maturity) such as 'Early Girl' or 'Stupice'..
Common mistakes
- ×Starting seeds too early, resulting in large, root-bound seedlings before outdoor conditions are safe.
- ×Choosing a variety unsuited to your climate or container size.
Step 2 of 8
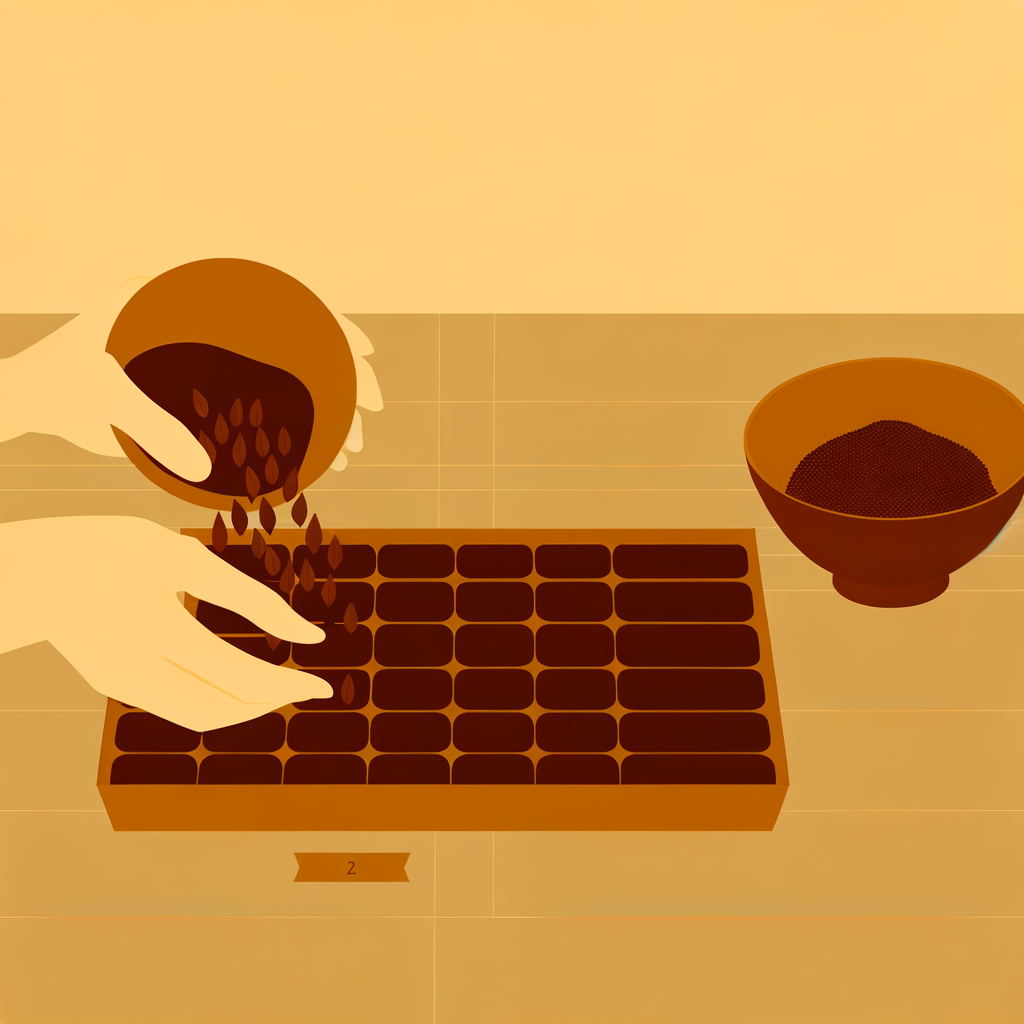
Prepare Your Seed-Starting Containers and Mix
Fill seed-starting trays or small pots with a moist seed-starting mix — not regular garden soil, which is too dense and may harbor pathogens. Seed-starting mix is lightweight, sterile, and drains well. Moisten the mix before filling the trays by adding water gradually and mixing until it holds its shape when squeezed but isn't dripping wet. Fill cells to just below the rim and gently firm the surface.
Pre-moisten your seed-starting mix in a large bowl before filling trays — it's much easier than trying to water dry mix from above without disturbing seeds.
Common mistakes
- ×Using regular potting soil or garden soil, which can compact and cause damping-off disease.
- ×Overfilling cells, leaving no room for watering.
Step 3 of 8
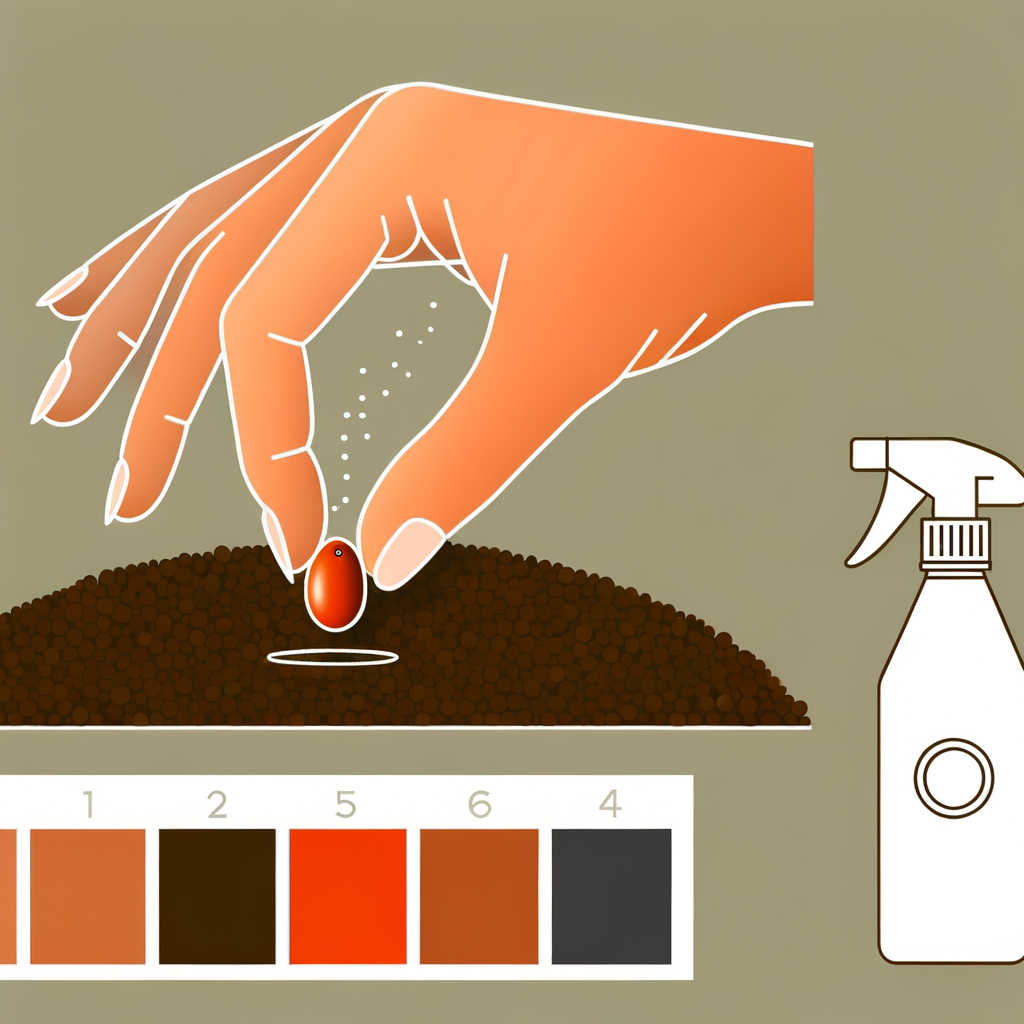
Sow the Tomato Seeds
Make a small indentation about ¼ inch (6 mm) deep in the center of each cell. Place 1–2 seeds per cell. Cover lightly with seed-starting mix and gently press down to ensure good seed-to-soil contact. Mist the surface with a spray bottle so you don't dislodge the seeds. Label each tray or cell with the variety name and sowing date. Cover the tray with a humidity dome or plastic wrap to retain moisture and warmth.
Tomato seeds germinate best at soil temperatures of 70–80°F (21–27°C). A seedling heat mat placed under the tray can dramatically speed up germination.
- If If you sow 2 seeds per cell and both germinate, do Thin to the strongest seedling by snipping the weaker one at soil level with scissors — don't pull, as this disturbs roots..
Common mistakes
- ×Planting seeds too deep, which slows or prevents germination.
- ×Forgetting to label varieties — they all look identical as seedlings!
Step 4 of 8
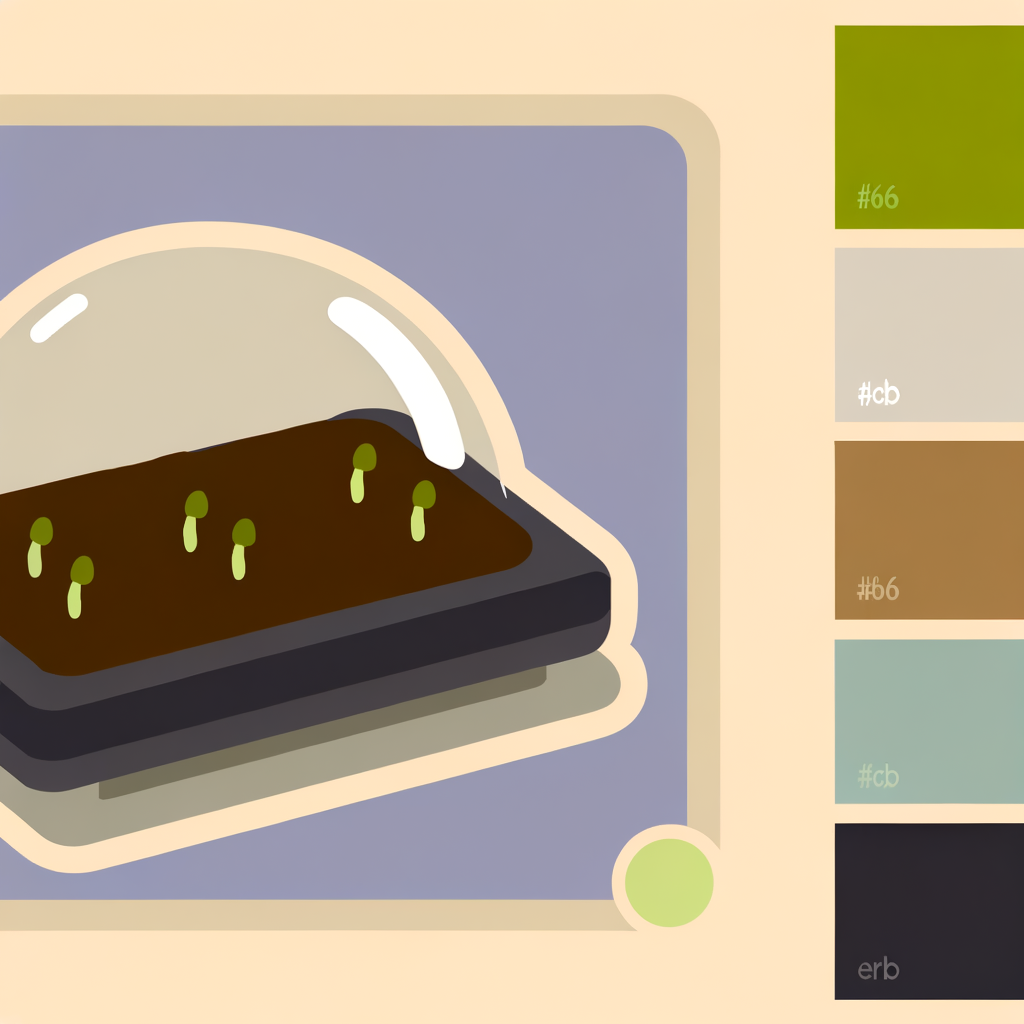
Provide Warmth and Monitor for Germination
Place the covered tray in a warm location (70–80°F / 21–27°C). You don't need light yet — seeds germinate in the dark. Check daily and mist if the surface looks dry. Most tomato seeds will germinate within 5–10 days. As soon as you see the first sprouts poking through the soil, remove the humidity dome immediately and move the tray to your brightest light source.
Don't leave the dome on after germination — the trapped humidity without airflow is a leading cause of damping-off (a fungal disease that kills seedlings at the soil line).
Common mistakes
- ×Leaving the humidity dome on too long after germination, causing damping-off.
- ×Placing the tray in a cold spot (e.g., near a drafty window), which delays or prevents germination.
Step 5 of 8

Provide Adequate Light and Water Seedlings
Tomato seedlings need 14–16 hours of bright light per day. A south-facing windowsill may work but often produces leggy (tall and weak) seedlings. Grow lights positioned 2–3 inches above the seedlings and raised as they grow are the most reliable option. Water when the top of the soil feels dry to the touch — water from the bottom by placing the tray in a shallow dish of water and letting the mix absorb it for 20–30 minutes, then drain. Begin feeding with a diluted liquid fertilizer (half strength) once the first true leaves appear (the second set of leaves).
Run a small fan on low near your seedlings for a few hours each day. The gentle air movement strengthens stems and reduces fungal disease risk.
- If If seedlings are tall, pale, and leaning toward the light (leggy), do Move grow lights closer (2–3 inches above leaves) or increase light duration. Leggy seedlings can be planted deeper later to compensate..
Common mistakes
- ×Overwatering — soggy soil is the #1 killer of seedlings.
- ×Fertilizing too early (before true leaves appear), which can burn delicate roots.
Step 6 of 8
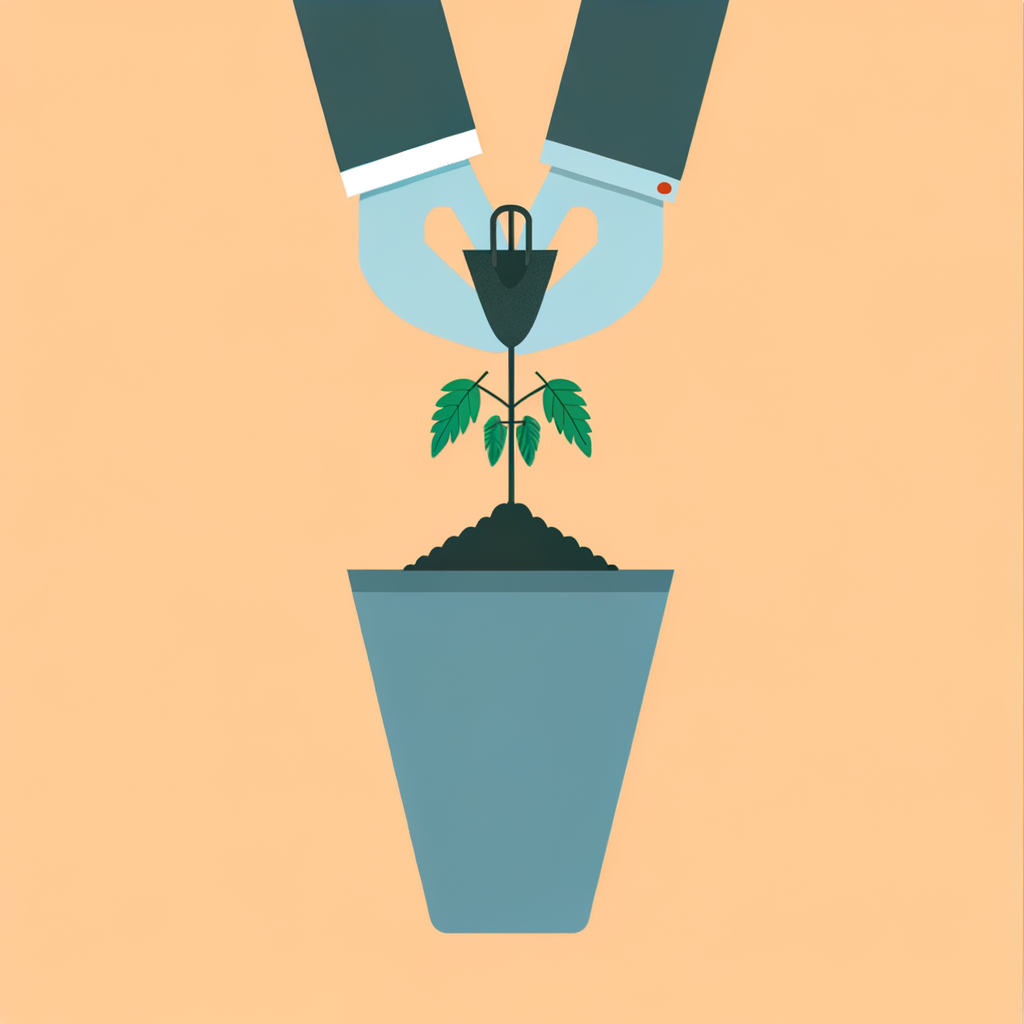
Pot Up Seedlings (Transplant to Larger Containers)
When seedlings have 2–3 sets of true leaves and roots begin to show at the bottom of the cells (usually 3–4 weeks after germination), it's time to pot them up into 4-inch or larger pots. Fill the new pot with regular potting mix, make a deep hole, and bury the seedling up to its lowest set of leaves — tomatoes grow roots all along their buried stem, creating a stronger plant. Water well after transplanting.
Burying the stem deeply is a tomato-specific trick — the buried portion will sprout roots and create a much stronger, more drought-resistant plant.
Common mistakes
- ×Transplanting too early when the seedling is too small and fragile.
- ×Planting at the same depth as the original cell instead of burying the stem deeper.
Step 7 of 8
Harden Off Seedlings Before Transplanting Outdoors
About 1–2 weeks before your planned outdoor transplant date (after your last frost date), begin hardening off your seedlings. This gradually acclimates them to outdoor conditions — sun intensity, wind, and temperature fluctuations. Start by placing them outside in a sheltered, shady spot for 1–2 hours on Day 1. Each day, increase outdoor time by 1–2 hours and gradually introduce more direct sun. By Day 7–10, they should be able to handle a full day outdoors. Bring them in if temperatures drop below 50°F (10°C) or if frost is forecast.
A cold frame or mini greenhouse makes hardening off much easier — you can simply open the lid progressively more each day.
- If If an unexpected frost is forecast during the hardening-off period, do Bring all seedlings back indoors immediately — even a light frost can kill tomato seedlings..
Common mistakes
- ×Skipping hardening off entirely and transplanting directly outdoors, which shocks plants and causes wilting or sunscald.
- ×Leaving seedlings out overnight before they are fully hardened.
Step 8 of 8
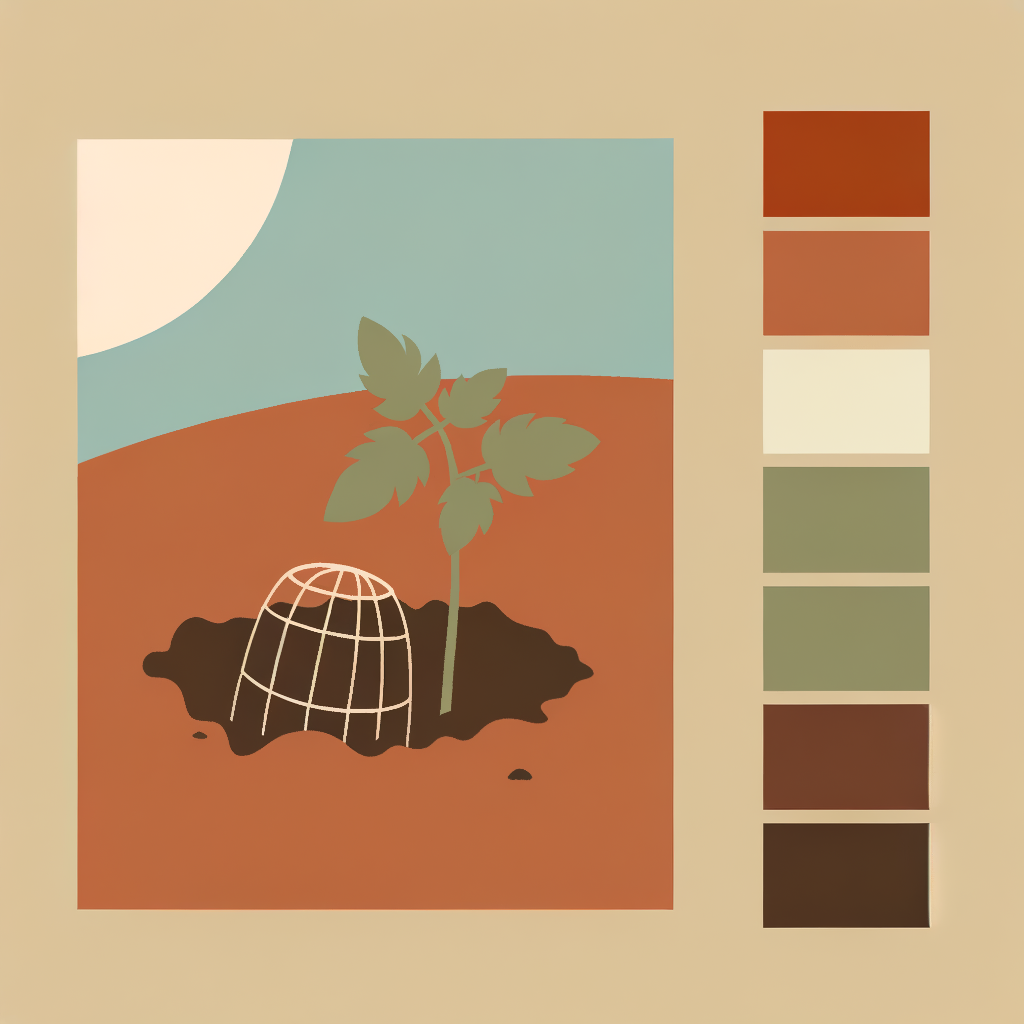
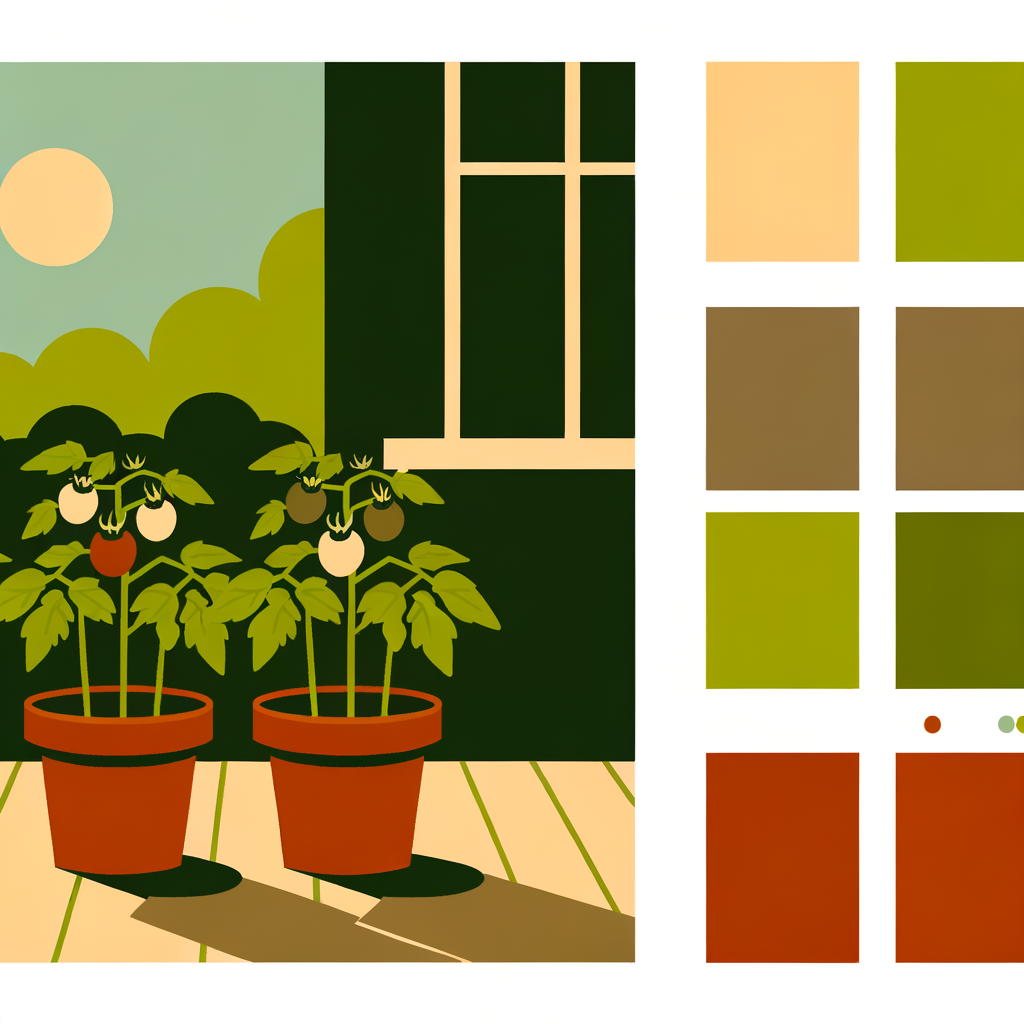
Transplant Seedlings to the Garden or Final Containers
Choose a planting site with at least 6–8 hours of direct sun per day. Dig a hole deep enough to bury the plant up to its lowest set of leaves (just like when potting up). Space plants 18–36 inches apart depending on variety. Water thoroughly after planting. Add a stake, cage, or trellis support at planting time to avoid disturbing roots later. Mulch around the base with straw or wood chips to retain moisture, regulate soil temperature, and suppress weeds.
Transplant on a cloudy day or in the evening to reduce transplant stress — harsh midday sun can wilt newly transplanted seedlings even if they are well-watered.
Common mistakes
- ×Planting in a shady spot — tomatoes need maximum sun to produce well.
- ×Forgetting to add support structures until the plant is large, which risks root damage when stakes are inserted later.
Sources
Generated from model knowledge — verify any factual claims independently.