How to Fix Scratches on Wooden Flooring
Learn how to assess, repair, and blend scratches on wooden floors — from light surface scuffs to deep gouges — using the right tools and techniques for a seamless finish.
Materials
- Clean microfiber cloths
- Wood floor cleaner or mild dish soap
- Fine-grit sandpaper (220-grit)
- Wood stain markers or wax fill sticks in matching color
- Wood filler or epoxy wood putty (for deep gouges)
- Putty knife or plastic scraper
- Matching floor finish or polyurethane (satin, semi-gloss, or gloss)
- Small artist's paintbrush
- Painter's tape
- Soft buffing pad or cloth
Before you start
- Basic familiarity with home repair tasks
- Knowledge of your floor's wood species and finish type (oil-based, water-based, wax, etc.)
Step 1 of 6
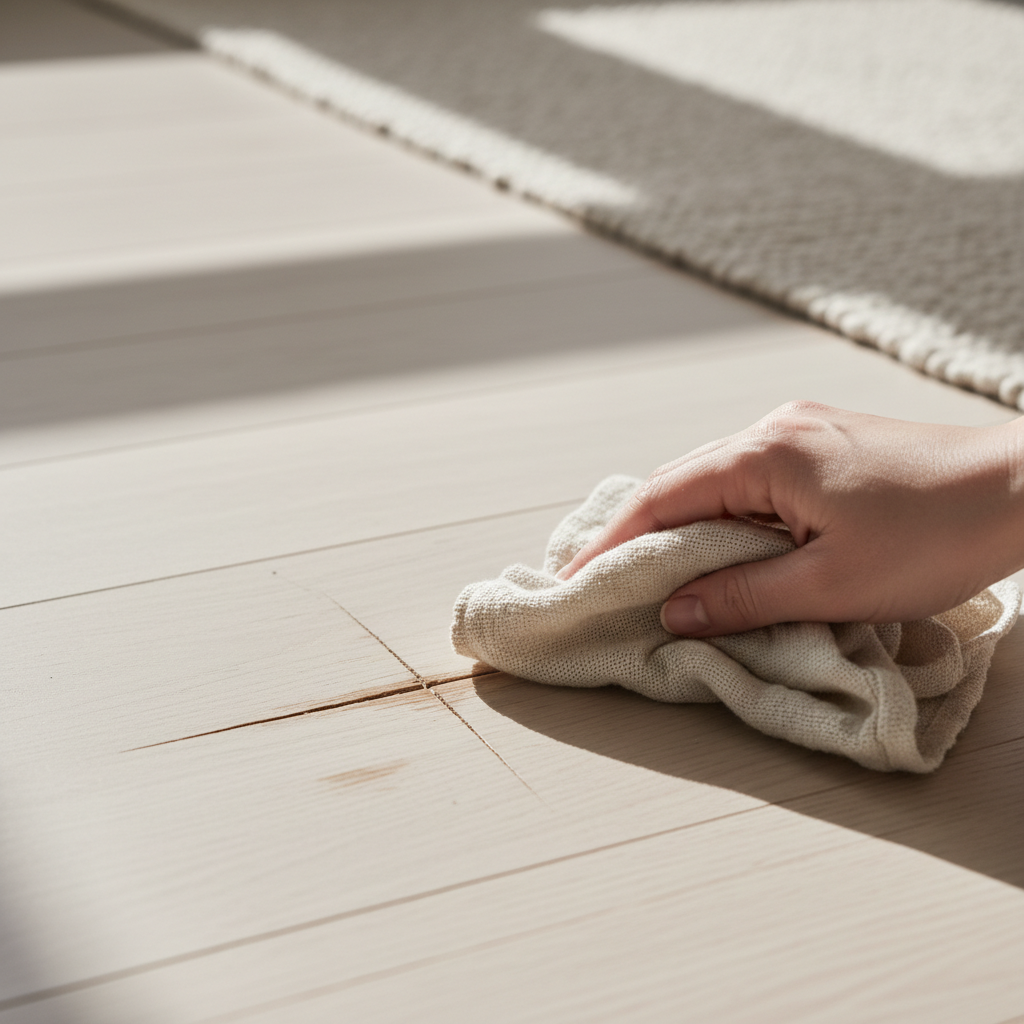
Clean and Assess the Damaged Area
Before attempting any repair, you need a clear view of the damage. Start by sweeping or vacuuming the area to remove loose dirt and debris. Then dampen a microfiber cloth with a wood floor cleaner (or a few drops of mild dish soap in water) and gently wipe the scratched area. Dry it thoroughly with a clean cloth. Once clean, examine the scratch closely in good lighting: 1. Surface scuff — only the finish layer is affected; the wood itself looks untouched. 2. Light scratch — the finish is broken and the wood is lightly marked, but no wood fiber is lifted. 3. Deep gouge — wood fiber is visibly displaced, dented, or missing. Identifying the scratch depth determines which repair method you will use in the next steps.
Shine a flashlight at a low angle across the scratch — this raking light technique makes it much easier to see the true depth and length of the damage.
- If The scratch is only in the finish layer and the wood grain is unaffected, do Proceed to Step 2 for a surface scuff repair..
- If The wood itself is visibly marked, dented, or has missing material, do Skip to Step 3 for a deeper scratch or gouge repair..
Common mistakes
- ×Skipping the cleaning step, which causes dirt to get trapped under repair products and creates a bumpy finish.
- ×Misidentifying a deep scratch as a surface scuff and under-treating it, leading to the scratch reappearing quickly.
Step 2 of 6
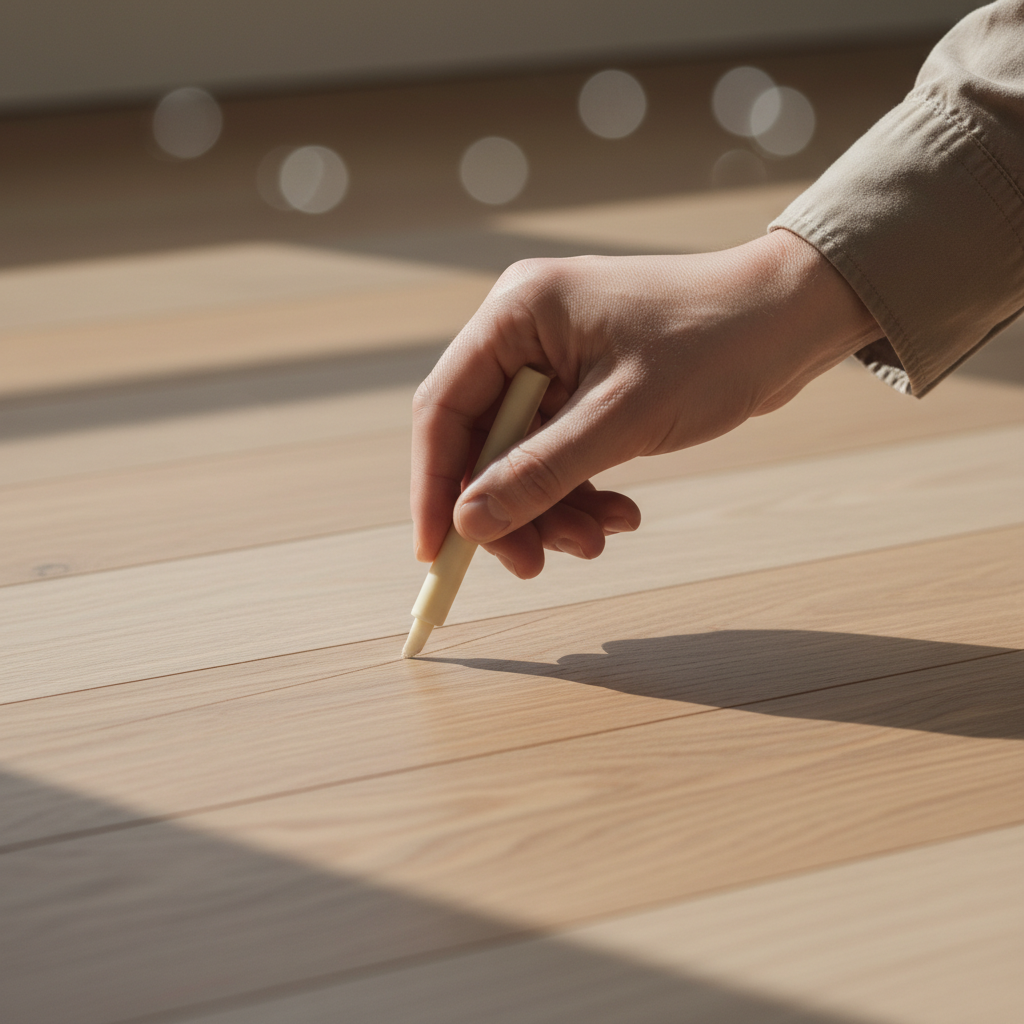
Repair Light Scuffs and Surface Scratches
For scratches that only affect the finish layer, you can often restore the look without any filling or staining. 1. Rub a small amount of floor wax, paste wax, or a dedicated scratch-cover polish onto the scuff using a soft cloth, working in the direction of the wood grain. 2. Buff the area gently in circular motions, then finish with straight strokes along the grain. 3. If the scuff is still faintly visible, lightly sand the area with 220-grit sandpaper — always moving with the grain, never against it — then reapply the wax or polish. 4. Wipe away any residue and buff to a shine. For scratches that have broken the finish but left the wood only lightly marked, a wood stain marker in a matching color can be drawn along the scratch line. Allow it to dry for the time specified on the product (usually 5 to 10 minutes), then buff lightly with a cloth.
A walnut or pecan nut rubbed firmly along a light scratch can naturally fill and disguise it — the oils in the nut darken the exposed wood and blend it with the surrounding finish.
- If The scratch is still clearly visible after waxing and buffing, do Apply a thin coat of matching floor finish with a small brush and allow to dry fully before buffing..
- If The color looks good but the sheen does not match the surrounding floor, do Apply a coat of finish in the correct sheen level (satin, semi-gloss, or gloss) to unify the appearance..
Common mistakes
- ×Sanding against the wood grain, which creates new, more visible scratches.
- ×Applying too much stain marker at once, causing a dark blotch that is harder to correct than the original scratch.
Step 3 of 6
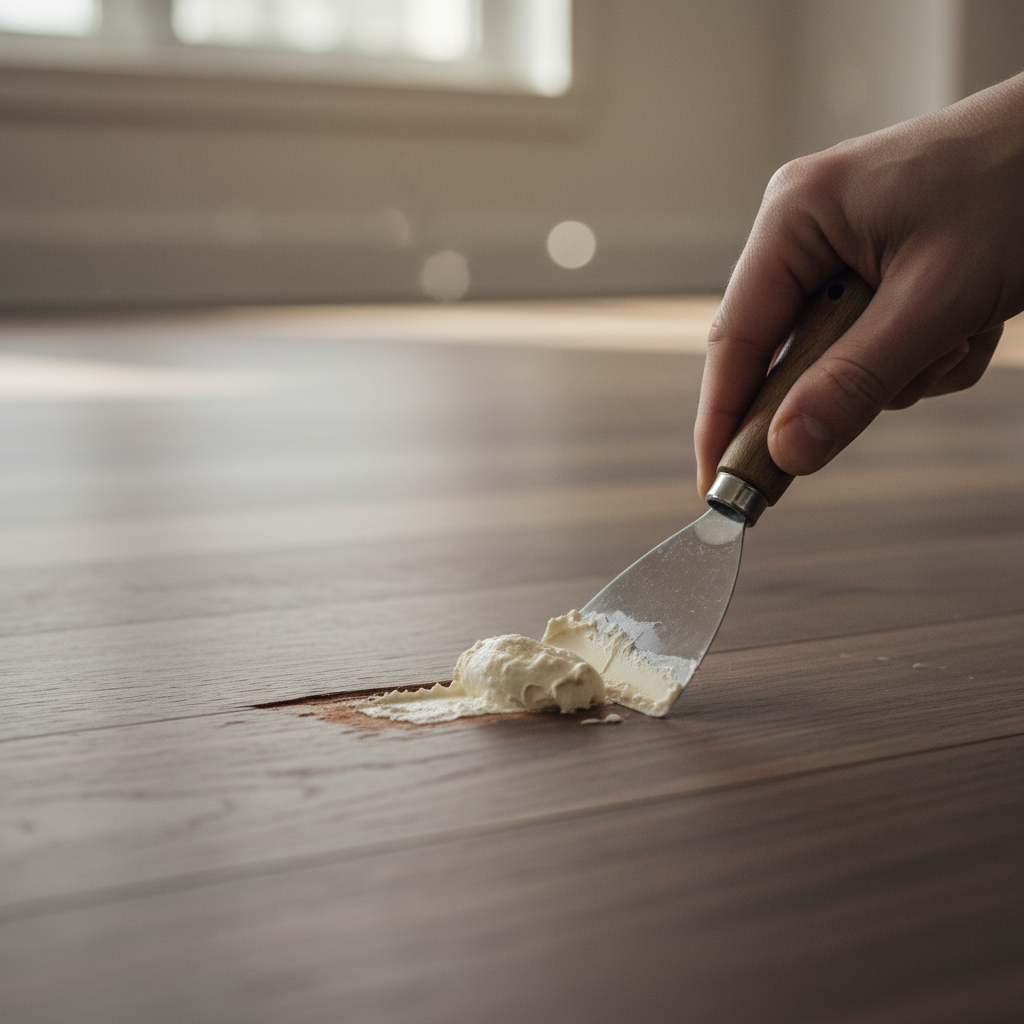
Fill Deep Scratches and Gouges
Deep gouges require a filler to rebuild the missing or displaced wood material before you can refinish the surface. 1. Choose the right filler: a wax fill stick is easiest for moderate gouges, while a two-part epoxy wood filler or latex wood filler is better for large or structural damage. 2. If using a wax fill stick, rub it firmly back and forth across the gouge until the cavity is slightly overfilled. Use a plastic scraper or old credit card to level the surface flush with the surrounding floor. 3. If using a wood filler, apply it with a putty knife, pressing it firmly into the gouge. Slightly overfill the area to account for shrinkage as it dries. Follow the manufacturer's drying time — typically 30 minutes to 2 hours. 4. Once dry, sand the filled area gently with 220-grit sandpaper until it is perfectly flush with the surrounding floor. Wipe away all dust with a damp cloth and let it dry.
Tint your wood filler before applying it by mixing in a small amount of matching wood stain. This reduces how much color correction you need to do in the next step.
- If The filler has dried but is slightly sunken below the floor surface, do Apply a second thin layer of filler, allow to dry fully, then sand flush again..
- If The filler color is a reasonable match to the wood, do Proceed directly to Step 4 to apply finish..
Common mistakes
- ×Under-filling the gouge, which leaves a depression that is still visible after finishing.
- ×Sanding too aggressively after filling, which removes surrounding finish and creates a larger repair area.
Step 4 of 6
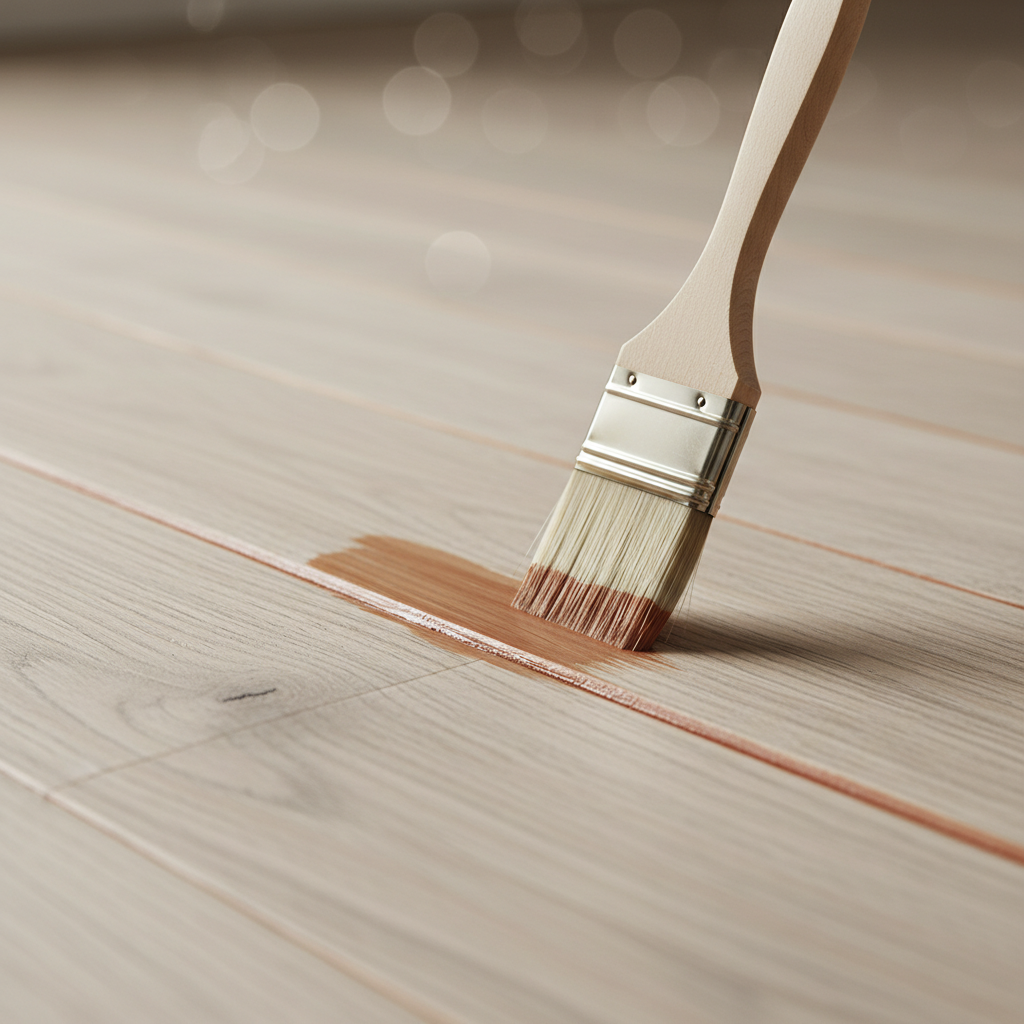
Match the Color with Stain
After filling, the repaired area will likely look lighter or a different color than the surrounding wood. Staining brings the color back into harmony. 1. Select a wood stain or stain marker that closely matches your floor color. Test it on a hidden area first — inside a closet or under a piece of furniture — to confirm the match before applying it to the repair. 2. Apply a small amount of stain to the filled area using a fine artist's brush or a cotton swab, working with the grain. Build the color gradually with thin coats rather than one heavy application. 3. Feather the edges of the stain outward slightly so there is no hard line between the repaired area and the surrounding floor. 4. Allow the stain to dry completely according to the product instructions before moving to the finishing step.
If you cannot find a perfect single stain match, mix two stain shades together in small amounts on a piece of cardboard until you achieve the right color before applying to the floor.
- If The stained area looks too dark compared to the surrounding floor, do Lightly sand with 220-grit paper to remove some stain, wipe clean, and reapply a lighter coat..
- If The stained area looks too light, do Apply an additional thin coat of stain and allow to dry before assessing again..
Common mistakes
- ×Applying stain too heavily in one coat, resulting in a patch that is darker than the surrounding floor.
- ×Not feathering the edges, which leaves a visible ring or border around the repair.
Step 5 of 6
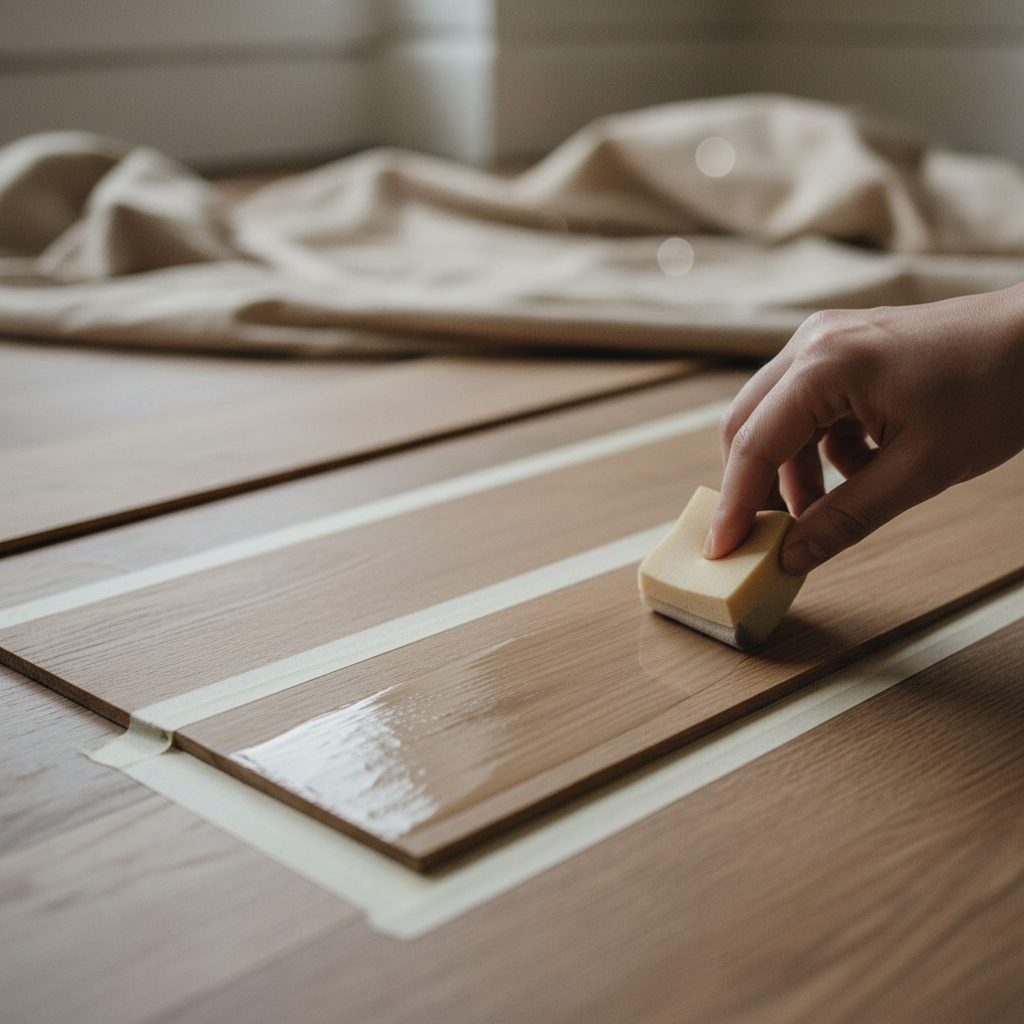
Apply a Protective Finish Coat
The final step seals the repair, protects the wood, and unifies the sheen so the patch blends with the rest of the floor. 1. Identify your floor's existing finish type: polyurethane (water-based or oil-based), lacquer, wax, or oil. Use the same type for the repair coat to ensure compatibility. 2. Apply painter's tape around the repair area if you want a clean boundary, or feather the finish outward for a more seamless blend. 3. Using a small brush or foam applicator, apply a thin, even coat of finish over the repaired area. Work with the grain and avoid overworking the product once it is applied. 4. Allow the first coat to dry fully (check the product label — typically 1 to 4 hours for water-based, longer for oil-based). 5. Lightly buff with a fine soft pad, wipe away dust, and apply a second thin coat if needed. 6. Allow the final coat to cure fully before replacing furniture or allowing foot traffic — usually 24 hours for light use and 72 hours for full hardness.
Apply finish in a room with low humidity and moderate temperature (around 65 to 75 degrees Fahrenheit) for the smoothest result and fastest cure time.
- If The sheen of the repair does not match the surrounding floor after the finish dries, do Apply a coat of finish in the correct sheen level (satin, semi-gloss, or gloss) to unify the appearance..
- If The repair is fully blended and the sheen matches, do Allow the full cure time to pass, then return furniture and resume normal use..
Common mistakes
- ×Applying finish too thickly, which causes bubbles, drips, or a cloudy appearance.
- ×Allowing foot traffic too soon, which leaves impressions or scuffs in the uncured finish.
Step 6 of 6
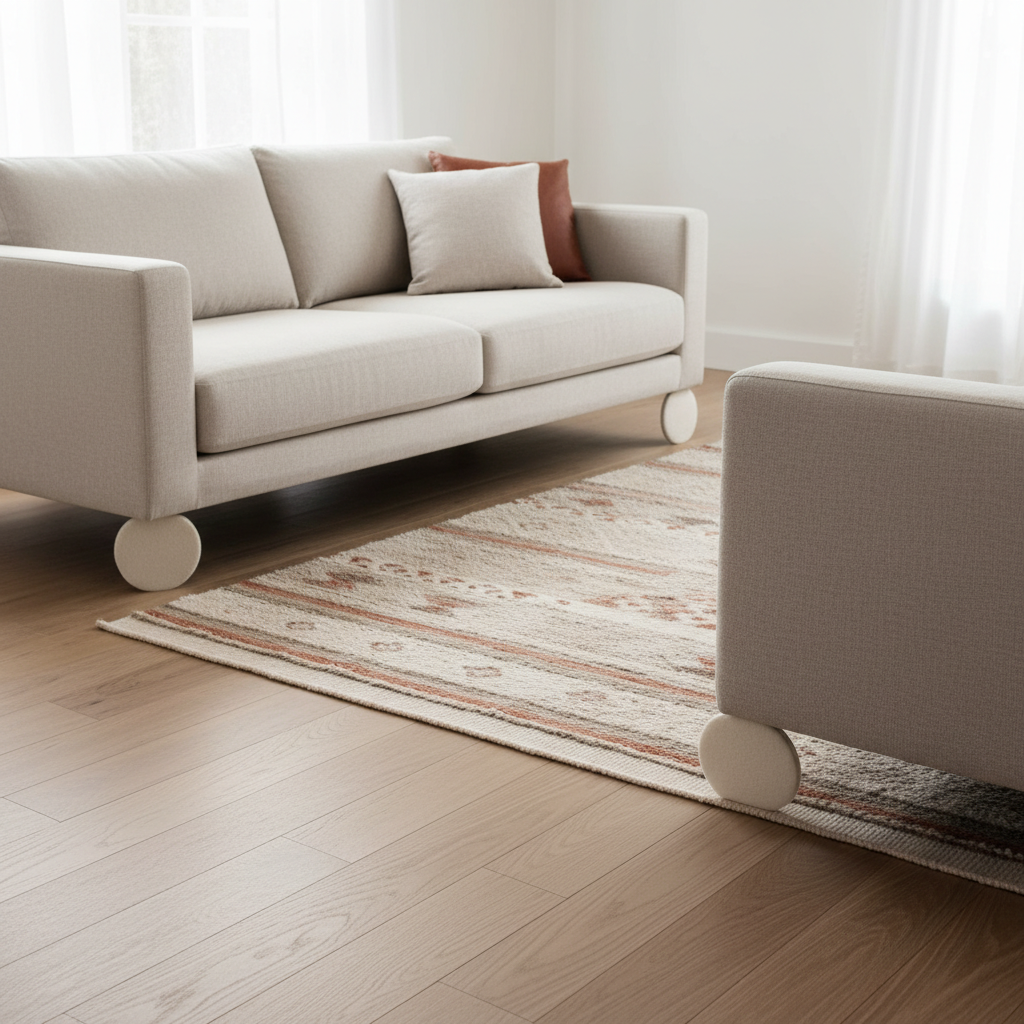
Prevent Future Scratches
Once your repair is complete, a few simple habits will protect your floor and keep it looking great for years. 1. Place felt pads under all furniture legs — check and replace them every 6 to 12 months as they wear down. 2. Use area rugs or runners in high-traffic zones such as hallways, entryways, and in front of sofas. 3. Keep pet nails trimmed regularly, as long nails are one of the most common causes of deep scratches. 4. Sweep or vacuum with a soft-bristle attachment at least once a week to remove grit and debris that act like sandpaper underfoot. 5. Avoid dragging furniture across the floor — always lift and carry, or use furniture sliders. 6. Reapply a maintenance coat of floor finish or wax once a year to keep the protective layer strong.
Place a doormat both outside and inside every exterior entry point. Most floor-damaging grit is tracked in from outside, and catching it at the door makes a dramatic difference.
Common mistakes
- ×Using rubber-backed rugs directly on hardwood floors — rubber can trap moisture and discolor the finish over time.
- ×Wet-mopping hardwood floors, which introduces excess moisture and can cause warping or finish damage.
Sources
Generated from model knowledge — verify any factual claims independently.