How to Fix Scratches on Wooden Flooring
Learn how to identify, treat, and repair scratches on your wooden flooring using simple tools and techniques, restoring your floor's original beauty without professional help.
Materials
- Soft microfiber cloths
- Wood floor cleaner or mild dish soap
- Wood scratch repair markers or crayons (matched to your floor color)
- Wood filler or wood putty (for deep scratches)
- Fine-grit sandpaper (120–220 grit)
- Hardwood floor finish or polyurethane (matching sheen level)
- Small paintbrush or foam applicator
- Paste wax or floor wax (optional, for light scratches)
- Steel wool (0000 grade, ultra-fine)
- Painter's tape
Before you start
- Basic knowledge of your floor type (solid hardwood, engineered wood, or laminate)
- A clean, dry floor surface to work on
Step 1 of 7
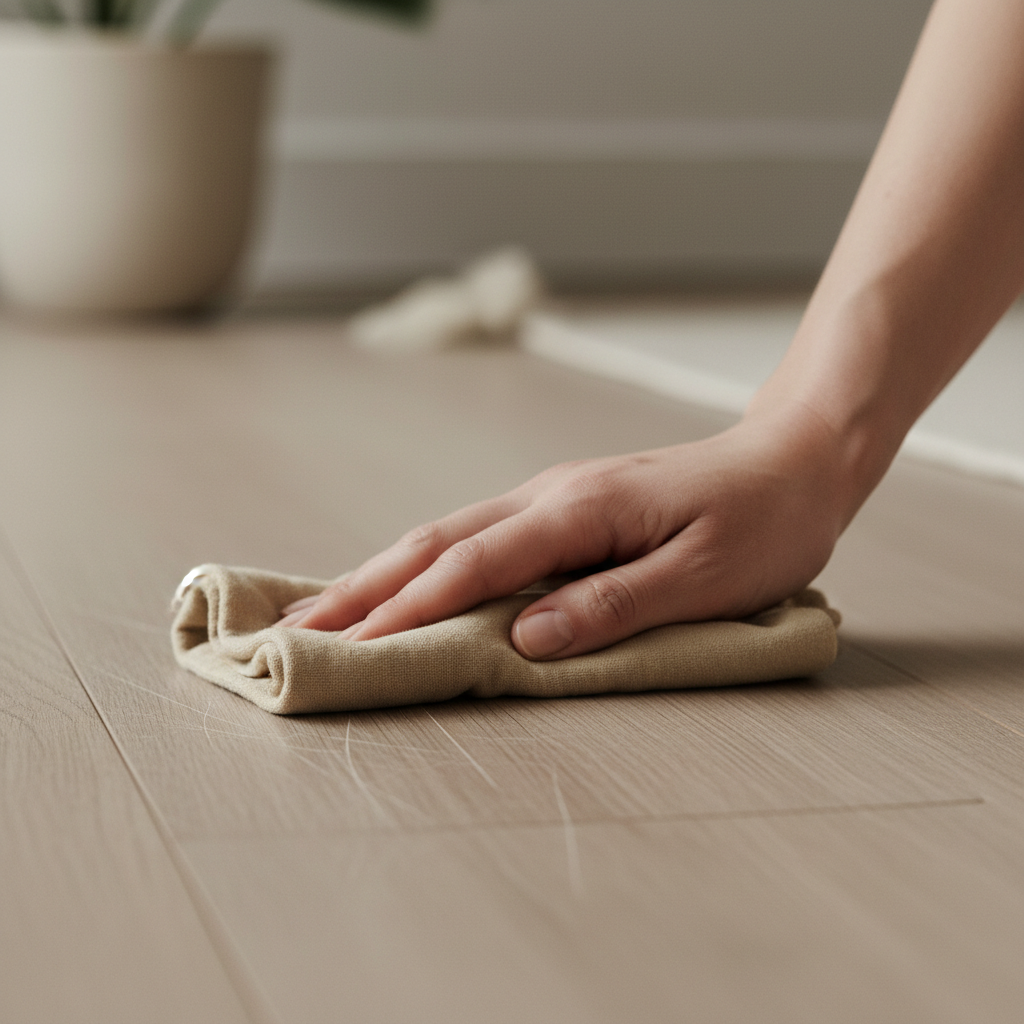
Clean the Scratched Area
Before doing anything else, thoroughly clean the scratched area. Dirt, dust, and grease can interfere with repair products and make the damage look worse than it is. 1. Sweep or vacuum the area to remove loose debris. 2. Dampen a microfiber cloth with a wood floor cleaner or a very mild solution of dish soap and water. 3. Wipe the scratched area gently, following the direction of the wood grain. 4. Dry the area completely with a clean, dry cloth. 5. Allow the floor to air-dry for at least 15 minutes before proceeding. Sometimes a good clean alone can make light scuffs nearly disappear.
Never use excessive water on wood floors. Too much moisture can cause the wood to swell or warp, creating a bigger problem than the scratch itself.
Common mistakes
- ×Using too much water or a soaking-wet cloth, which can damage the wood.
- ×Scrubbing across the grain, which can widen the scratch.
Step 2 of 7
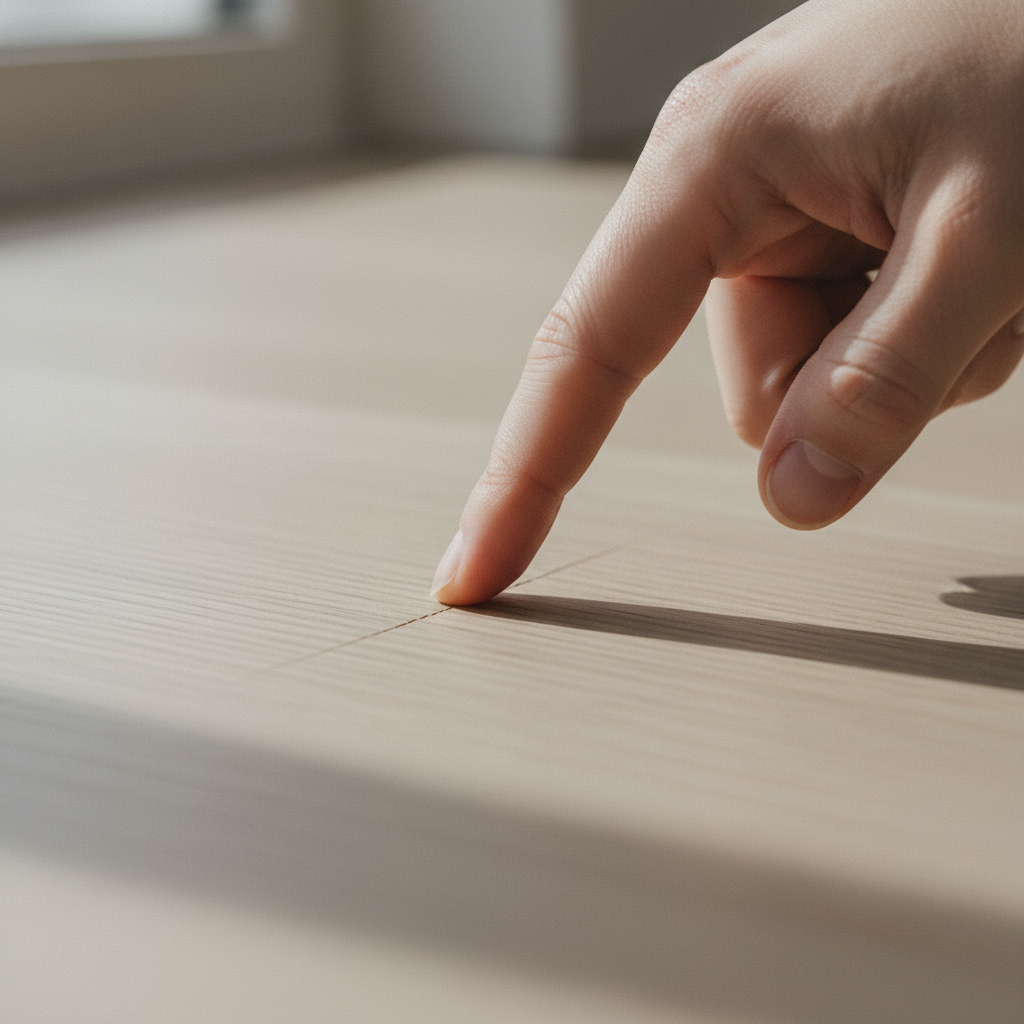
Assess the Depth of the Scratch
Not all scratches are the same. Identifying the severity will determine which repair method you use. Light surface scratches: Only affect the finish (the clear coating on top). The wood itself is not damaged. These appear as dull or white marks. Medium scratches: Penetrate through the finish and into the stain or color layer of the wood, but do not cut deeply into the wood fibers. Deep gouges: Cut into the actual wood, leaving a visible groove or channel that you can feel with your fingernail. Run your fingernail gently across the scratch. If your nail glides over it without catching, it is a surface scratch. If your nail catches in a groove, it is a medium to deep scratch.
Take a photo of the scratch in natural light before you start. This helps you track your progress and compare results after each repair step.
- If If the scratch is light and your fingernail glides over it, do Proceed to Step 3 (Light Scratch Repair) and skip Step 4..
- If If the scratch is deep and your fingernail catches in a groove, do Skip Step 3 and proceed directly to Step 4 (Deep Scratch Repair)..
Common mistakes
- ×Skipping the assessment and using a heavy-duty filler on a light surface scratch, which can look unnatural.
- ×Assuming all scratches need sanding — most minor ones do not.
Step 3 of 7
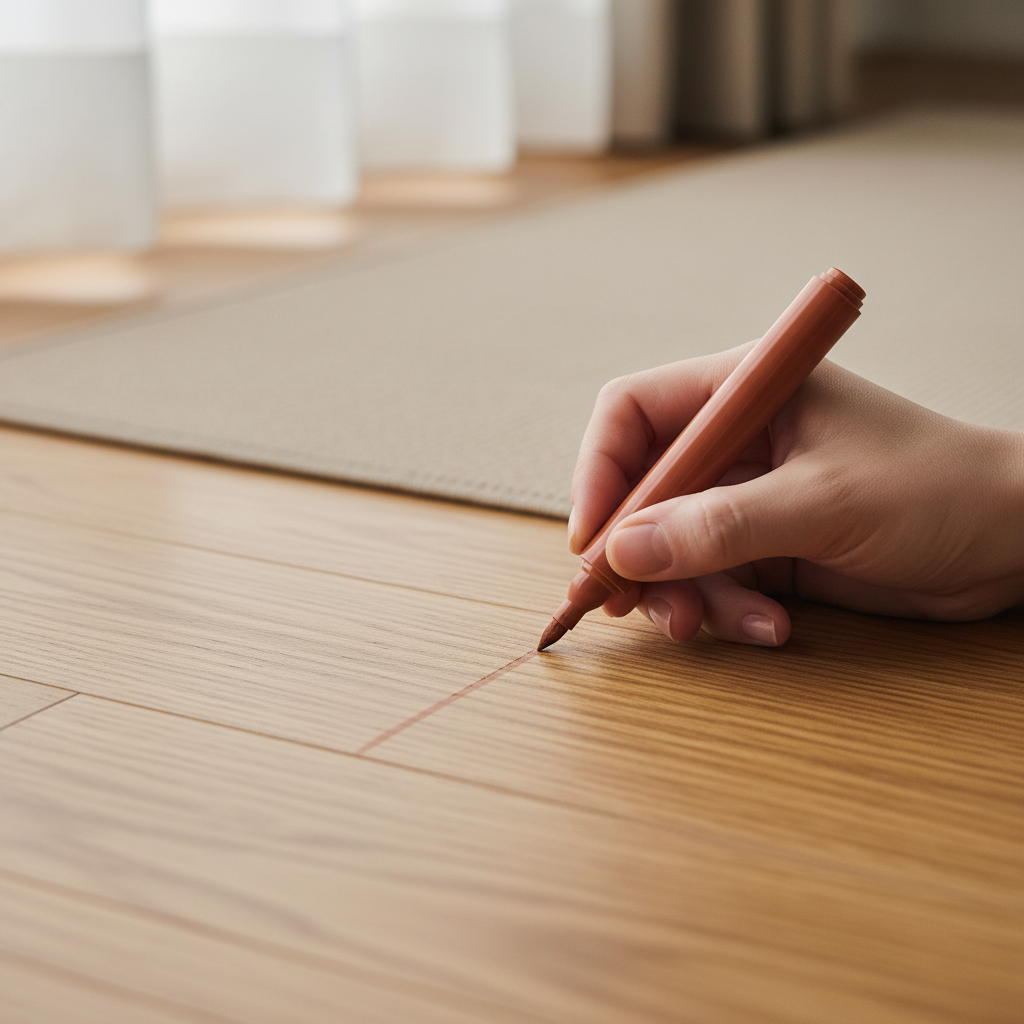
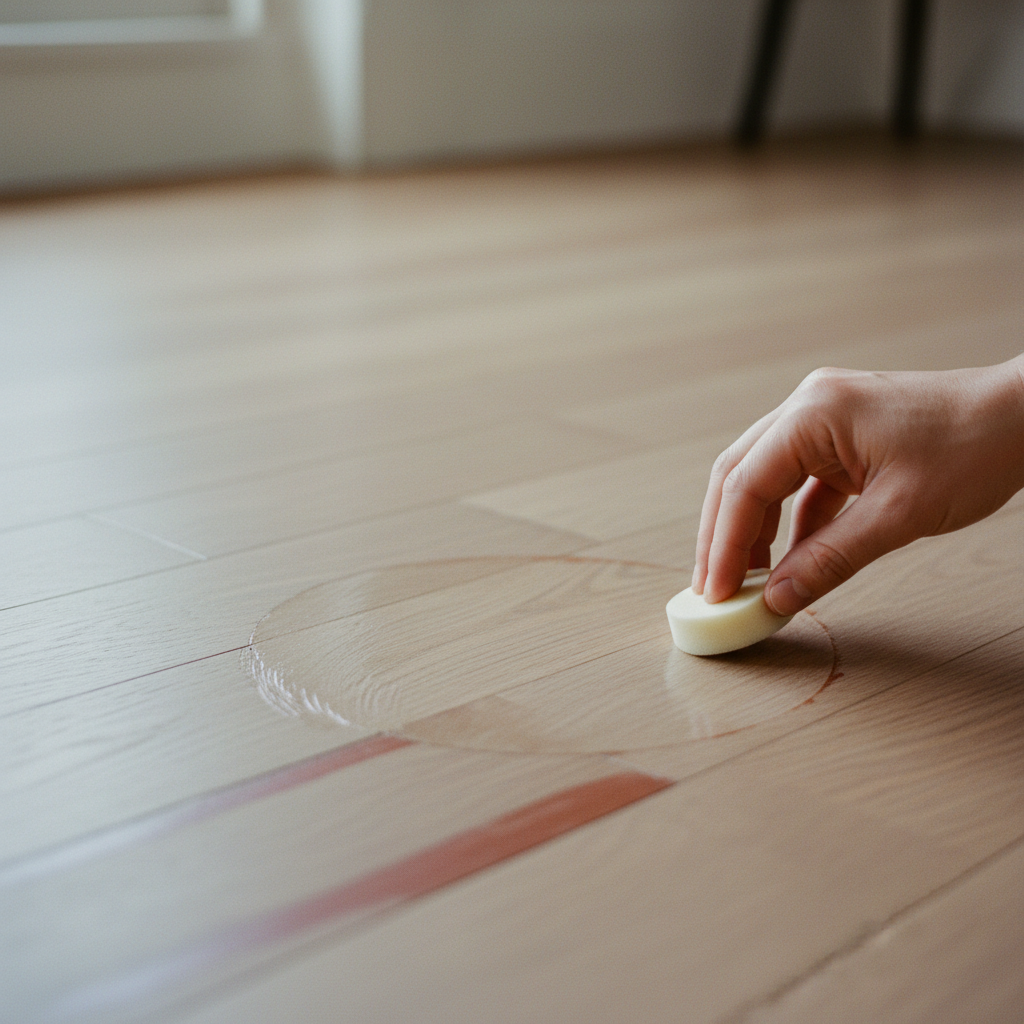
Repair Light Surface Scratches
For scratches that only affect the finish, you have several easy options: Option A — Scratch Repair Marker or Crayon: 1. Choose a wood repair marker or wax crayon that closely matches your floor color. 2. Apply the marker along the scratch, following the grain direction. 3. Wipe away any excess with a clean cloth. 4. Buff gently in a circular motion to blend. Option B — Paste Wax: 1. Apply a small amount of paste wax to a soft cloth. 2. Rub it into the scratch using circular motions. 3. Let it sit for 5 minutes, then buff with a clean cloth. Option C — Walnut or Pecan Nut (natural remedy): 1. Rub the meat of a shelled walnut directly over the scratch. 2. The natural oils help disguise the mark. 3. Buff with a soft cloth. Allow the repair to dry fully before walking on the area.
If you cannot find an exact color match for a repair marker, choose one shade lighter — you can always layer more color, but it is hard to remove excess.
Common mistakes
- ×Applying too much product at once, leaving a visible buildup.
- ×Using a marker that is too dark, making the repair more noticeable than the original scratch.
- ×Not buffing the product in — this leaves a shiny or streaky residue.
Step 4 of 7

Repair Deep Scratches and Gouges
Deep scratches that cut into the wood fibers need a filler to restore the surface level before finishing. 1. Choose a wood filler or wood putty that matches your floor color as closely as possible. 2. Use a putty knife or your finger to press the filler firmly into the scratch, slightly overfilling it. 3. Smooth the surface with the putty knife, removing excess filler so it is level with the surrounding floor. 4. Allow the filler to dry completely — check the product label for drying time (usually 30–60 minutes). 5. Once dry, lightly sand the filled area with 220-grit sandpaper, sanding only along the grain direction, until the patch is perfectly flush with the floor. 6. Wipe away all sanding dust with a dry microfiber cloth.
Wood filler shrinks slightly as it dries. Slightly overfill the scratch so that after sanding, the patch ends up perfectly level with the rest of the floor.
Common mistakes
- ×Not letting the filler dry fully before sanding, which causes it to smear.
- ×Sanding across the grain, which leaves visible scratch marks.
- ×Using too coarse a sandpaper, which damages the surrounding finish.
Step 5 of 7
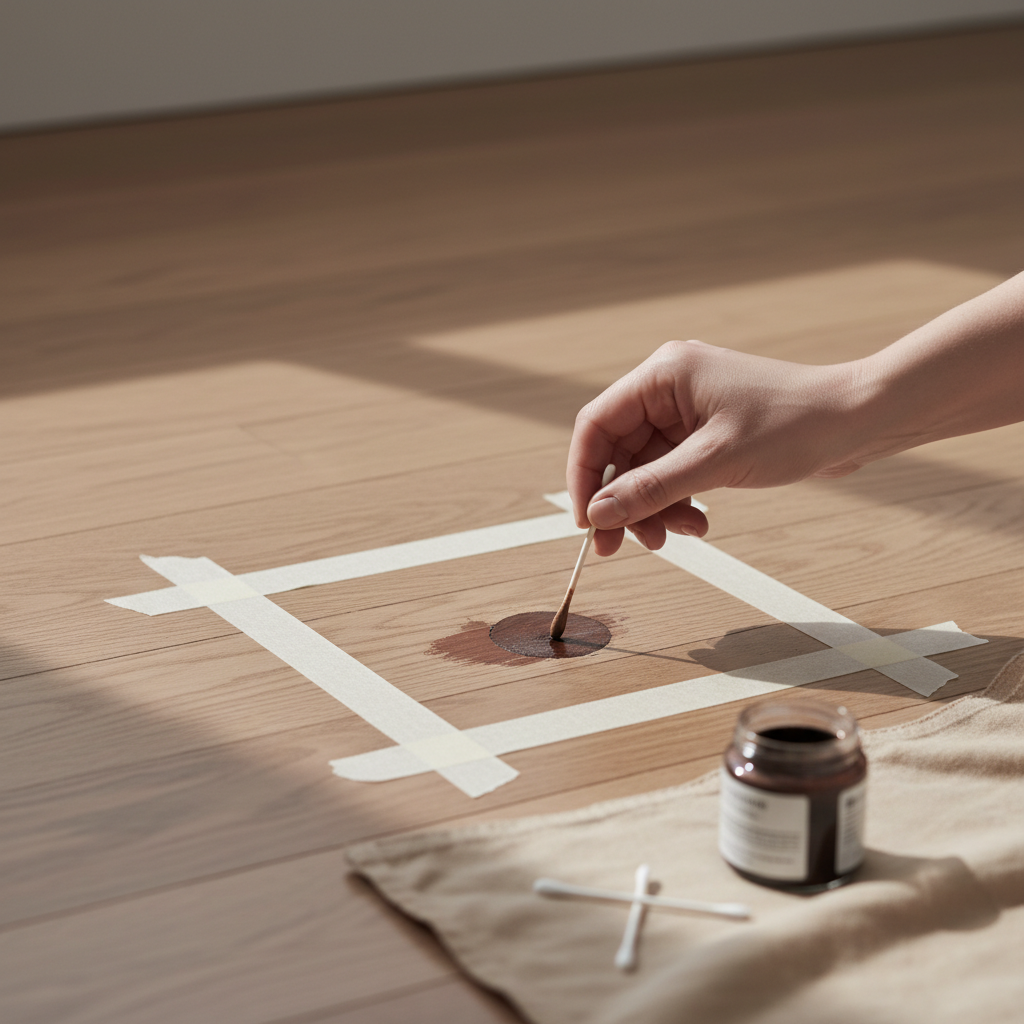
Blend the Color with Stain or a Repair Marker
After filling and sanding a deep scratch, the repaired area will likely look lighter or different in color compared to the surrounding floor. You need to restore the color before applying a protective finish. 1. Use a wood repair marker, stain pen, or a small amount of wood stain on a cotton swab that matches your floor color. 2. Apply the color carefully to the repaired area only, staying within the patch. 3. Use painter's tape around the patch to keep the stain from spreading onto the surrounding finish if needed. 4. Feather the edges lightly so the color blends gradually into the surrounding wood. 5. Let the stain dry completely (15–30 minutes, or as directed on the product). 6. If the color is too light, apply a second thin coat. If too dark, lightly buff with a damp cloth before it fully dries.
Test your stain color on a spare piece of wood or in a hidden corner of the room before applying it to the repair. Wood stain looks different wet versus dry.
- If If you repaired only a light scratch in Step 3 and the color looks good, do Skip this step and go directly to Step 6 to apply a protective finish..
Common mistakes
- ×Applying stain over a wet or uncured filler, which prevents proper adhesion.
- ×Using too much stain at once, causing a dark blotch that is hard to correct.
Step 6 of 7
Apply a Protective Finish
The final step is sealing the repaired area with a protective finish that matches the sheen of your existing floor (matte, satin, or gloss). 1. Choose a polyurethane or hardwood floor finish that matches your floor's sheen level. 2. Apply a very thin coat using a small foam applicator or brush, working along the grain. 3. Feather the edges of the finish outward so it blends into the surrounding floor rather than leaving a hard edge. 4. Allow the first coat to dry fully (usually 2–4 hours). 5. Lightly buff the dried finish with 0000-grade steel wool or 220-grit sandpaper to smooth any brush marks. 6. Wipe away dust, then apply a second thin coat if needed. 7. Allow the final coat to cure for at least 24 hours before placing furniture or rugs on the area, and 72 hours before heavy foot traffic.
Less is more with finish coats. Multiple thin coats always look better and last longer than one thick coat, which can bubble, drip, or peel.
Common mistakes
- ×Applying a thick coat of finish, which leads to bubbles and an uneven surface.
- ×Not matching the sheen level — a gloss patch on a matte floor will stand out obviously.
- ×Walking on the finish before it has fully cured, leaving footprints or marks.
Step 7 of 7
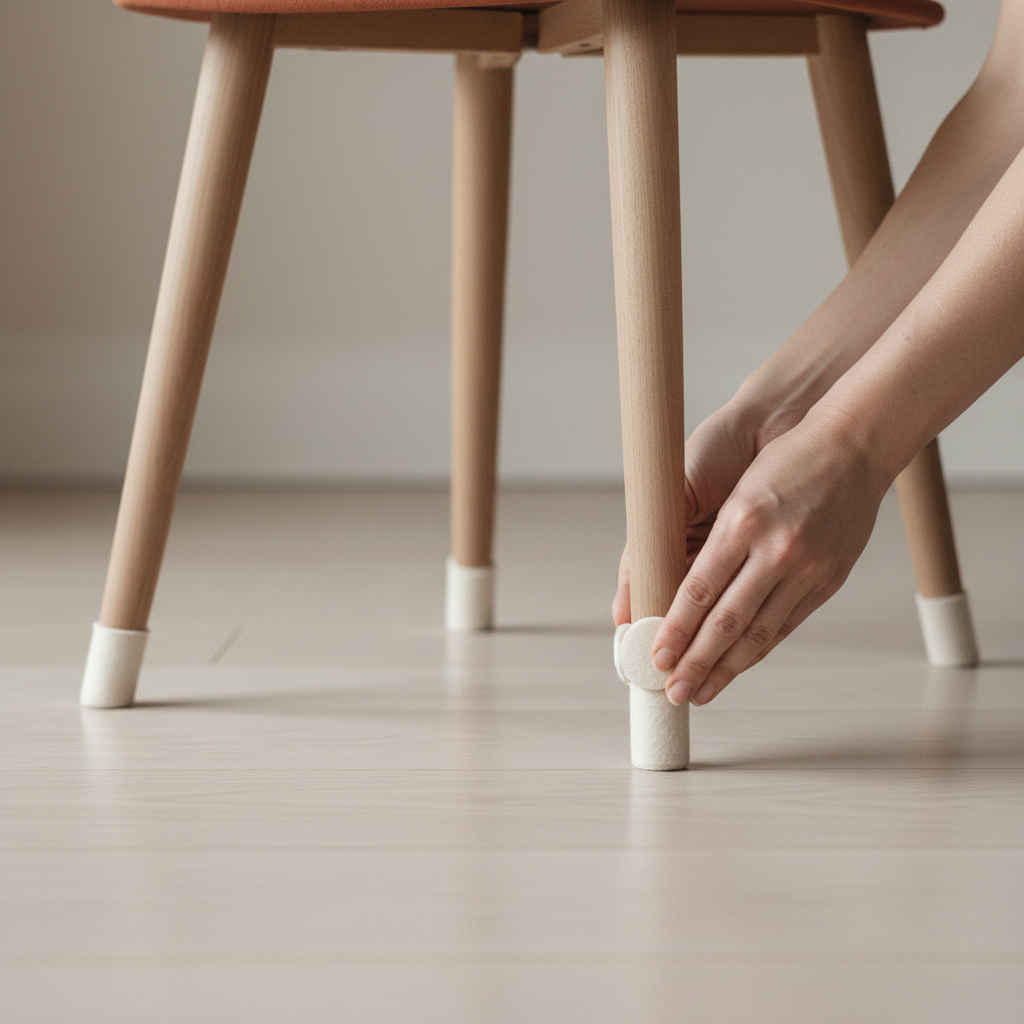
Prevent Future Scratches
Once your repair is complete, take steps to protect your floor from future damage. 1. Place felt pads under all furniture legs, especially chairs and tables that move frequently. 2. Use area rugs or runners in high-traffic zones such as hallways, entryways, and in front of the kitchen sink. 3. Keep pet nails trimmed regularly, as they are a common cause of surface scratches. 4. Avoid dragging furniture across the floor — always lift and carry. 5. Place a doormat at every entrance to catch grit and dirt before it is tracked onto the floor. 6. Sweep or vacuum regularly using a soft-bristle attachment to prevent abrasive particles from building up. 7. Reapply a maintenance coat of floor finish every 1–3 years depending on traffic levels.
High heels — especially stilettos — exert enormous pressure per square inch and are one of the leading causes of deep dents and scratches in hardwood floors. Consider a no-shoes policy in your home.
Common mistakes
- ×Using rubber-backed rugs directly on hardwood — rubber can discolor and damage the finish over time. Always use a felt or hardwood-safe rug pad.
- ×Neglecting regular cleaning, allowing grit to act like sandpaper underfoot.
Sources
Generated from model knowledge — verify any factual claims independently.