How to Fix a Scratch in Wooden Furniture
Learn how to assess and repair scratches on wooden furniture using simple household products or wood repair tools, restoring your piece to its original appearance.
Materials
- Soft, clean cloths or microfiber towels
- Mild dish soap and warm water
- Walnut or almond (for very light scratches)
- Wood repair marker or wax crayon in matching color
- Wood filler or wood putty (for deep scratches/gouges)
- Fine-grit sandpaper (220–400 grit)
- Matching wood stain or touch-up pen
- Clear furniture polish or paste wax
- Toothpick or putty knife (for applying filler)
Before you start
- Identify the type of wood finish (varnish, lacquer, oil, wax, or paint) if possible
Step 1 of 6
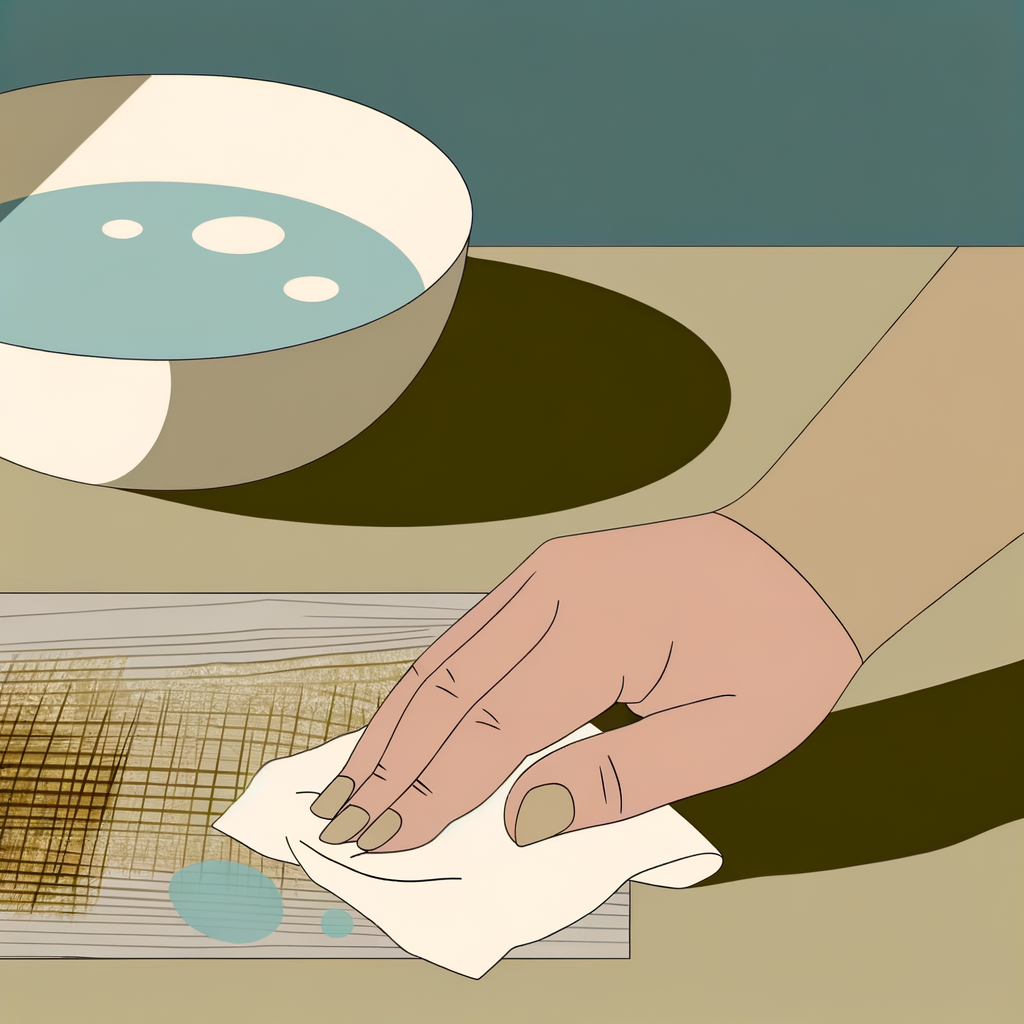
Clean the Scratched Area
Before attempting any repair, thoroughly clean the scratched area to remove dust, grease, and grime. Mix a few drops of mild dish soap with warm water, dampen a soft cloth, and gently wipe the surface around the scratch. Dry immediately with a clean cloth. Dirt or oil left on the surface can prevent repair products from bonding properly and may worsen the appearance of the scratch.
Avoid soaking the wood — excess moisture can cause swelling or warping. Use a barely damp cloth.
Common mistakes
- ×Using too much water, which can raise the wood grain or cause water stains.
- ×Skipping the cleaning step, leading to poor adhesion of repair products.
Step 2 of 6
Assess the Depth of the Scratch
Run your fingernail lightly across the scratch to gauge its depth. This determines which repair method to use: • **Surface/finish scratch** – Only the clear coat or finish is damaged; the wood itself is unharmed. The scratch looks white or hazy. • **Light wood scratch** – The scratch penetrates the finish and lightly marks the wood, but is shallow. • **Deep scratch or gouge** – The scratch is clearly felt with a fingernail and the wood is visibly cut or dented. Choosing the right method for the right depth is the most important step in getting a clean result.
- If Scratch is hazy or white but fingernail glides over it smoothly, do Proceed to Step 3 (surface finish repair with polish or walnut)..
- If Scratch is visible and slightly felt with a fingernail, do Proceed to Step 4 (use a wood repair marker or wax crayon)..
- If Scratch is deep, wide, or a gouge that is clearly felt, do Skip to Step 5 (use wood filler or putty)..
Step 3 of 6
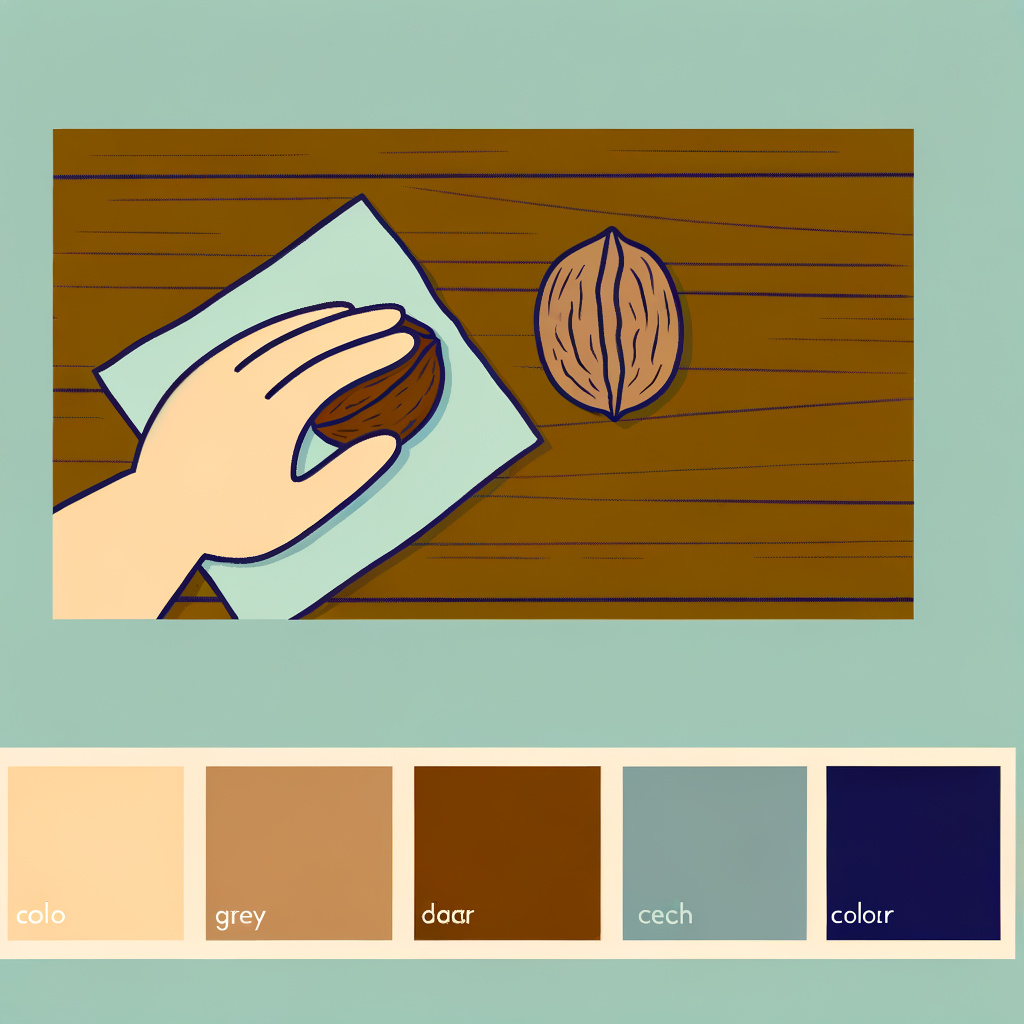
Fix Surface Scratches with Polish or a Walnut
For scratches that only affect the finish (not the wood itself), try these quick fixes: **Walnut method:** Break a raw walnut in half and rub the exposed nut meat firmly along the scratch several times. The natural oils in the walnut fill and disguise the mark. Buff with a soft cloth after 1–2 minutes. **Furniture polish method:** Apply a small amount of paste wax or furniture polish to a soft cloth and rub it into the scratch using circular motions. Buff to a shine. This works especially well on wax or oil-finished furniture. Repeat if needed. These methods work best on light, superficial marks.
A little petroleum jelly (Vaseline) can also work as a quick fix for very fine surface scratches — apply, leave for 24 hours, then buff off.
Common mistakes
- ×Rubbing too hard, which can spread the scratch or damage the surrounding finish.
- ×Using the walnut method on deep scratches — it only works for surface-level marks.
Step 4 of 6
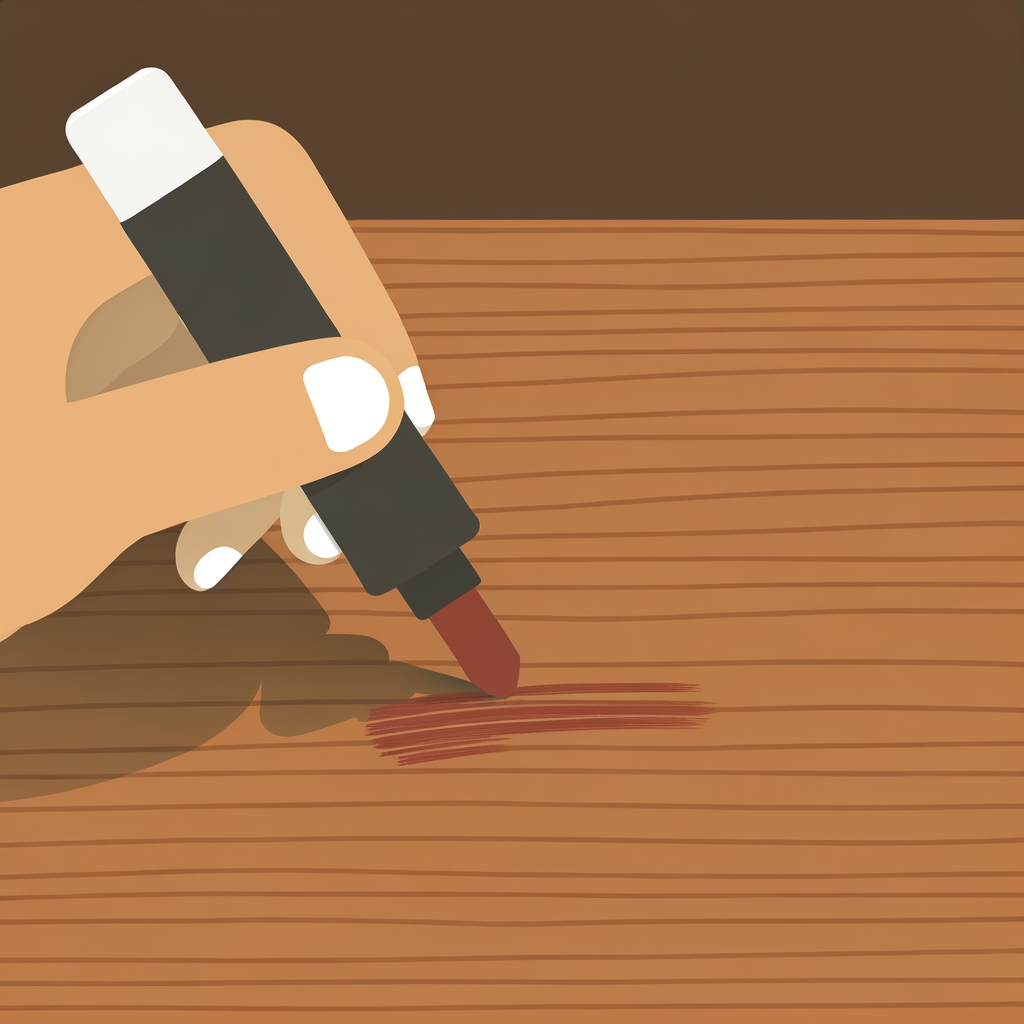
Repair Light Scratches with a Wood Repair Marker or Wax Crayon
For scratches that have broken through the finish and lightly marked the wood, a wood repair marker (touch-up pen) or a wax fill stick in a matching color is the ideal solution. 1. Select a marker or wax crayon that closely matches your wood's color and tone. Test on a hidden spot first. 2. Apply the marker or crayon along the length of the scratch, working with the grain. 3. Wipe away any excess with a clean cloth before it dries. 4. Allow to dry fully (check product instructions — usually 5–10 minutes). 5. Buff gently with a soft cloth to blend the repair into the surrounding finish. For best results, layer thin coats rather than one heavy application.
If you can't find an exact color match, blend two markers (one slightly lighter, one slightly darker) to achieve a custom tone.
Common mistakes
- ×Choosing a color that's too dark, making the repair more visible than the original scratch.
- ×Applying too much product at once, causing buildup that looks unnatural.
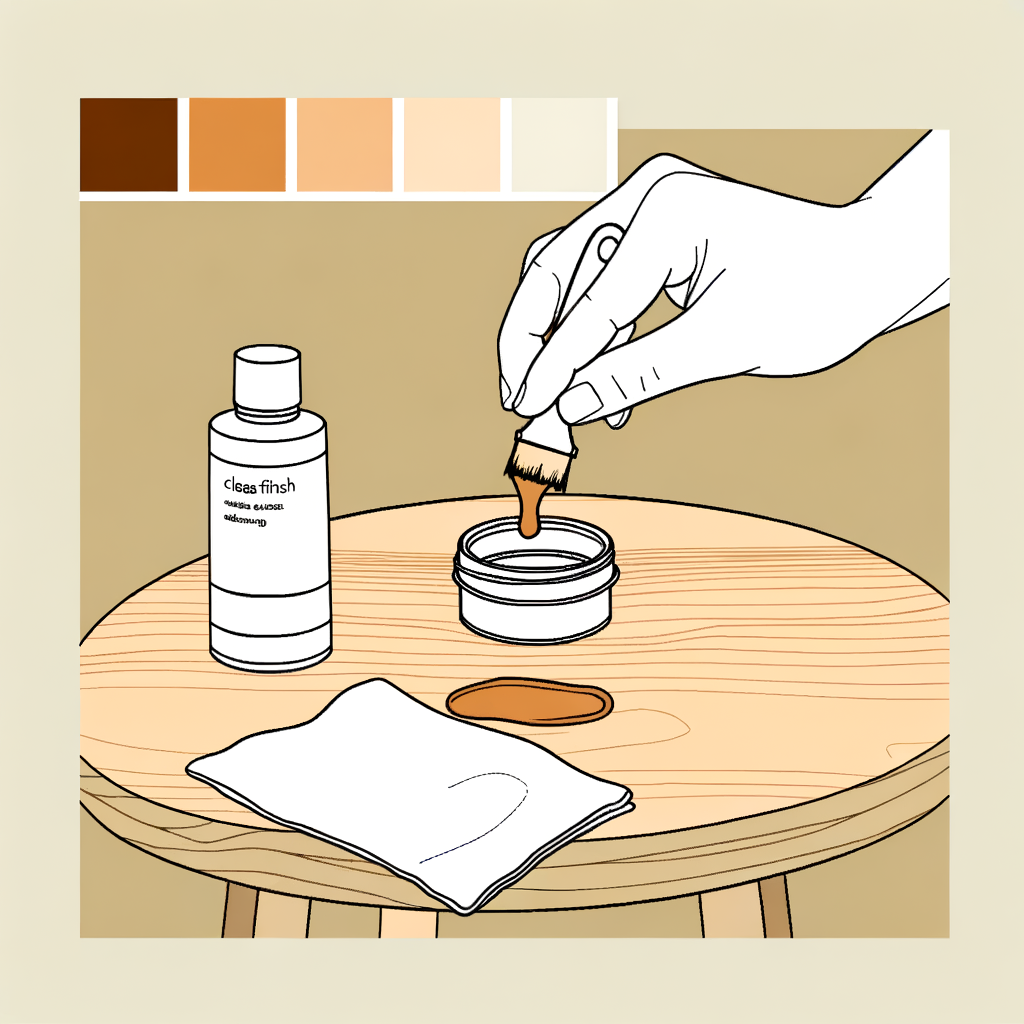
Step 5 of 6

Fill Deep Scratches or Gouges with Wood Filler
For deep scratches or gouges, you'll need wood filler or wood putty: 1. Choose a wood filler that matches your wood color, or a stainable filler if you plan to stain over it. 2. Using a toothpick, putty knife, or your fingertip, press a small amount of filler firmly into the scratch, slightly overfilling it. 3. Smooth the surface with the putty knife, removing excess filler flush with the wood surface. 4. Allow to dry completely according to the manufacturer's instructions (typically 15–60 minutes). 5. Once dry, lightly sand the filled area with 220–400 grit sandpaper, working with the grain, until it is perfectly smooth and level with the surrounding wood. 6. Wipe away sanding dust with a clean, dry cloth.
Wood filler shrinks slightly as it dries. Slightly overfill the scratch so that after sanding, the surface is perfectly level.
Common mistakes
- ×Not allowing the filler to dry fully before sanding, causing it to smear.
- ×Sanding across the grain, which creates visible scratches in the surrounding wood.
- ×Underfilling the scratch, leaving a depression after the filler dries.
Step 6 of 6
Apply Stain and Finish to Blend the Repair
After filling and sanding (Step 5) or using a repair marker (Step 4), the repaired area may need a color touch-up and protective topcoat to blend seamlessly: 1. **Stain (if needed):** Apply a small amount of matching wood stain to the repaired area using a cotton swab or small brush. Feather the edges to blend with the surrounding wood. Wipe away excess and let dry. 2. **Topcoat:** Apply a thin layer of clear furniture polish, paste wax, or a matching finish (varnish, lacquer, etc.) over the repair to protect it and match the sheen of the surrounding surface. 3. Allow to dry fully, then buff with a soft cloth. Step back and check the repair in different lighting to ensure it blends well. Repeat staining or polishing as needed.
Match the sheen level (matte, satin, or gloss) of your topcoat to the existing furniture finish for the most invisible repair.
- If The repaired area matches the surrounding wood color and sheen, do Your repair is complete! Buff with a soft cloth and enjoy your restored furniture..
- If The color or sheen still doesn't match after one application, do Apply additional thin coats of stain or finish, checking after each coat until the match is satisfactory..
Common mistakes
- ×Applying stain over a wax-based repair product — stain won't absorb over wax. Apply stain first, then wax.
- ×Using a high-gloss finish on a matte-finish piece, making the repair stand out.
Sources
Generated from model knowledge — verify any factual claims independently.