How to Do a Weighted Squat
Learn how to perform a weighted barbell back squat safely and effectively, building lower-body strength while maintaining proper form to prevent injury.
Materials
- Barbell
- Weight plates appropriate for your level
- Squat rack or power cage
- Weightlifting belt (optional, for heavier loads)
- Flat-soled or weightlifting shoes
- Collars/clips to secure plates
Before you start
- Basic bodyweight squat familiarity
- No current knee, hip, or lower-back injuries
Step 1 of 7
Warm Up Your Body
Before touching any weight, spend 5–10 minutes warming up. Do light cardio (e.g., brisk walking or cycling) to raise your heart rate, followed by dynamic stretches targeting the hips, quads, hamstrings, and ankles — such as leg swings, hip circles, and bodyweight squats. A proper warm-up increases blood flow to the muscles, improves range of motion, and significantly reduces injury risk.
Do 2–3 sets of 10 bodyweight squats focusing on depth and posture before loading the bar.
Common mistakes
- ×Skipping the warm-up entirely and going straight to heavy weight.
- ×Only stretching statically — dynamic movement is more effective pre-workout.
Step 2 of 7
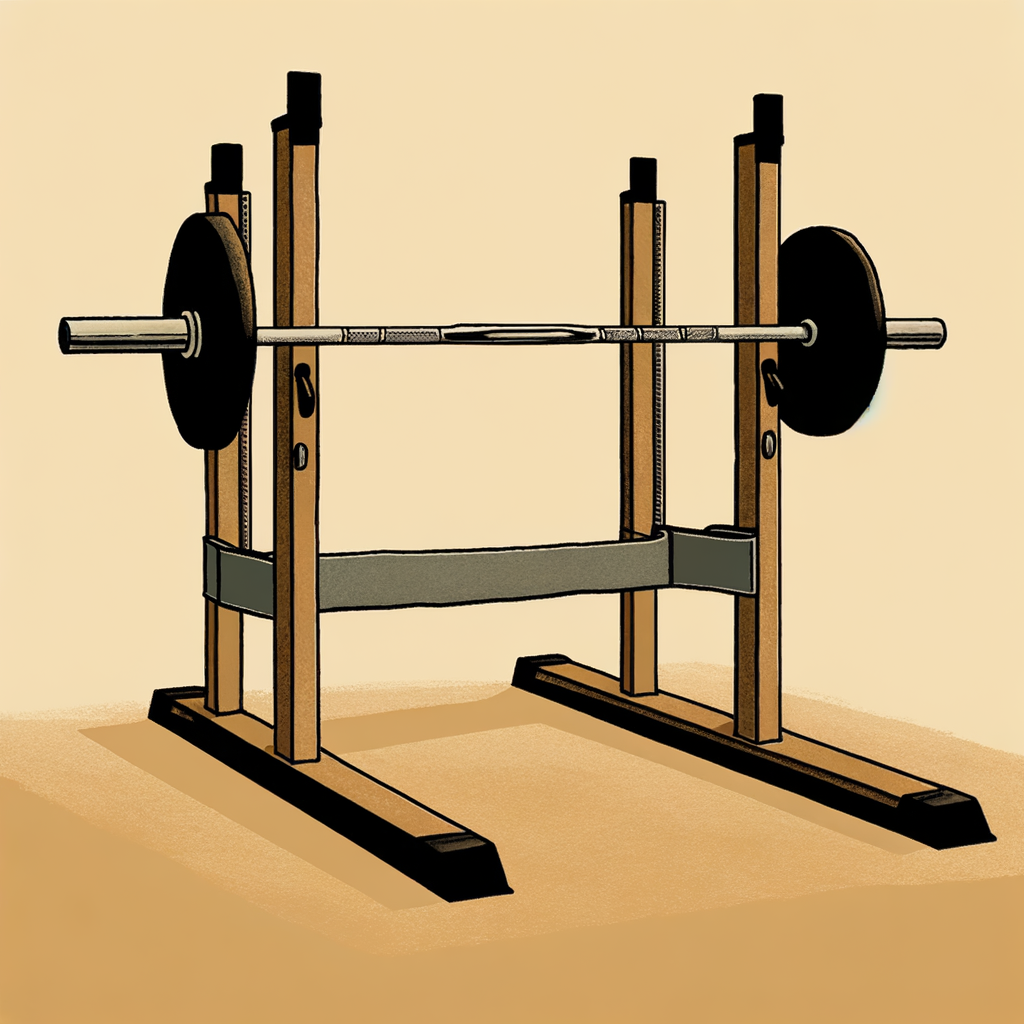
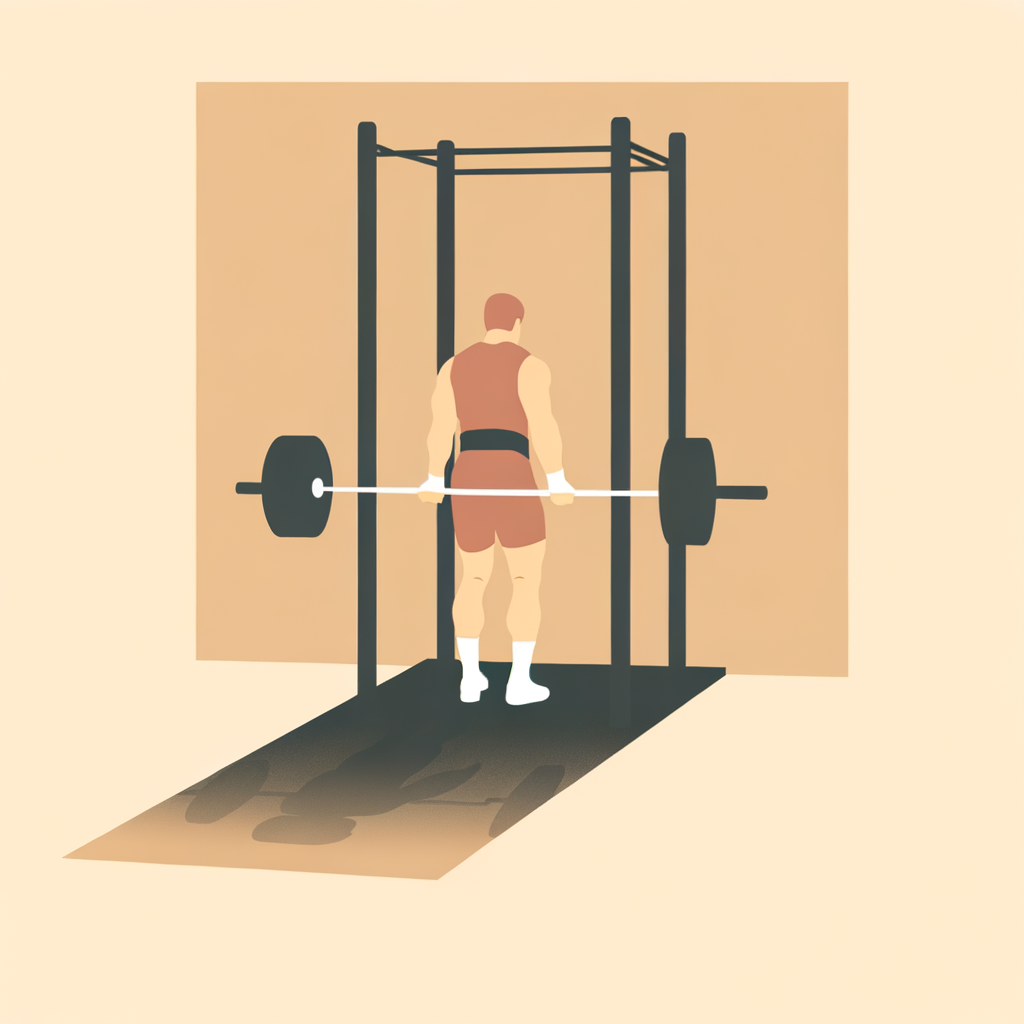
Set Up the Squat Rack
Adjust the squat rack so the bar sits at approximately upper-chest height (just below your shoulders). Set the safety bars a few inches below the depth you plan to squat to — this is your safety net if you fail a rep. Load the barbell with an appropriate weight, starting light if you are new. Secure the plates with collars on both sides to prevent them from sliding.
If you're unsure about the right starting weight, begin with just the empty bar (typically 20 kg / 45 lbs) to practice form.
Common mistakes
- ×Setting the bar too high, forcing you to rise onto your toes to unrack it.
- ×Forgetting to set the safety bars, which is dangerous if you miss a rep.
- ×Not using collars, allowing plates to slide and unbalance the bar.
Step 3 of 7
Position the Bar and Grip
Step under the bar and place it across your upper back — specifically on your trapezius muscles (high bar) or slightly lower on your rear deltoids (low bar). The bar should NOT rest on your neck or spine. Grip the bar slightly wider than shoulder-width with both hands, keeping your wrists as straight as possible. Squeeze your shoulder blades together to create a solid 'shelf' of muscle for the bar to rest on.
A thumbless (false) grip can reduce wrist strain for some lifters, but always use whichever grip feels most secure for you.
- If If you feel wrist or elbow pain with a standard grip, do Try widening your grip slightly or use wrist wraps to provide extra support..
Common mistakes
- ×Placing the bar directly on the neck or cervical spine.
- ×Gripping too wide, which reduces upper-back tightness and bar stability.
- ×Letting the wrists bend back excessively under the bar.
Step 4 of 7

Unrack the Bar and Find Your Stance
Take a deep breath, brace your core, and push through your legs to lift the bar off the hooks. Take 1–2 small steps back to clear the rack. Plant your feet shoulder-width apart (or slightly wider), with toes pointed out at roughly 30–45 degrees. Keep your chest up, spine neutral, and eyes focused on a point slightly above eye level. This is your starting position.
Take the minimum number of steps back from the rack — fewer steps means less energy wasted and a safer re-rack.
Common mistakes
- ×Walking back too far from the rack, making re-racking difficult.
- ×Looking down at the floor, which causes the chest to drop and the back to round.
- ×Failing to brace the core before unracking.
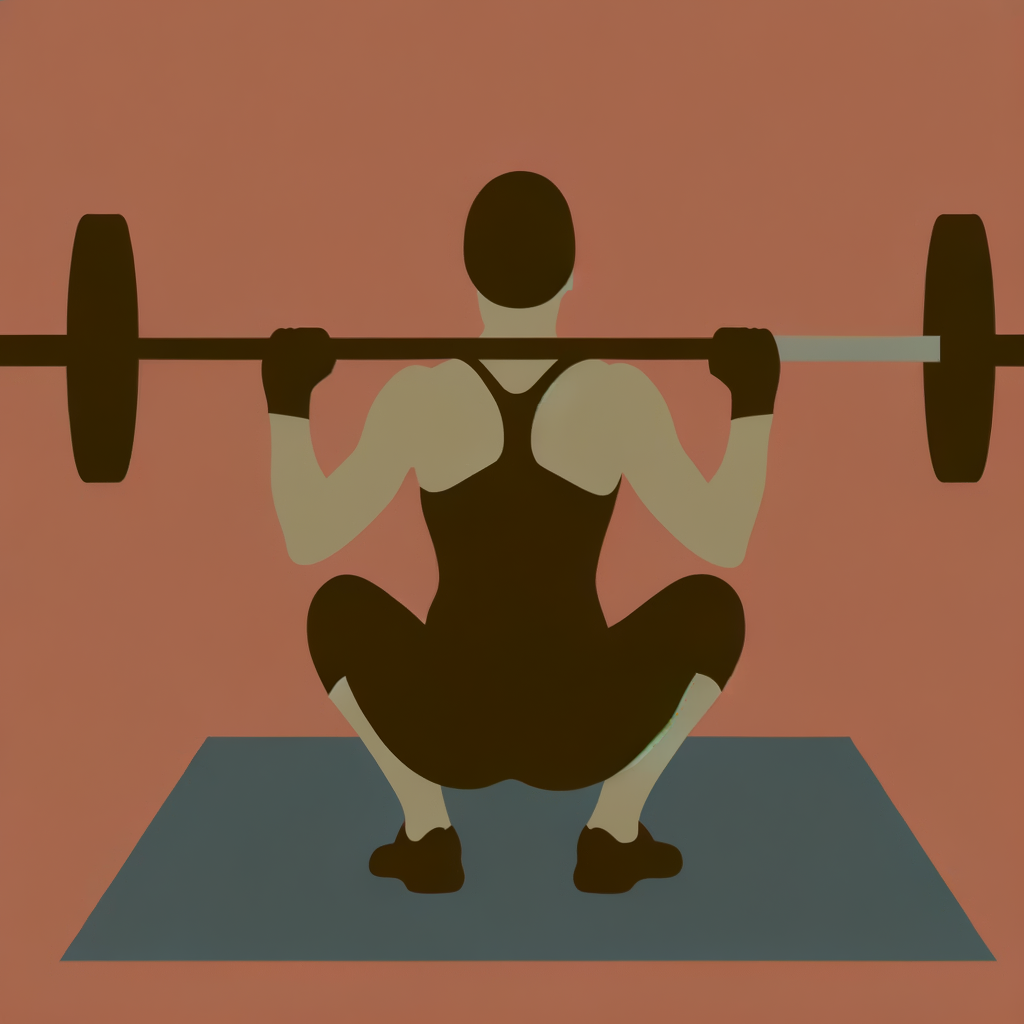
Step 5 of 7
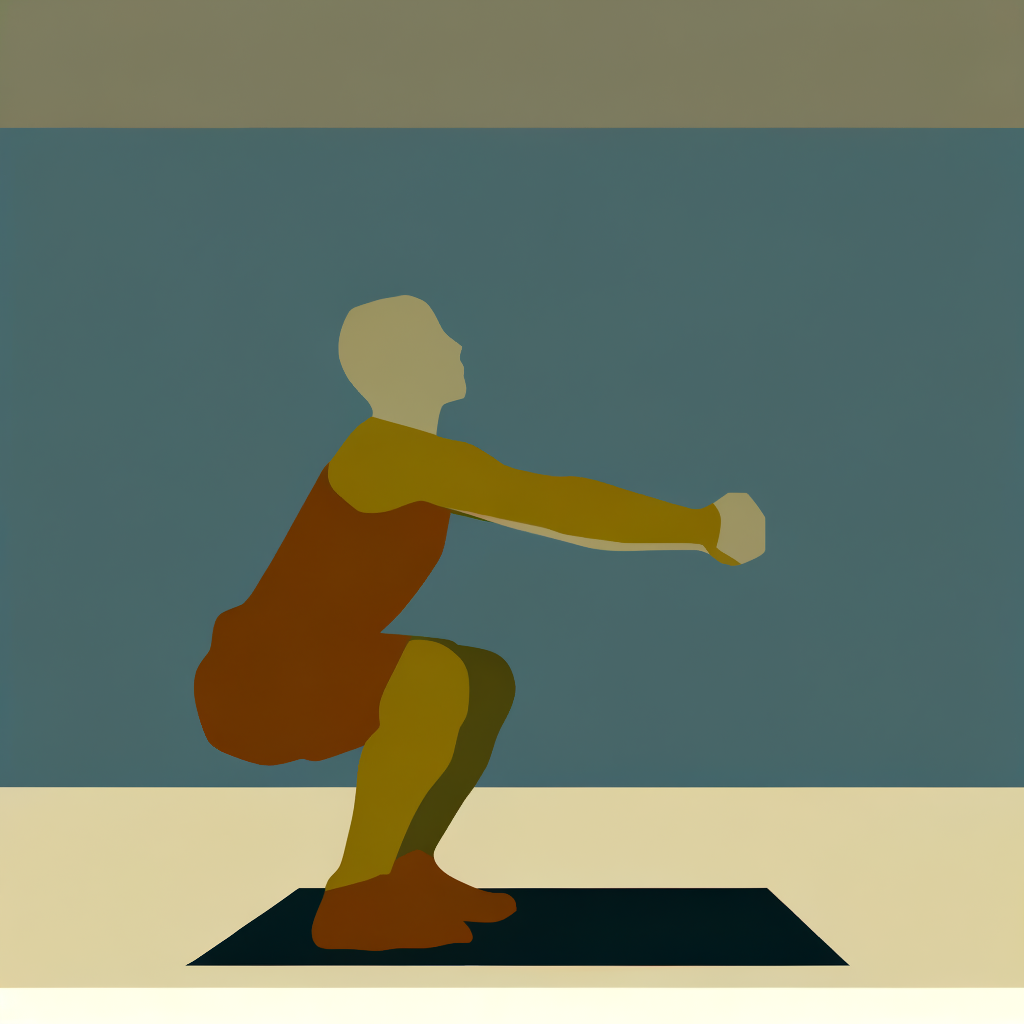
Descend Into the Squat
Inhale deeply and brace your core as if bracing for a punch (this is called the Valsalva maneuver and stabilizes your spine). Initiate the movement by pushing your hips back and bending your knees simultaneously. Lower yourself in a controlled manner, keeping your chest up, back straight, and knees tracking over your toes. Aim to descend until your thighs are at least parallel to the floor (or deeper if your mobility allows), without your lower back rounding.
Think about 'spreading the floor apart' with your feet as you descend — this engages your glutes and keeps your knees from caving inward.
- If If your heels lift off the ground during the descent, do Place small weight plates under your heels temporarily, and work on ankle and calf flexibility over time..
- If If your lower back rounds before reaching parallel, do Reduce the range of motion until you build sufficient hip and hamstring flexibility, or reduce the weight..
Common mistakes
- ×Allowing the knees to cave inward (valgus collapse).
- ×Letting the heels rise off the floor — if this happens, work on ankle mobility.
- ×Rounding the lower back at the bottom of the squat.
- ×Descending too quickly without control.
Step 6 of 7
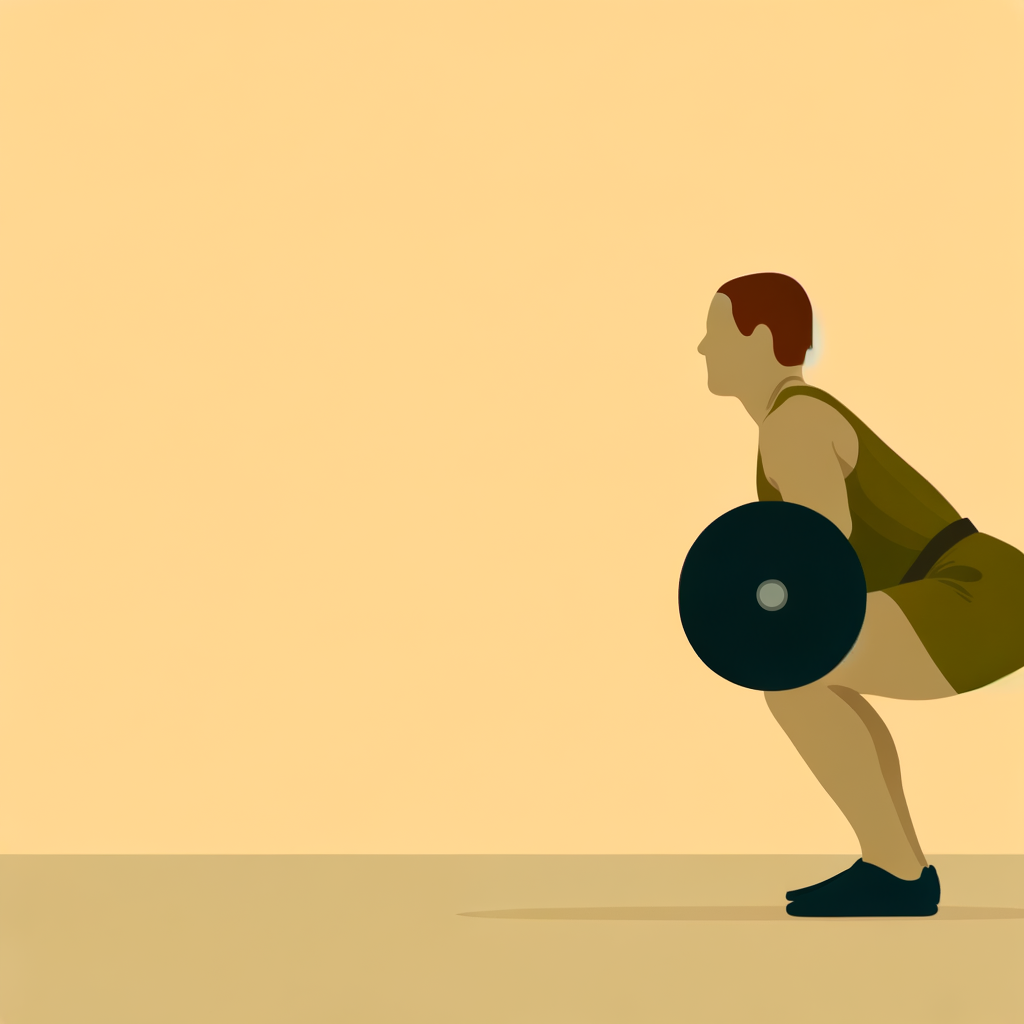
Drive Up and Complete the Rep
From the bottom position, powerfully drive through your heels and mid-foot to push the floor away. Keep your chest up and hips and shoulders rising at the same rate — avoid letting your hips shoot up faster than your chest (this causes a 'good morning' lean). Exhale as you pass the hardest point of the lift (just above parallel). Fully extend your hips and knees at the top, squeezing your glutes, but avoid hyperextending your lower back. That's one rep.
Focus on 'pushing the bar through the ceiling' as you rise — this mental cue helps keep your chest up and back tight.
Common mistakes
- ×Hips rising faster than the chest, turning the squat into a forward lean.
- ×Not fully extending the hips at the top of the rep.
- ×Holding your breath for multiple reps — exhale on the way up each time.
Step 7 of 7
Re-Rack the Bar Safely
After completing your set, walk forward toward the rack using small, controlled steps. Locate the hooks visually and lower the bar onto them by bending your knees slightly — never just drop the bar. Ensure both sides of the bar are securely seated on the hooks before releasing your grip and stepping away.
Always make eye contact with the rack hooks before re-racking — feeling for them blindly can lead to a missed hook and a dangerous drop.
Common mistakes
- ×Trying to re-rack while fatigued and missing the hooks.
- ×Releasing the bar before it is fully secured on both hooks.
- ×Walking back too far from the rack during the set, making re-racking awkward.
Sources
Generated from model knowledge — verify any factual claims independently.