How to Create a Handmade Greeting Card
Learn how to design and craft a beautiful, personalized handmade greeting card from scratch using basic art supplies and simple techniques.
Materials
- Cardstock or thick paper (A4 or letter size)
- Scissors or paper trimmer
- Ruler
- Bone folder or butter knife (for clean folds)
- Pencil and eraser
- Markers, colored pencils, or watercolor paints
- Glue stick or double-sided tape
- Decorative elements (stickers, washi tape, ribbon, stamps)
- Envelopes (optional)
- Embellishments (glitter, dried flowers, buttons — optional)
Before you start
- No prior experience needed — suitable for all ages and skill levels
Step 1 of 6
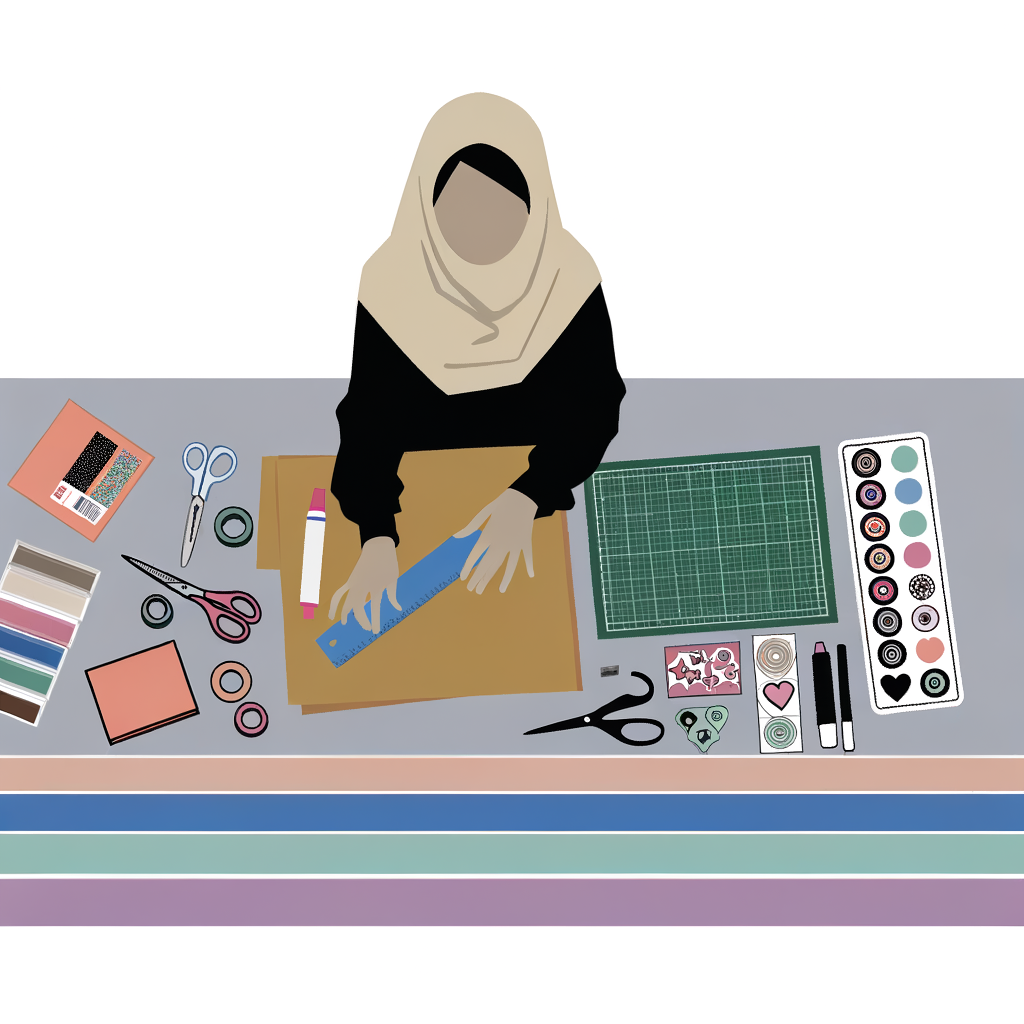
Gather Your Materials
Collect everything you'll need before you start. The most important item is cardstock or thick paper — regular printer paper is too thin and won't hold its shape well. Choose a color that suits the occasion (white or cream for elegant looks, bright colors for fun and festive cards). Gather your decorating tools: markers, colored pencils, watercolors, stamps, stickers, washi tape, or any embellishments you like. Having everything within reach before you begin makes the process smooth and enjoyable.
Cardstock from a craft store gives the best results. If you only have regular paper, layer two sheets together with glue for added sturdiness.
Common mistakes
- ×Using regular printer paper — it's too flimsy and won't look professional.
- ×Not having all materials ready before starting, causing interruptions mid-craft.
Step 2 of 6
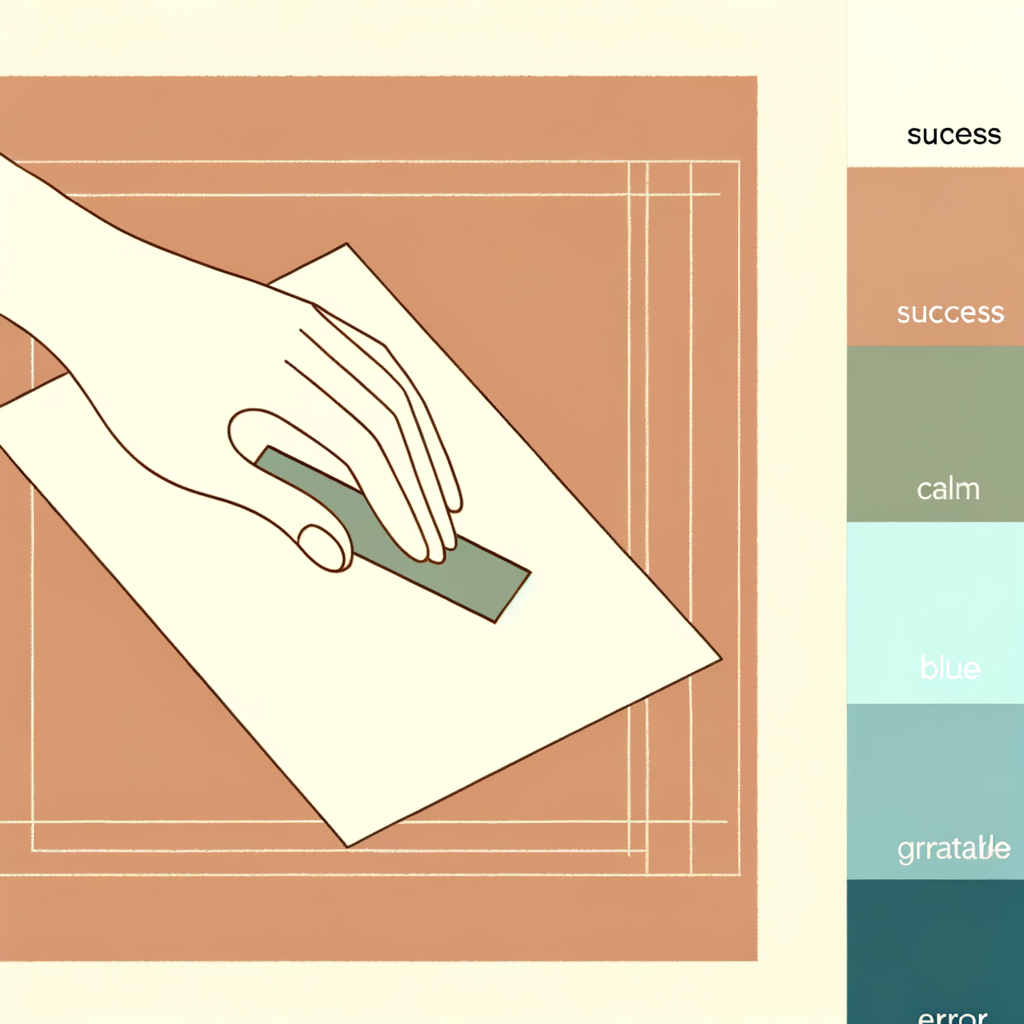
Cut and Fold Your Card Base
Decide on your card size. A standard greeting card is about 5×7 inches (13×18 cm) when folded. Start with a piece of cardstock that is double the width — so 10×7 inches (25×18 cm). Use a ruler and pencil to measure and mark the center fold line lightly. Cut the cardstock to size using scissors or a paper trimmer for a clean edge. Then, place the ruler along the center fold line and run a bone folder (or the blunt edge of a butter knife) firmly along it. This scores the paper and ensures a crisp, clean fold. Fold the card in half along the scored line.
Always score before folding — it prevents the paper from cracking or buckling along the fold line.
- If If you want a square card instead, do Cut your cardstock to 10×5 inches (25×13 cm) and fold in half to create a 5×5 inch square card..
Common mistakes
- ×Skipping the scoring step, which leads to a rough or uneven fold.
- ×Cutting freehand without a ruler, resulting in uneven edges.
Step 3 of 6
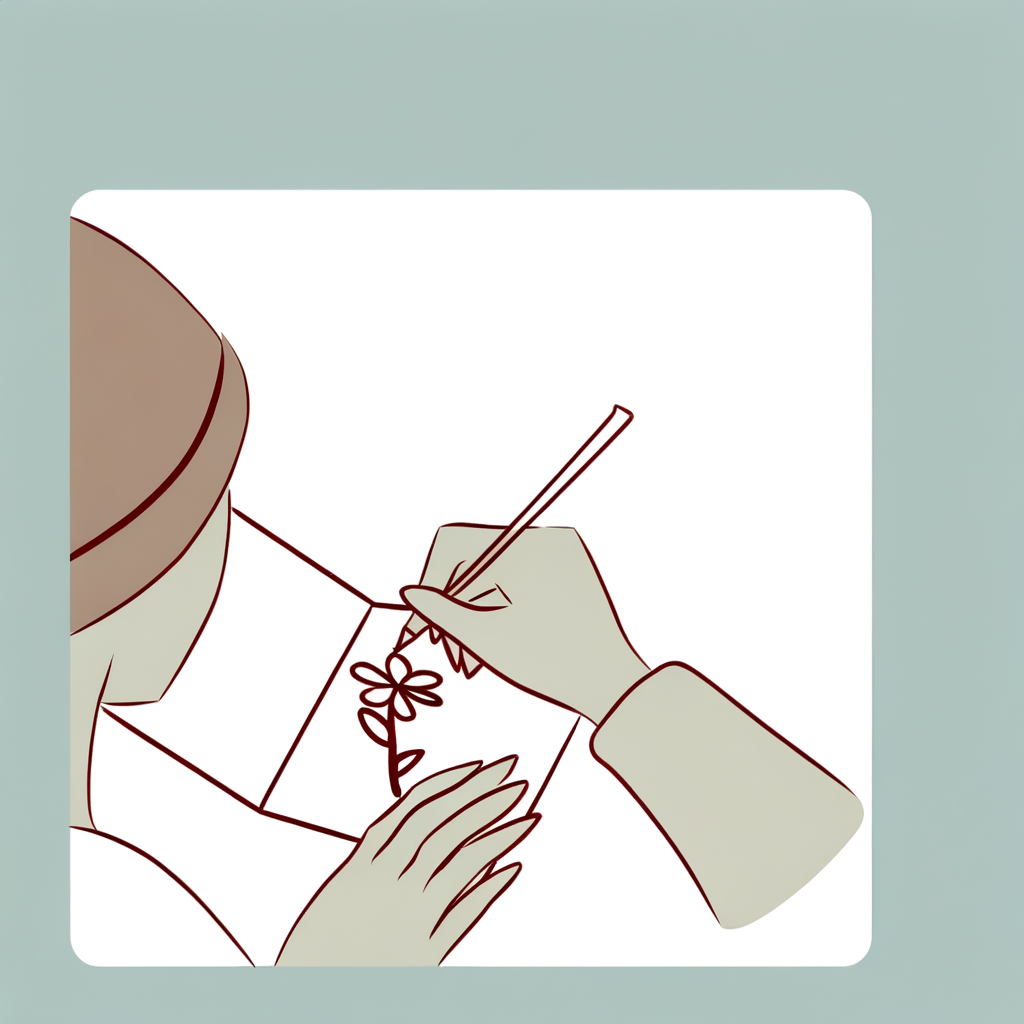
Plan Your Design
Before putting pen to paper on your final card, sketch out your design idea lightly in pencil on the card front, or plan it on a scrap piece of paper first. Think about the occasion — a birthday card might feature balloons or a cake, while a thank-you card might have flowers or a simple elegant pattern. Consider the layout: will you have a large central illustration, a border design, or a mix of text and imagery? Planning ahead prevents mistakes and helps you use your space effectively. Lightly pencil in any text placement on the front and inside as well.
Keep the design simple — a single focal image with clean lettering often looks more polished than a cluttered design.
Common mistakes
- ×Jumping straight into inking or painting without a pencil sketch, leading to hard-to-fix mistakes.
- ×Overcrowding the card with too many elements, making it look messy.
Step 4 of 6
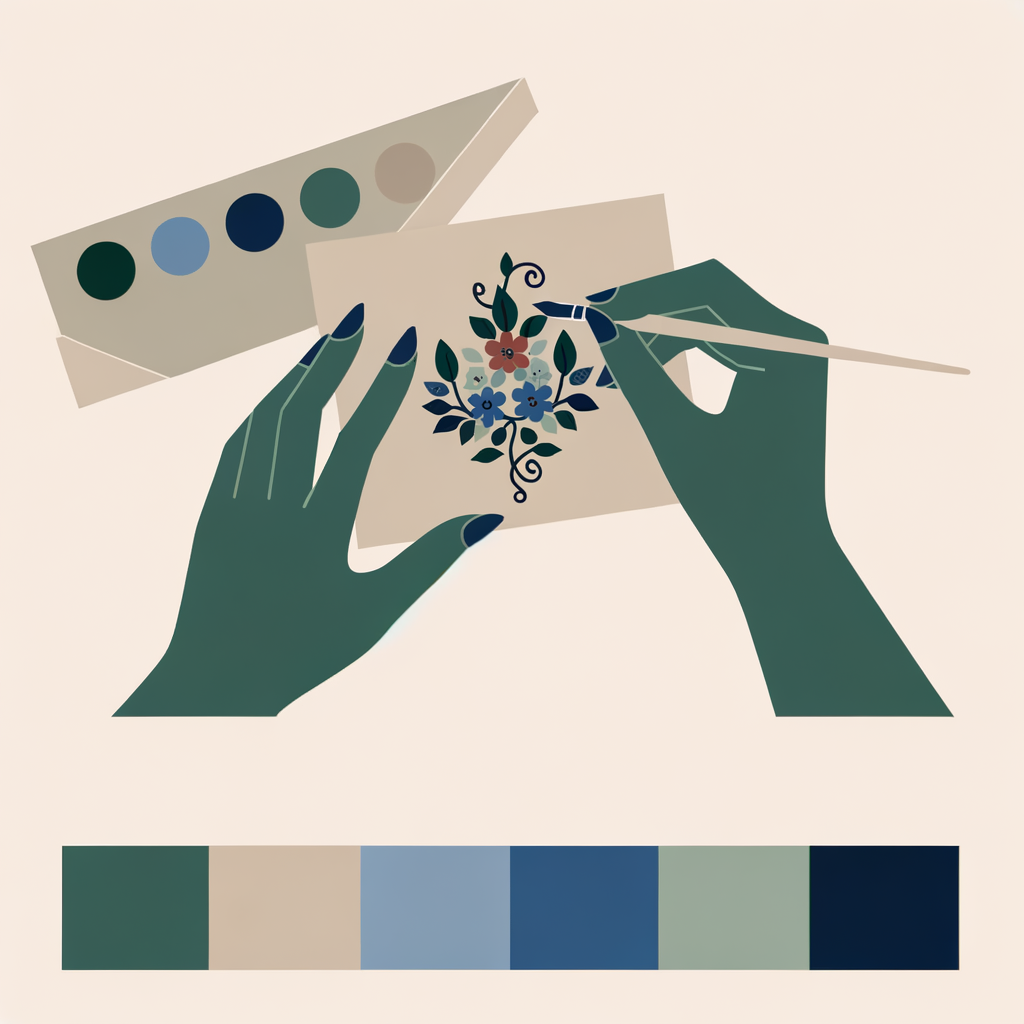
Decorate the Card Front
Now bring your design to life! Use your chosen medium — markers for bold, clean lines; colored pencils for soft shading; or watercolors for a beautiful painterly effect. Work from background to foreground: paint or color large areas first, then add details on top once dry. You can also layer decorative elements like washi tape borders, stamped images, or cut-out paper shapes glued onto the front. If using watercolors or wet media, allow the card to dry completely (at least 10–15 minutes) before adding any additional layers or embellishments to prevent smearing or warping.
Use a light touch with watercolors on cardstock — too much water can cause the paper to warp. Work in thin layers and let each one dry before adding the next.
- If If you're not confident in drawing freehand, do Use stamps, stencils, or cut out shapes from patterned paper and glue them onto the card front for a polished look without drawing..
- If If you want extra dimension and texture, do Glue on embellishments like ribbon bows, dried flowers, buttons, or foam adhesive layers to make elements pop off the card..
Common mistakes
- ×Adding embellishments before the paint or ink is fully dry, causing smearing.
- ×Using too much water with watercolors, causing the cardstock to buckle.
Step 5 of 6
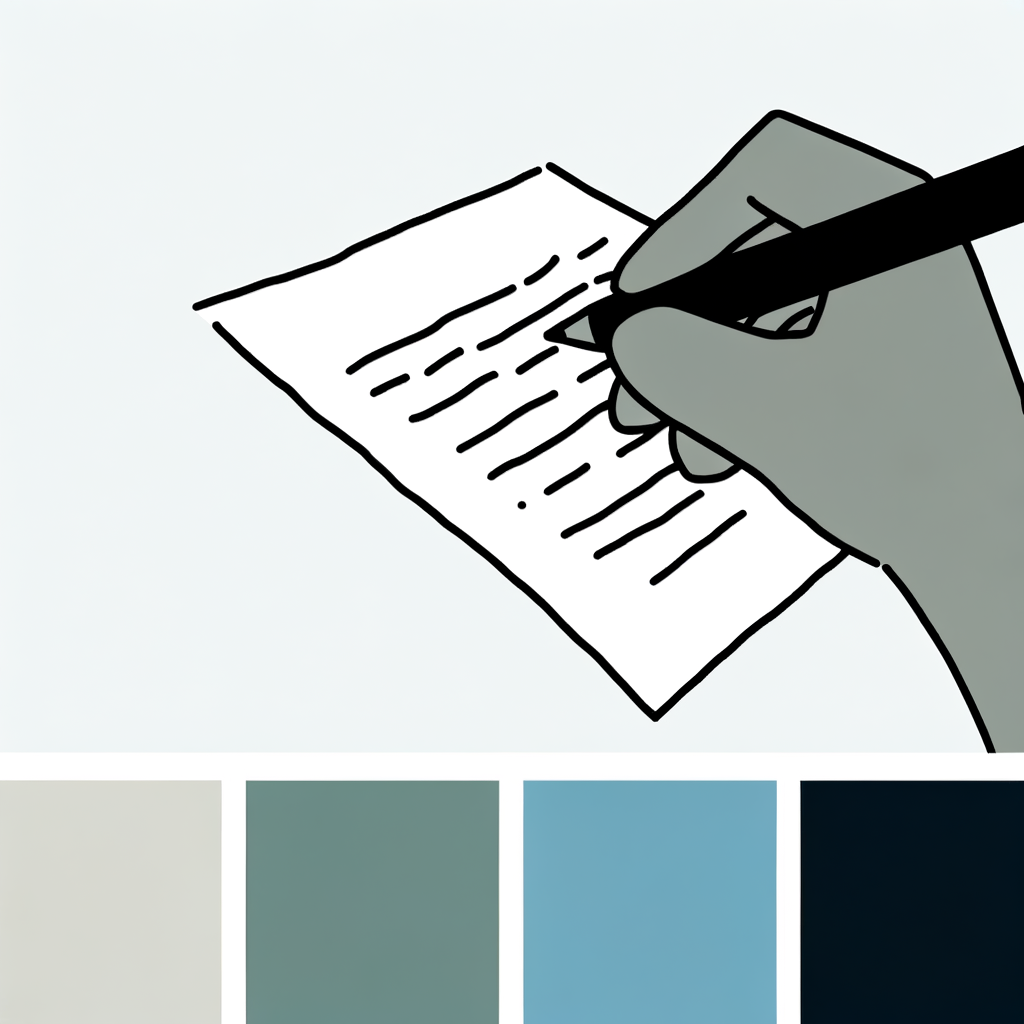
Write Your Message Inside
Open the card and write your personal message inside. First, lightly pencil in guide lines with a ruler to keep your writing straight, then erase them after you're done. Choose a pen that won't bleed through the cardstock — a fine-tip marker, gel pen, or ballpoint pen all work well. Write your message in the center or right panel of the inside. You can also add a small decorative element inside, like a stamped image, a sticker, or a small hand-drawn doodle in the corner. Keep the message heartfelt and personal — that's what makes a handmade card truly special.
Practice your message on a scrap piece of paper first, especially if you want to try decorative lettering or calligraphy.
Common mistakes
- ×Writing without pencil guide lines, resulting in slanted or uneven text.
- ×Using a marker that bleeds through the cardstock and ruins the front design.
Step 6 of 6
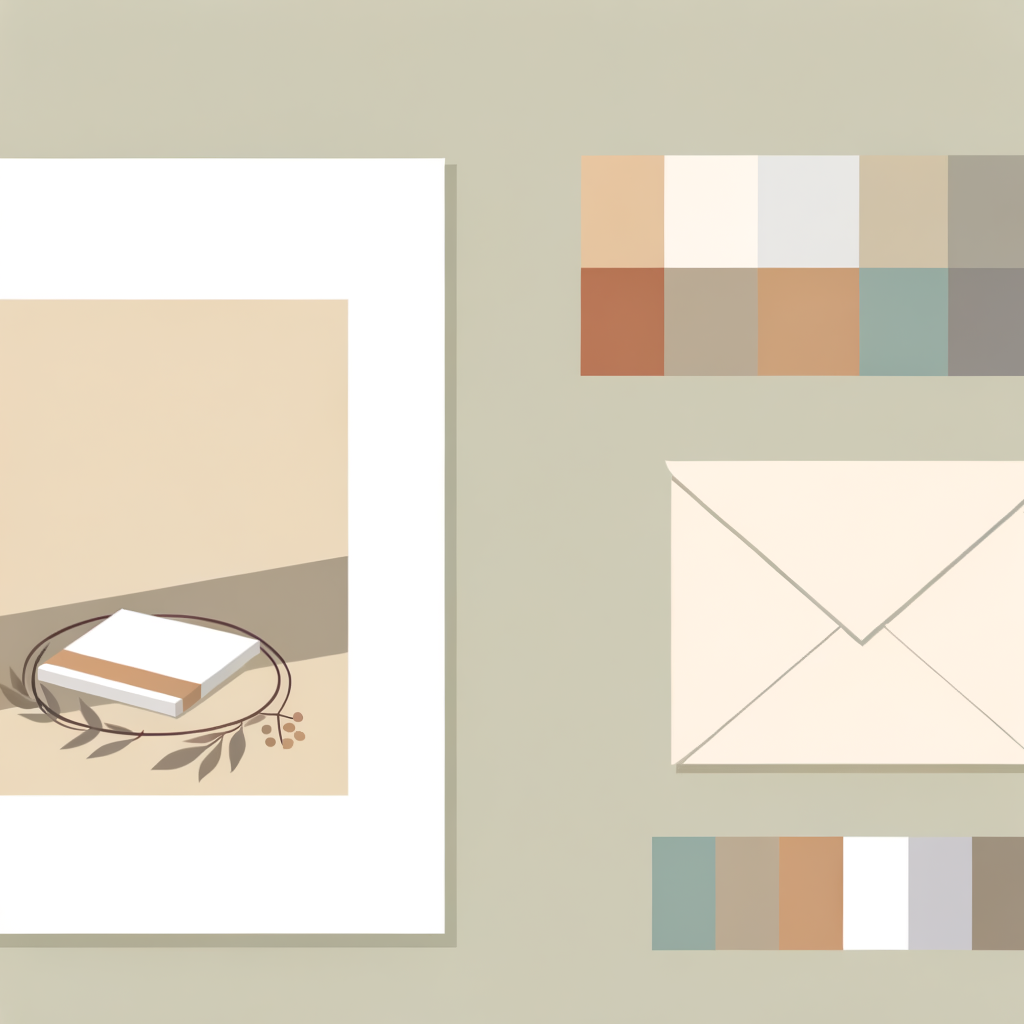
Add Final Touches and Present Your Card
Give your card a final review. Erase any remaining pencil marks gently with a soft eraser. Check that all glued elements are firmly attached — press them down and let them dry if needed. You can add a final flourish like a sprinkle of glitter (apply glue first, then sprinkle and shake off the excess), a wax seal on the envelope, or a tied ribbon. If you have an envelope, decorate it to match your card for an extra special presentation. Place the card in the envelope, seal it, and write the recipient's name on the front. Your handmade greeting card is ready to gift!
Store finished cards flat under a heavy book for a few minutes to flatten any warping caused by wet media before placing them in the envelope.
Common mistakes
- ×Forgetting to erase pencil guide lines before gifting the card.
- ×Applying too much glitter without sealing it, causing it to shed everywhere.
Sources
Generated from model knowledge — verify any factual claims independently.