How to Check the Air Pressure in Your Tires
Learn how to accurately check your vehicle's tire pressure using a tire pressure gauge, ensuring your tires are properly inflated for safety, fuel efficiency, and tire longevity.
Materials
- Tire pressure gauge (digital, dial, or stick/pencil type)
- Air compressor or gas station air pump
- Vehicle owner's manual or door jamb sticker (for recommended PSI)
Before you start
- Access to your vehicle
- Basic familiarity with your car's tires
Step 1 of 7

Find the Recommended Tire Pressure for Your Vehicle
Before checking your tires, you need to know the correct PSI (pounds per square inch) target for your vehicle. Do NOT use the number printed on the tire sidewall — that is the maximum pressure the tire can hold, not the recommended operating pressure. Instead, find your vehicle's recommended PSI in one of these places: • The sticker on the inside of the driver's door jamb (most common) • Your vehicle owner's manual • Sometimes on the inside of the fuel cap door Note that the front and rear tires may have different recommended pressures, so check both values.
Take a photo of the door jamb sticker with your phone so you always have the recommended PSI handy.
Common mistakes
- ×Using the MAX PSI number on the tire sidewall as the target — this is the maximum, not the recommended pressure.
- ×Assuming all four tires need the same pressure — front and rear can differ.
Step 2 of 7

Check Tires When They Are 'Cold'
Tire pressure readings are most accurate when the tires are 'cold' — meaning the vehicle has been parked for at least 30 minutes, or has been driven less than 1 mile at low speed. When you drive, friction heats the air inside the tires, causing pressure to rise by 4–8 PSI above the true resting pressure. Checking hot tires will give you a falsely high reading and may lead you to incorrectly deflate them. If you must check pressure after driving, note that your reading will be higher than the cold reading and factor that in.
The best time to check tire pressure is first thing in the morning before you drive anywhere.
Common mistakes
- ×Checking tire pressure right after a highway drive and getting an inaccurately high reading.
- ×Deflating tires based on a 'hot' reading, which can result in dangerously under-inflated tires once they cool.
Step 3 of 7
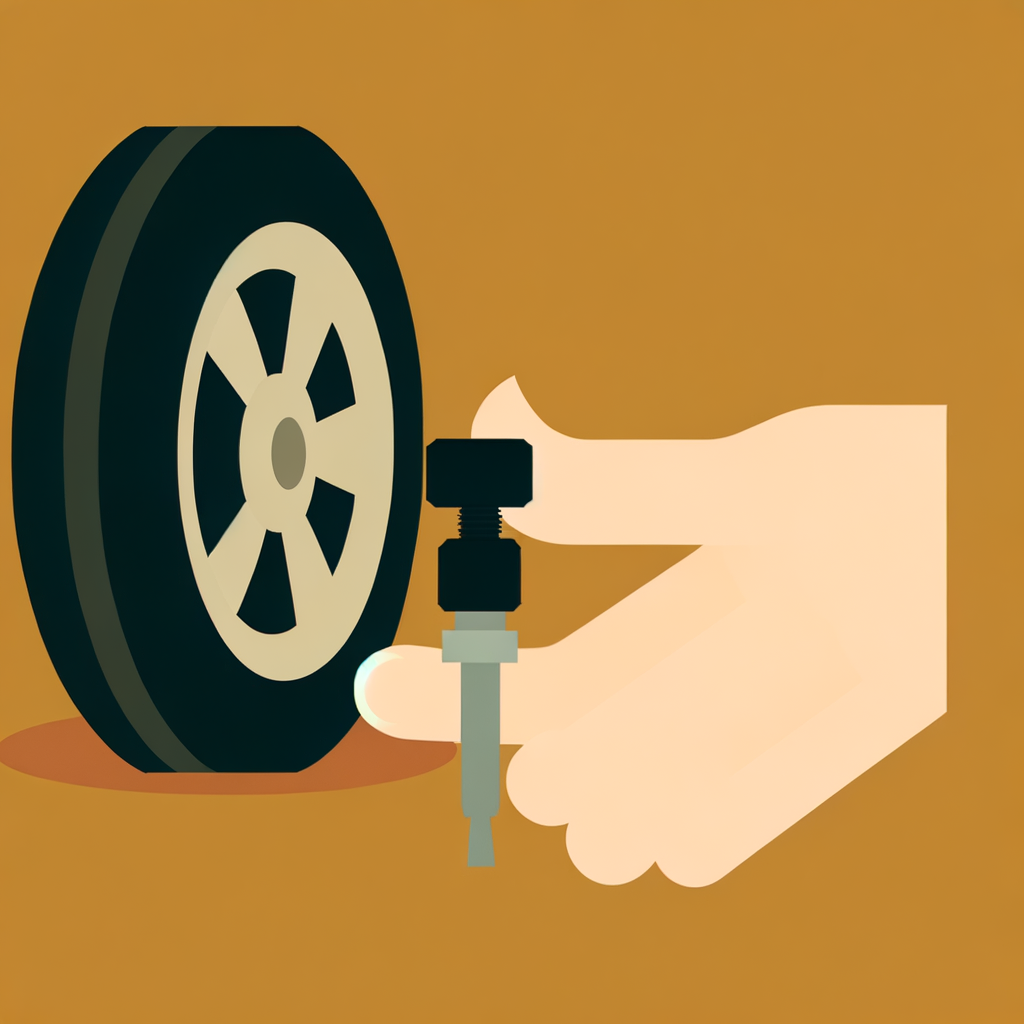
Remove the Valve Cap from the Tire
Each tire has a small valve stem — a short rubber or metal tube sticking out near the wheel rim. It has a small cap on the end that keeps dirt and moisture out. To access the valve: 1. Locate the valve stem on the tire (it may be easier to see if you turn the wheel slightly). 2. Unscrew the valve cap counterclockwise and place it somewhere safe (a pocket, cupholder, or flat surface) so you don't lose it. 3. You'll see a small metal pin inside the valve — this is what the gauge will press against to release air for reading.
Common mistakes
- ×Losing the valve cap — always put it somewhere secure before checking pressure.
- ×Pressing the valve pin accidentally and releasing air before the gauge is ready.
Step 4 of 7
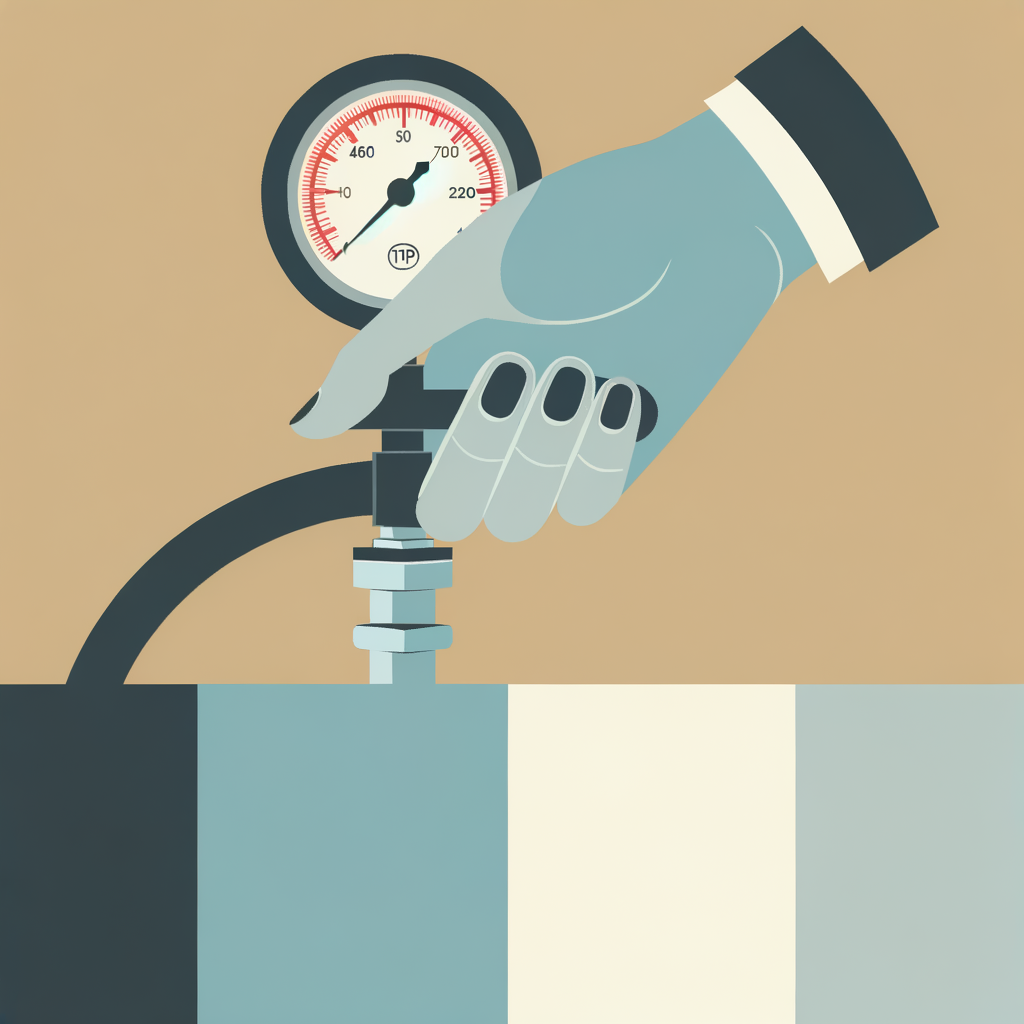
Press the Tire Gauge onto the Valve Stem
Now it's time to take the reading: 1. Hold your tire pressure gauge firmly. 2. Press the open end of the gauge straight down onto the valve stem — make sure it is flush and centered to get a good seal. 3. Press firmly and quickly. You may hear a brief hiss of air; this is normal and means the gauge is reading the pressure. 4. Hold it steady for 1–2 seconds. Depending on your gauge type: • **Stick/Pencil gauge**: A plastic bar will pop out of the end showing the PSI reading. • **Dial gauge**: The needle will swing to indicate the PSI. • **Digital gauge**: A number will appear on the screen. Read the value and note it down.
If you hear a continuous hiss, the gauge isn't seated properly — reposition it and try again.
- If If you hear a continuous hissing sound while pressing the gauge, do Remove the gauge, reposition it squarely on the valve stem, and press again firmly to create a proper seal..
Common mistakes
- ×Not pressing the gauge straight onto the valve, causing air to leak and giving a low false reading.
- ×Holding the gauge at an angle, breaking the seal.
Step 5 of 7

Compare the Reading to the Recommended PSI
Now compare the PSI reading on your gauge to the recommended PSI you found in Step 1. • **Reading matches recommended PSI (±1–2 PSI)**: Your tire is properly inflated — replace the valve cap and move on to the next tire. • **Reading is LOWER than recommended PSI**: Your tire is under-inflated and needs air added. • **Reading is HIGHER than recommended PSI**: Your tire is over-inflated and needs some air released. Repeat this process for all four tires, and don't forget to check your spare tire if your vehicle has one!
- If If the tire pressure is lower than recommended, do Proceed to Step 6 to add air to the tire using an air compressor or pump..
- If If the tire pressure is higher than recommended, do Use the small pin on the back of your gauge (or a pen cap) to briefly press the valve stem pin and release small bursts of air, re-checking pressure until correct..
- If If the tire pressure is correct, do Replace the valve cap securely and move on to check the next tire..
Common mistakes
- ×Forgetting to check all four tires — pressure can vary between tires.
- ×Skipping the spare tire check.
Step 6 of 7

Inflate or Deflate the Tire as Needed
**To ADD air (inflate):** 1. Use an air compressor (home unit or gas station pump). 2. Attach the air hose nozzle firmly to the valve stem. 3. Add air in short bursts, checking the pressure with your gauge every few seconds. 4. Stop when you reach the recommended PSI. It's easy to overshoot, so go slowly. **To RELEASE air (deflate):** 1. Use the small metal pin on the back of most tire gauges, or a thin tool like a pen cap. 2. Press the center pin inside the valve stem briefly to release small amounts of air. 3. Check the pressure frequently until you reach the correct PSI. Once all tires are at the correct pressure, screw all valve caps back on firmly.
Add air in 5-second bursts and check frequently — it's much easier to add more air than to release too much.
Common mistakes
- ×Over-inflating by adding too much air at once without checking in between.
- ×Forgetting to replace the valve caps after inflating — caps protect the valve from dirt and moisture.
Step 7 of 7

Replace Valve Caps and Record Your Results
Once all tires are properly inflated: 1. Screw each valve cap back on clockwise until snug — don't overtighten, but make sure they're secure. 2. Do a quick visual inspection of each tire for any obvious damage, bulges, cracks, or embedded objects (nails, screws, etc.). 3. Note the date you checked the pressure (a note in your phone or a sticker in your car works great). Tire pressure should be checked at least once a month, before long road trips, and whenever the outside temperature changes significantly (pressure drops about 1 PSI for every 10°F drop in temperature).
Set a monthly calendar reminder to check your tire pressure — it only takes 5 minutes and can save you money on fuel and tires.
Common mistakes
- ×Forgetting to replace valve caps, allowing dirt and moisture to enter the valve and cause slow leaks.
- ×Not rechecking pressure after a significant temperature drop in winter.
Sources
Generated from model knowledge — verify any factual claims independently.