How to Blow-Dry Hair for a Salon-Style Look
Learn how to blow-dry your hair at home using professional techniques to achieve a smooth, voluminous, and polished salon-worthy finish.
Materials
- Hair dryer with at least 1800W power
- Round brush (medium or large barrel)
- Wide-tooth comb or detangling brush
- Heat protectant spray or serum
- Volumizing mousse or blow-dry cream (optional)
- Hair clips or sectioning clips
- Light-hold hairspray or shine serum (for finishing)
Before you start
- Hair is freshly washed and towel-dried
- Basic familiarity with using a hair dryer
Step 1 of 7
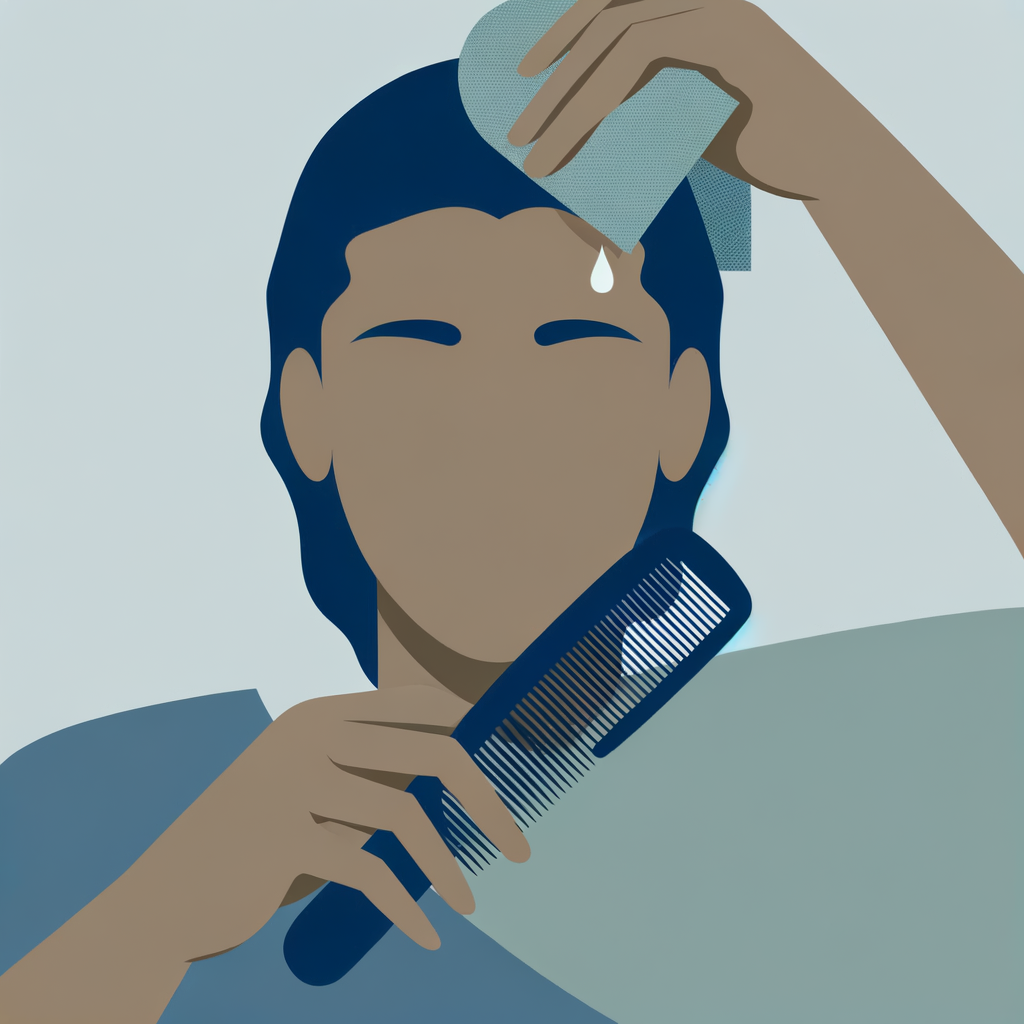
Prep and Towel-Dry Your Hair
After washing, gently squeeze excess water from your hair using a microfiber towel or a soft cotton T-shirt — avoid rubbing, which causes frizz and breakage. Your hair should be damp but not dripping wet before you begin styling. Comb through any tangles using a wide-tooth comb, starting from the ends and working your way up to the roots.
Hair should be about 70–80% dry before you start blow-drying for the best results and least heat damage.
Common mistakes
- ×Rubbing hair vigorously with a towel, which causes frizz
- ×Starting to blow-dry hair that is still soaking wet — this takes much longer and increases heat damage
Step 2 of 7
Apply Heat Protectant and Styling Products
Spritz a heat protectant evenly throughout your damp hair, focusing on the mid-lengths and ends where damage is most common. If you want extra volume, work a small amount of volumizing mousse or blow-dry cream through your hair from roots to ends. Avoid applying too much product — a coin-sized amount is usually enough — to prevent weighing hair down.
Apply mousse to the roots specifically for long-lasting volume that doesn't fall flat by midday.
Common mistakes
- ×Skipping heat protectant entirely
- ×Using too much product, which makes hair look greasy or flat
Step 3 of 7
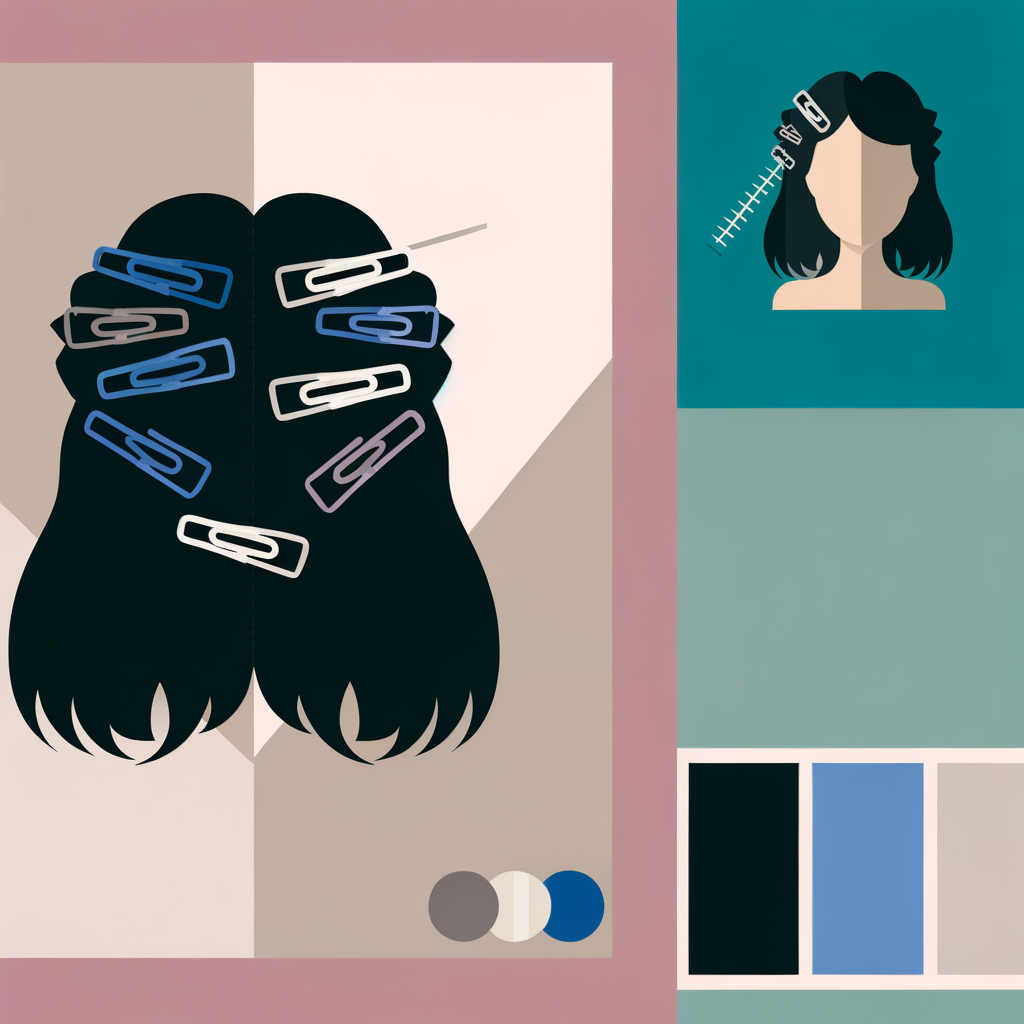
Section Your Hair
Divide your hair into manageable sections using clips. Start by clipping the top layers up and leaving the bottom layer down. For most hair types, 3–4 sections work well: bottom layer, mid layer, and top layer (split left and right for thicker hair). Working in sections ensures every part of your hair gets equal attention and dries evenly.
The smaller the sections, the smoother and more controlled the final result — especially for thick or curly hair.
Common mistakes
- ×Trying to blow-dry all hair at once, resulting in uneven drying and less polish
Step 4 of 7
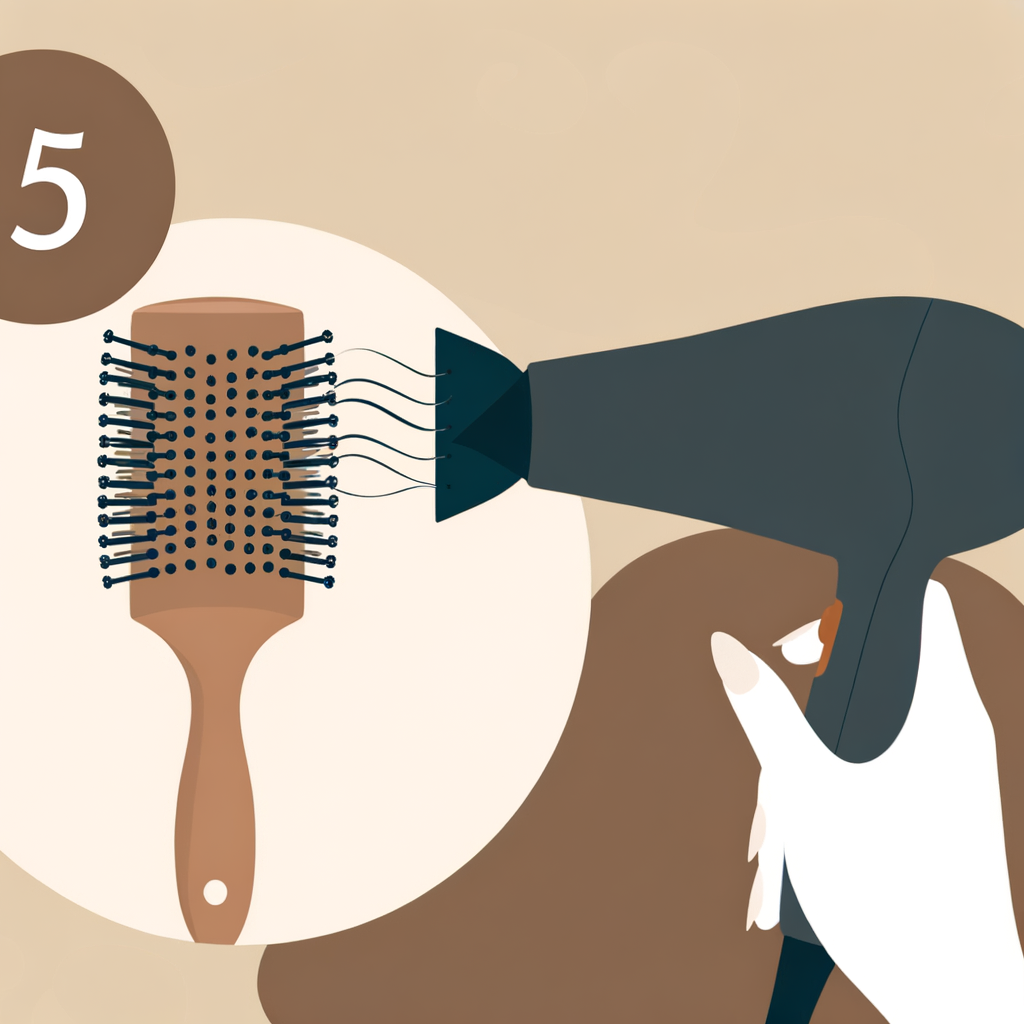
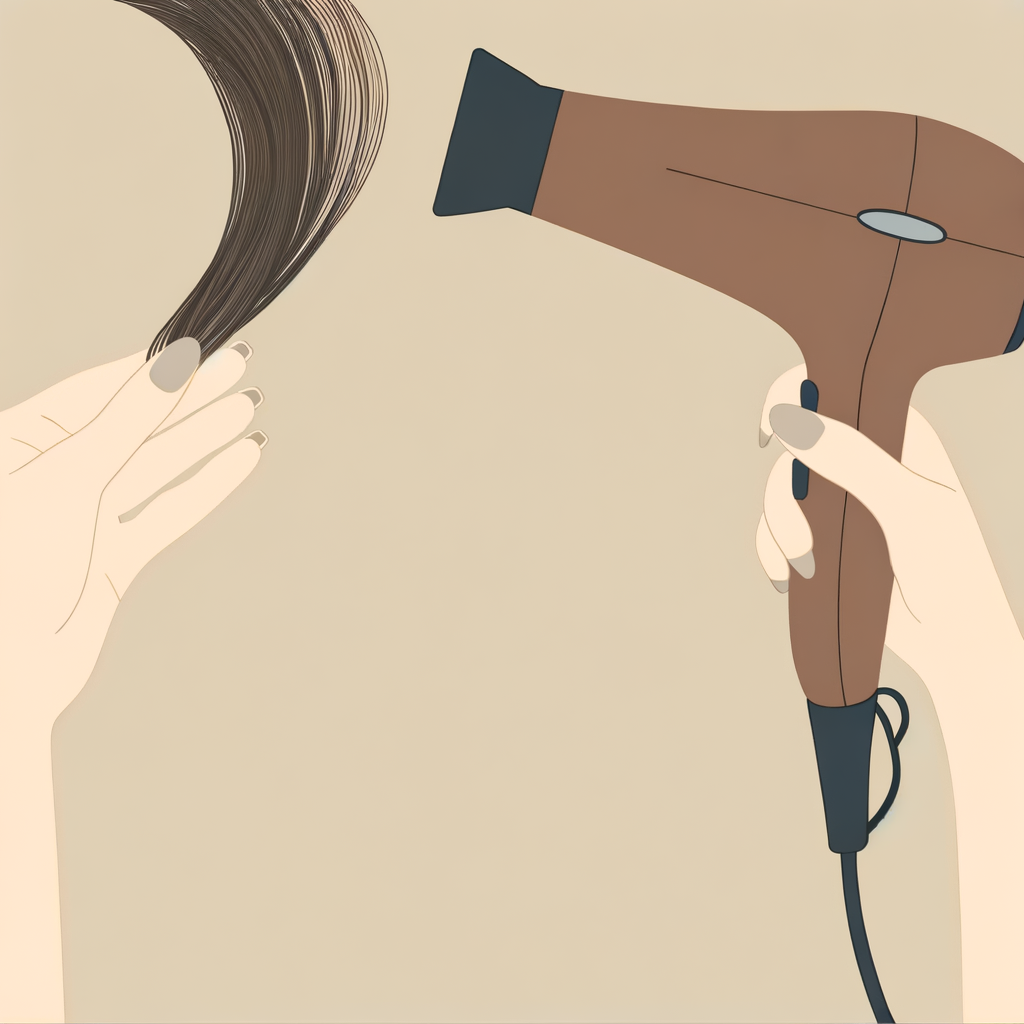
Blow-Dry the Bottom Layer First
Release the bottom section and place a round brush underneath a 1–2 inch subsection of hair. Point the dryer's nozzle downward along the hair shaft (this seals the cuticle for shine). Roll the brush under and away from your head while following with the dryer from roots to ends. Use medium-to-high heat and keep the dryer moving. Repeat across the entire bottom section before moving up.
Attach the concentrator nozzle to your dryer — it directs airflow precisely and dramatically improves smoothness.
- If If your hair is curly or very thick, do Use a boar-bristle round brush and slightly larger sections, and spend extra time at the roots to stretch the curl pattern..
- If If your hair is fine or straight, do Use a smaller round brush for more curl and lift, and focus heat at the roots to build volume..
Common mistakes
- ×Pointing the dryer upward, which roughs up the cuticle and causes frizz
- ×Moving too quickly — spend 20–30 seconds per subsection for best results
Step 5 of 7
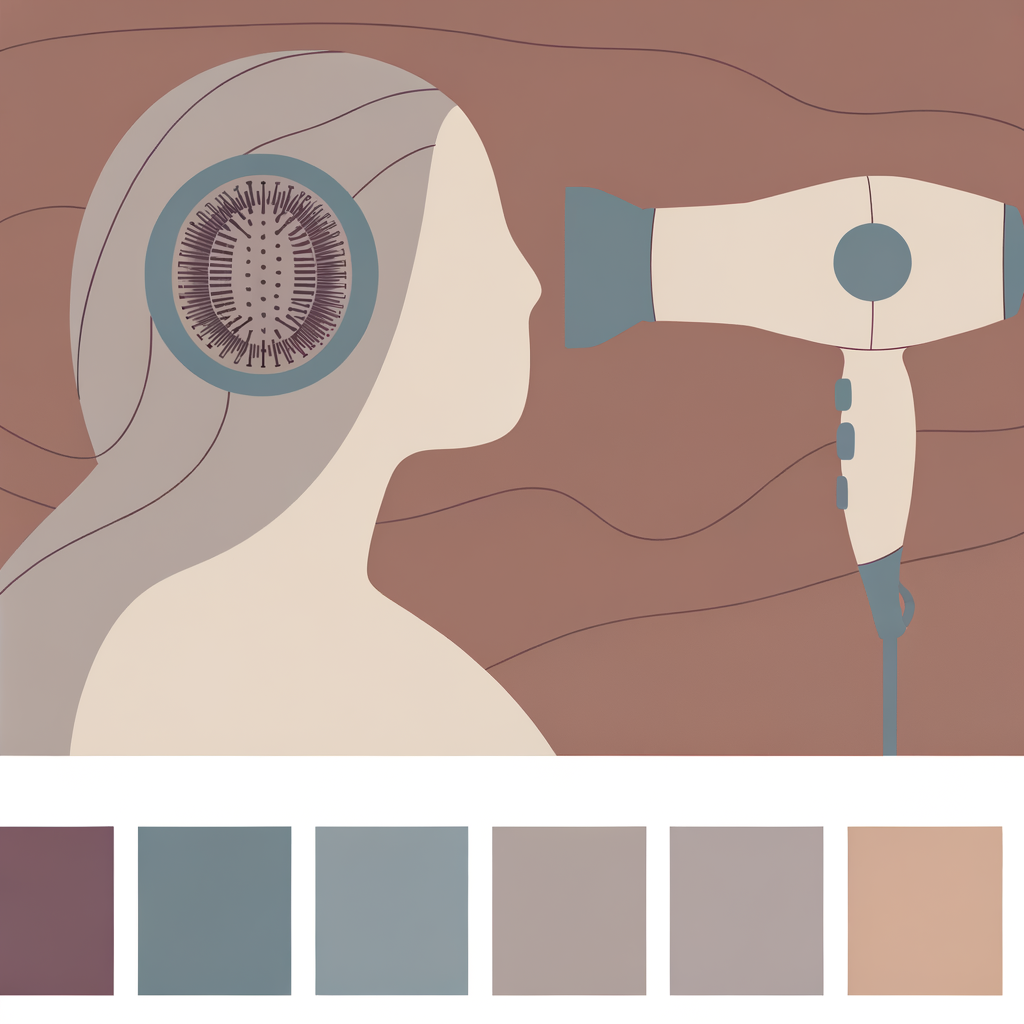
Work Your Way Up to the Top Layers
Release the next section and repeat the same brush-and-dryer technique. For the top and crown sections, roll the round brush upward and away from the head to create lift and volume at the roots. For the front sections around your face, you can roll the brush inward (toward your face) for a classic blowout curve, or outward for a more modern flicked look.
After rolling the brush to the end of the hair, hold it there for 5–10 seconds with the cool shot button to set the style in place.
Common mistakes
- ×Neglecting the root area on top layers, which leads to flat, lifeless results
Step 6 of 7
Use the Cool Shot to Set the Style
Once each section is fully dry and styled, blast it with the cool shot button on your dryer for 10–15 seconds. Cold air closes the hair cuticle, locks in the shape, and adds shine. After finishing all sections, do a final cool-air pass over your entire head. This step is what gives a salon blow-dry its lasting power and glossy finish.
Lean your head forward and blast cool air at the roots for extra volume that lasts all day.
Common mistakes
- ×Skipping the cool shot — this is the secret to long-lasting style and frizz resistance
Step 7 of 7
Finish and Polish
Once all sections are dry and set, remove the clips and gently shake your hair loose with your fingers. For a sleek look, apply a tiny drop of shine serum or hair oil to your palms, rub together, and lightly smooth over the surface of your hair (avoid the roots). For extra hold or to tame flyaways, mist a light-hold hairspray from 12 inches away. Style and adjust as needed.
A few drops of argan oil on the ends adds brilliant shine without weighing hair down — the ultimate salon finishing touch.
Common mistakes
- ×Applying too much serum or oil, which makes hair look greasy
- ×Using heavy-hold hairspray that makes hair stiff and unnatural
Sources
Generated from model knowledge — verify any factual claims independently.